Winter Wood-Fired Cooking Tips
Feb 24, 2023Wood-fired cooking can be a year-round adventure, requiring just a few tips and modifications to continue all winter long. As our Canadian customers and those in mountainous regions can attest, the good news is that our wood-fired oven works very well in cold climates, and won’t have any trouble with snow. They are built using high-tech insulation, which holds in the heat when the oven is cooking, and helps keeps the cold out as well.
When asked about winter use, a moderator on the Forno Bravo Forum pointed out, “All ovens can benefit from year-round use. It will keep them dry and working efficiently. The main factors are can you access it and can you work it comfortably?”
Following are some helpful suggestions from our community of customers and guest chefs to help you embrace the cold while bringing on the heat, and to enjoy your oven in every season!
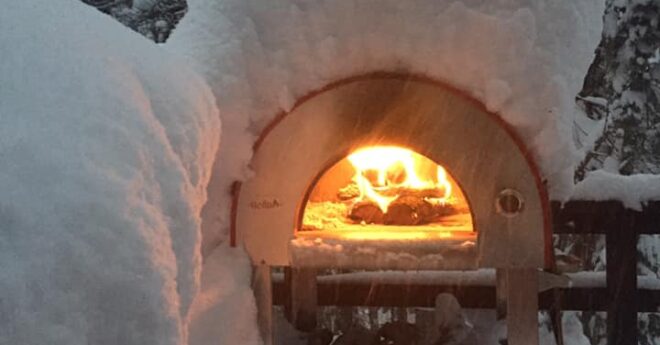
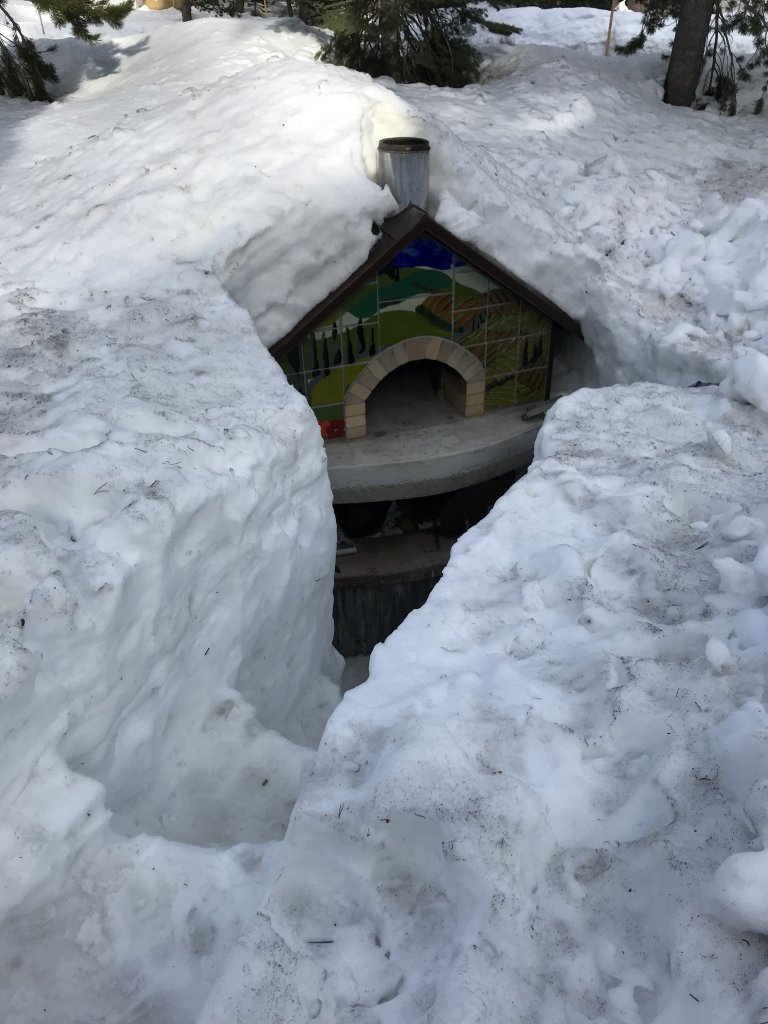
Snow won’t stop Pizza Time – Bella Medio28 wood burning oven in the snow
Oven Construction and Location
Moisture
Moisture is the enemy of wood fired ovens. If you are building a modular oven, it is important that it is installed properly and at the correct angle to prevent water ingress, with a waterproof enclosure or finish, and using the insulation that comes with the oven.
Forno Bravo assembled ovens also work in cold, snowy climates. The oven enclosure is sealed, and then painted or tiled to withstand outdoor weather conditions. However, take care to ensure that water does not enter the oven cooking area. Always place the steel cap on top of the chimney, and place the oven door tightly across the oven opening when the oven is not in use.
Directional Weather Protection
If your inclement weather, rain, or wind typically comes from one direction or another, it is best to face the oven away from that direction. Sometimes, the house or a well-placed wall or screen can block weather from blowing across the oven’s mouth, reducing heat loss. However, be sure to follow the venting rules mentioned below and maintain safe distances to combustibles.
Technical Note: You might want to consider getting an extended double wall vent for your oven, so you can go up the side of a building or spark resistant cover instead of through it, but still maintain the 3-2-10 rule for safe distance to combustibles. Our technical team can help answer any questions on this solution.
Access
It is a good idea to wear shoes with sticky, textured soles when doing winter cooking. We also recommend that you sand or shovel the path to your oven for good traction if it is snowy. No slipping allowed!
(Not everyone is a “Snow Master” like Ed B. (below) who carves out snow steps to get to his pizza oven high in the California mountains! That is hardcore dedication to his craft!)
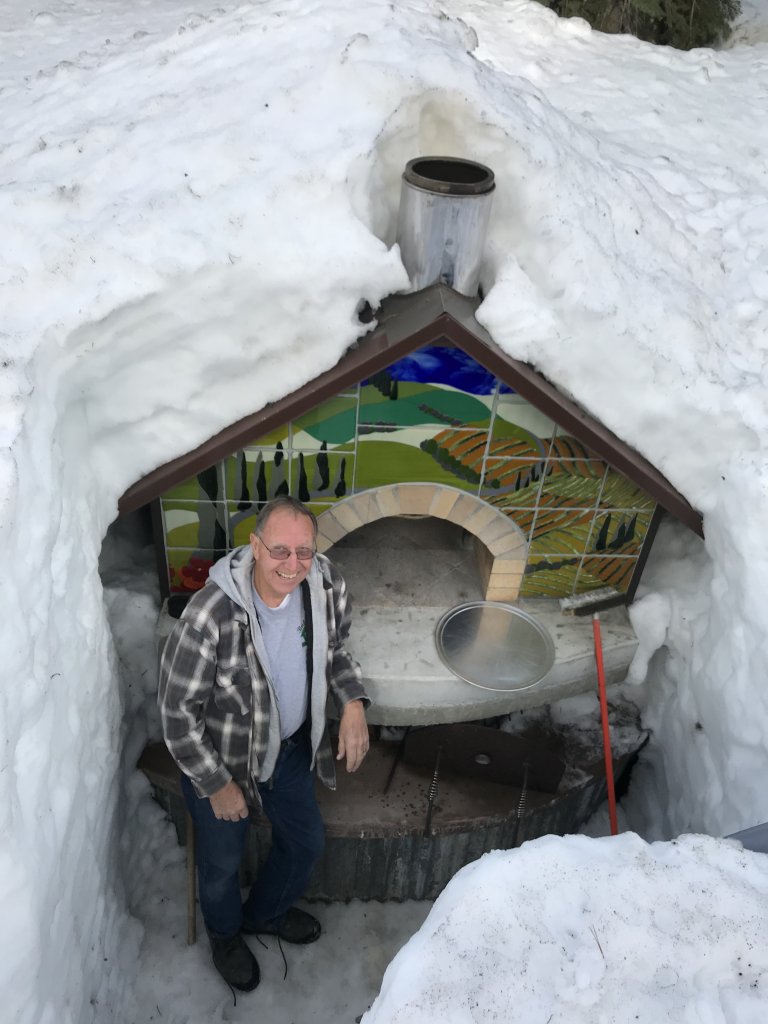
Go Deep or Go Home! Snow time is pizza time!
The Path to Paradise – Snow steps in Sierra Nevada Mountains
Tricks for Starting the Fire in a Cold Oven
In below-zero conditions, generally, you will need to fire your oven a little more slowly than usual. This gives it more time to warm up, and cures out any residual moisture that may have gotten in. (Find other general fire-starting tips HERE.)
“Start with a small fire to warm things up, or you could use the “top down” method. This is where you stack your firewood as usual with plenty of airflow. Add kindling/fire starter to the top to get it lit. The fire will start slowly and as it burns, some of the hot bits will fall to the bottom and eventually light the wood at the base.” – “Purplehaze,” Forum Member
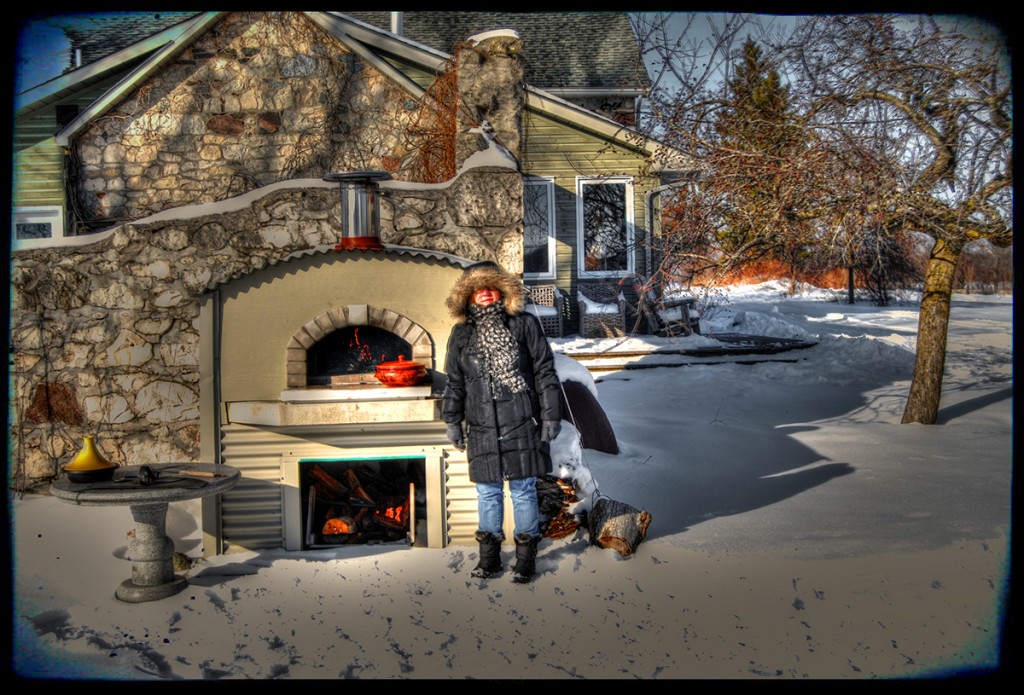
Bill H from all the way up in Feversham, Ontario, Canada sends us this photo of his oven and dutch oven for making other dishes besides pizza.
When working with a larger oven, the physics of fire management come into play even more. These dynamics are explained very well by “Montoga,” who is also an experienced member of our Forum. You may want to try his winter oven-starting technique.
The Why:
“A “cold dome” will simply require more heat from the fire to get up to cooking temps. You have a larger Delta-T when it’s cold outside. So, a cold dome will “suck more heat” out of the fire than a warmer dome. As the fire warms the dome up, the fire in turn can burn more intensely and hotter, thus transferring even more heat energy to the dome. Eventually, the dome is fully heated and the fire is fully burning, and with the dome to temp, the soot clears from the dome.”
The How:
“I always start my fire on the landing, right near the vent opening. As the flames build, I’ll push the fire back into the dome. Each pushback into the depths of the dome reduces easy access to free air, so the flame stagnates a bit; it might even get a bit smokey. But once the airflow pattern resolves itself, the fire burns clean again. When it does, I’ll slide it back another 12” into the dome. Takes maybe three “pushes”, with a few minutes in between each push, until the fire that I started on the landing is burning in the middle, or towards the back of the dome floor.
So for me, the heating of the dome sort of regulates the pace of the fire. In the summer, with the mass of the dome at an 85°F ambient summer temp, the fire reaches a point where I can slide it back to the center of the dome floor faster than I could do in a cold-soaked 25ºF dome. If I were to slide the fire back in the winter as quickly as I do in the summer, the fire might smolder more and snuff itself out instead of burning.
The moisture content of the wood can be a player as well. Drier wood can allow me to slide the fire back more quickly than wetter wood.
Basically, I slide the fire back into the dome when the burn pattern of the fire tells me it’s ready to be slid back. Wet, dry, hot, or cold, the flames of the fire dictate the pace.”
Pre-Heating the Flue
Pro-tip: To increase draw and reduce smoke coming out the front of the oven, you may wish to gently pre-heat the flue. This can be done a couple of ways. One is to start a smaller fire on the landing/front of the oven (as described by Montoga above.) Another is to use the partially closed door as a damper, placing it close to the landing lip so that the vent is behind it, and heat is pushed up the flue instead of out the front.
The Premio 120 kit is very deep, and it will take a couple of pushes to get the wood into the right place.
Protecting and Pre-Warming Your Fuel
Cover Your Stack
Dry, cured wood lights and burns better and with less smoke than damp wood. Be sure to keep your wood out of the elements, stacked, and under a cover throughout the winter (either in a hutch, covered porch, or under a tarp) for the best results. Note: Wood can take up to a year to cure after it is cut.
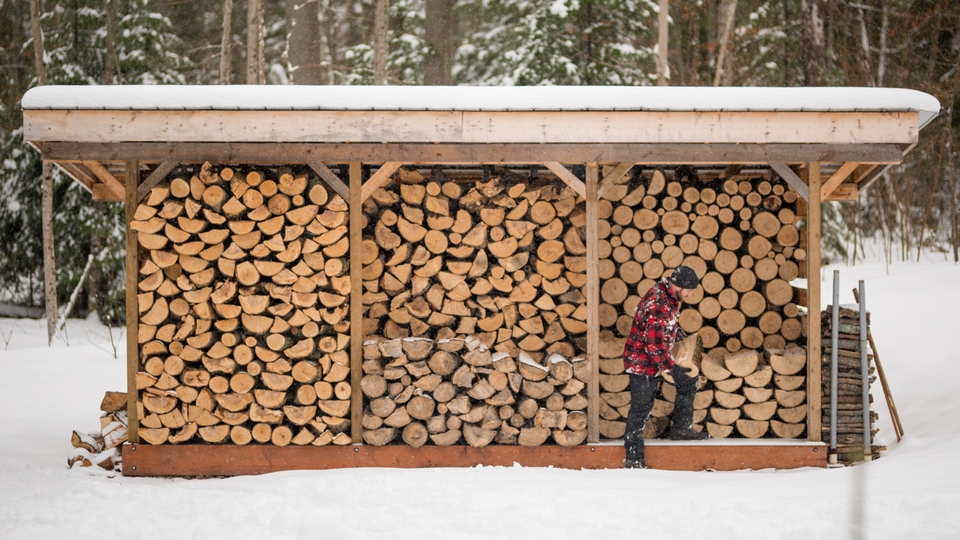
Great stacking and covering job! (Photo by Outsideonline.com)
Preheat the Wood
Once your fire is going, you can keep your fire levels and oven temperatures more consistent by pre-heating the next piece of wood. Simply, take a log and place it on the far side of the dome away from the fire using your peel, tongs, or a heavy heat-resistant glove. This will allow the wood to warm up to just under the combustion point while the main fire burns down a bit. When you are ready, add the pre-heated wood directly to the fire with your peel for quick combustion with very little smoke. (Caterers use this trick a lot.)
Recharge the Floor
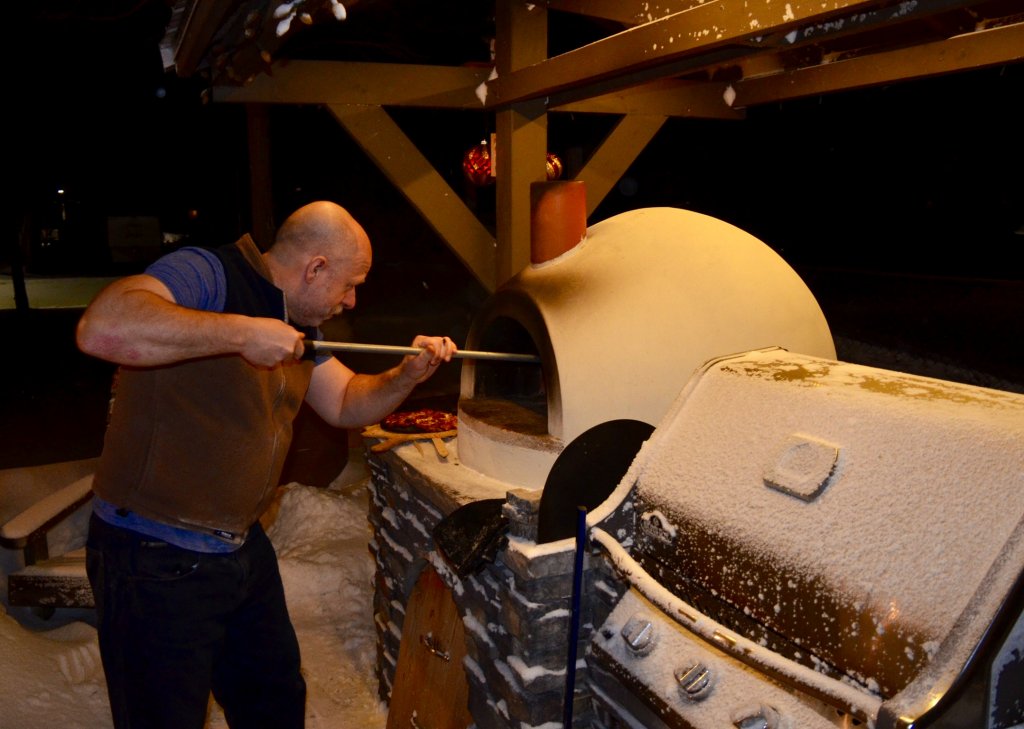
Another tip for faster recharging of the cooking floor when using a pizza oven in the winter, is to draw some of the coals out onto the floor in between pizzas. While you are prepping the next pie, the floor is getting/staying extra warm. When you are ready, simply push the coals back into the fire pile with an oven rake, brush off the deck with a copper brush, and cook as usual. This tip works especially well with the Bella Steel Pizza Oven.
Planning Your Menu and Prep
General Tips
When planning your meal, remember that winter cooking will take a bit longer than a summer feast. The oven tends to heat up slower in the cold, and cool more quickly if left unattended. This is more of a consideration than a problem. It just has to be accommodated in your planning.
- For example, you may want to have one designated fire tender, and one pizza prepper working together to get the meal on the table. Most folks like to prep their pizzas inside and then run them out to the oven for baking, since pizza dough is easiest to stretch at room temperature. It can get too stiff if being worked outside in the cold.
- Alternatively, you can bring your dough to room temperature inside a covered dough box, and then place it in an insulated bag (like Dominoes or Door Dash use.) This will help it stay at a stable temperature until you are ready to stretch the dough.
Thankfully, it is nice and toasty in front of the oven mouth, so the pizzaiolo stays plenty warm, often, with just a light jacket or sweater required. (Some of our southernmost customers claim that they don’t even start cooking in their oven until September when the temperatures are finally getting cool enough to enjoy the process!)
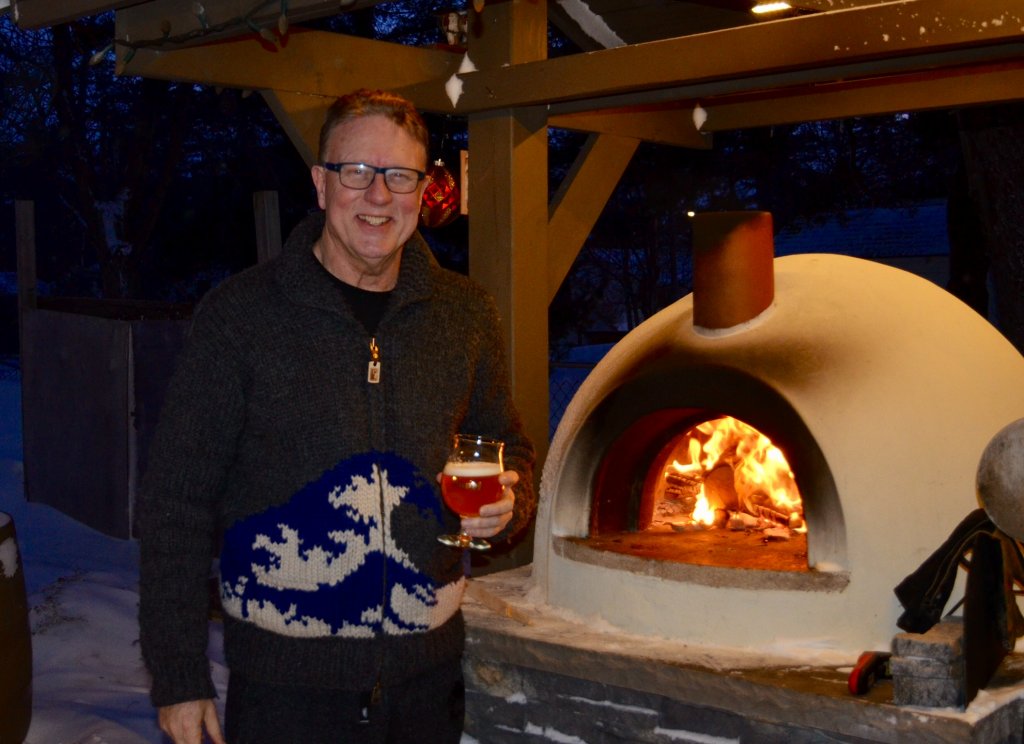
Nothing beats a hot oven and a cold beer on a winter’s night
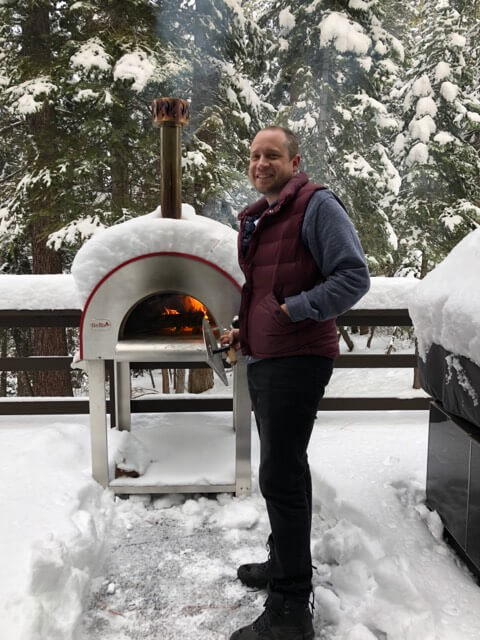
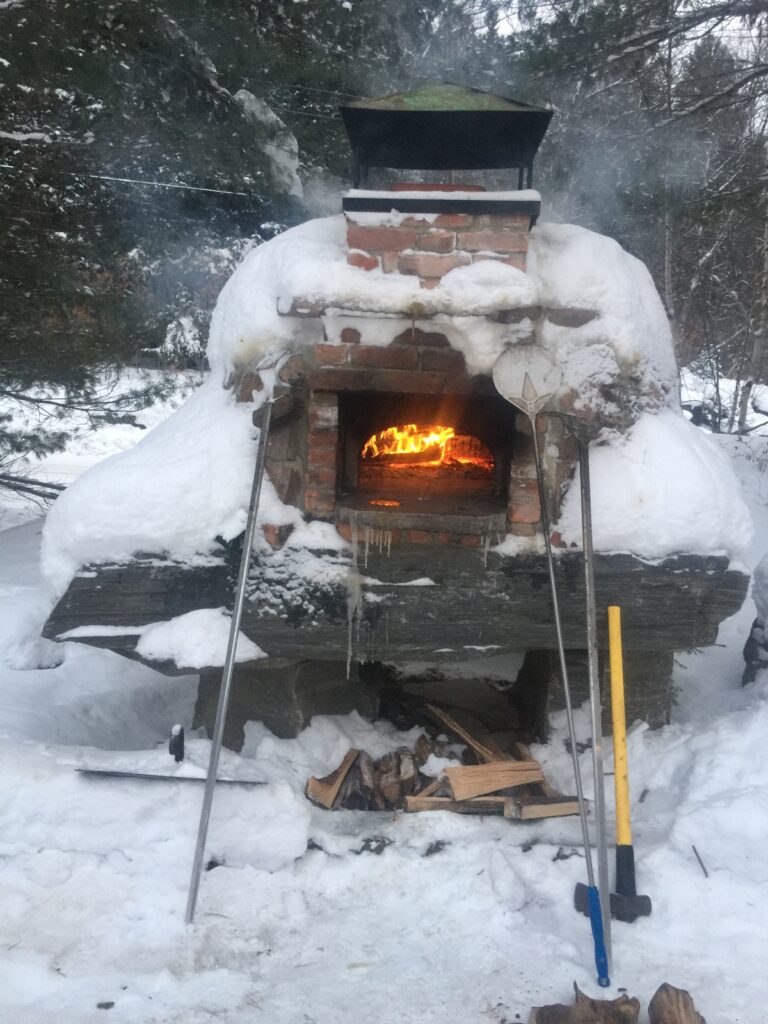
Jeff D’s family never lets a little of Ontario’s -20 degree chill stop them from using their Primavera 70!
2-Stage Cooking
Sometimes, cooking in 2 stages works well. “JJNavis,” another Forum member, shared that he was thinking of doing:
“A pizza night on Christmas Eve and then cooking the turkey in the oven the next day — partly because the weather forecast is lovely (below freezing, but not windy,) partly for more space in the house, and partly for the fun!”
He later reported back to the group that he did follow through with this plan. It worked great and they are hoping to make it an annual tradition. By cooking the pizzas the night before, the oven was pre-warmed in the morning and took far less time and fuel to bring it up to baking temperatures for the bird.
Stews, casseroles, roasts, and other braised dishes that can be slow-cooked in a covered pot and with the oven door partially closed for heat retention, also work very well in the winter. They make for delicious meals and don’t require much tending.
Heating the oven takes a little more time, but is worth it!
Safety and Venting Reminders
In the name of staying warm or keeping out of the elements when they cook, some folks have been known to take a few “shortcuts” with safety. DO NOT DO THIS! It is very dangerous and can cause extreme harm or death. We know that sounds dramatic, but hazards from taking risks with fire cannot be minimized. Always follow all of the warnings in your owner’s manual, regardless of the outdoor temperature. For example:
- Always be aware of your oven’s distance to combustibles — that includes loose clothing, like scarves.
- Never put a canopy, tarp, or tent over, or directly next to, a lit oven.
- All oven venting must follow the 3-2-10 rule, and/or be vented and flashed through, or next to, the ceiling or patio cover using double wall piping. (Learn more about safe venting practices HERE.)
- Never close the oven door completely on a burning fire. This can create back pressure and cause the fire to flair dramatically when the door is removed, or cause the door to become a projectile.
- Do not bring a portable oven, like the Bella steel pizza oven, into an enclosed garage or space, and then fire it and cook with it. This can cause carbon monoxide buildup and other dangers.
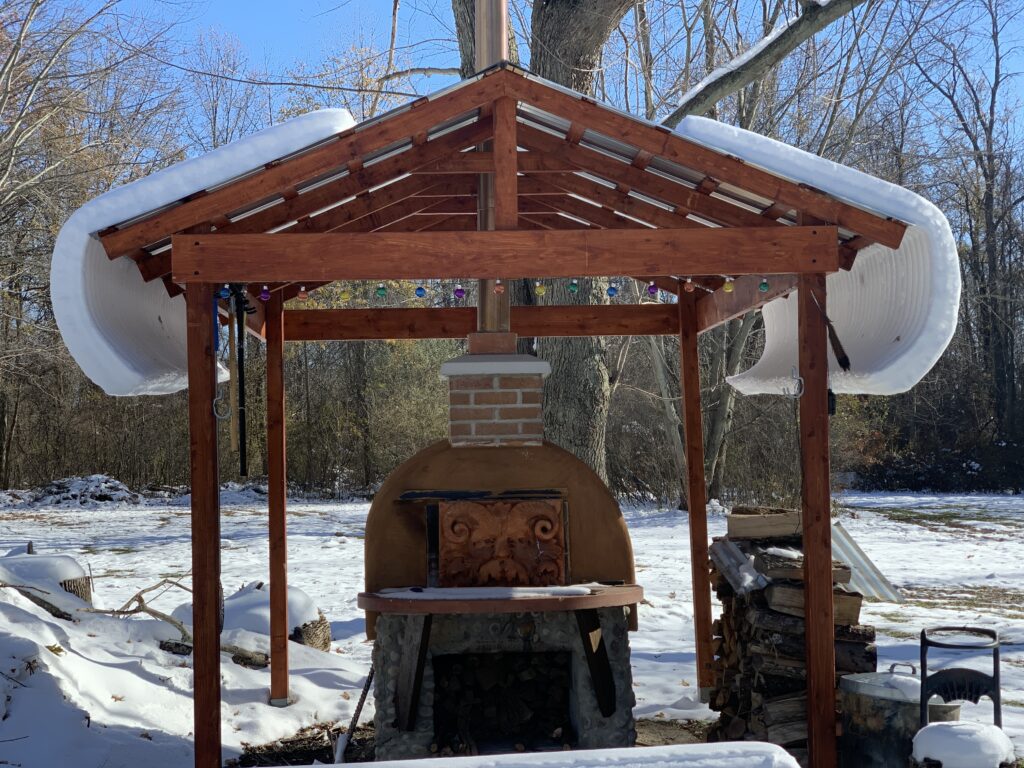
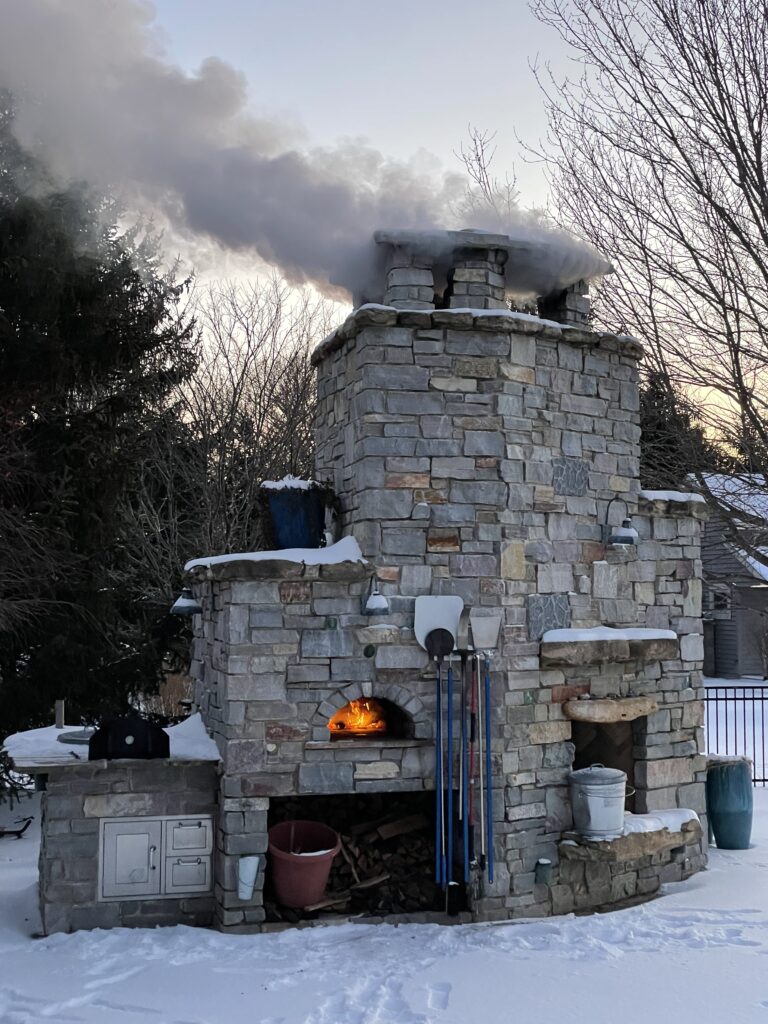
Proper venting through a roof makes for pleasant and safe winter cooking. We love these fun drifts!
Final Thoughts
Need ideas on what to cook in your wood fired oven in the winter? Check out some of the great recipes in our Community Cookbook! There are over 200 to choose from.
Do prepare your oven for year-round service and long-term durability by examining the exterior each season. Weather seal the grout on a tile oven annually, repair any significant cracks in the stucco, and check for any broken or loose masonry. Remember, as stated at the beginning of this article, moisture is not your friend. Maintaining the exterior of the oven will help keep moisture out of the insulation and the cooking chamber.
Finally, don’t be scared of the cold. Just put on a hat, coat, and gloves, enjoy the adventure, and go make some memories!

Keith G from Bethel, CT submitted this photo of his Casa2G. He said, “Let the snow fall, pizza must be made!” Thanks Keith! We agree!