Tips on Installing a Wood Fired Oven from John Livera
Apr 29, 2019Steps for Installing a Residential Oven
For many, installing a pizza oven at home is a dream. Although it can seem a bit overwhelming, if you know what to anticipate, it is well worth the effort! It is important to understand the process so you can plan accordingly. Walk with John Livera, (seafood specialist, wood-fired enthusiast, consultant, and chef) through the installation of his wood fired Vesuvio oven in this guest blog to see just one example of how it is done.
Select the Right Oven
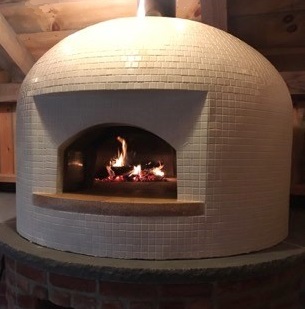
When selecting the perfect oven, think through how you plan to use it. For us, volume was important, as we entertain quite a bit. We needed to understand the relationship of exterior dimension to internal use, which gave us an understanding of how long it would take to heat and the capacity of food we could generate at a time. We selected the fully-assembled Vesuvio90 — 54” exterior, 36” interior, all wood fired with a center vent. It’s big, but the volume of food we can produce at one time delivers on our expectations.
Next was the design; the sales team offered several exterior design and tile options. We choose a simple white tile with a matte finish and white grout to minimize the appearance. We were easily able to get samples at the manufacturer retail location to be sure we’d be happy with our selection.
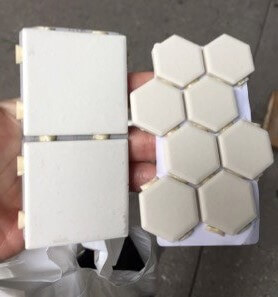
Design and tile selection is key
Deciding on the Location
When deciding on the location, understand if weather will play a factor. We live on the North Fork of Long Island, NY, so seasonality did play a role in placement for us. We wanted to have access to the oven 12 months of the year. We installed the oven in a back barn — a place where we entertain often.
Our next consideration was weight. We needed to determine if the cement floor could accommodate the 2,300-pound oven without shifting, based on temperature changes throughout the year. To do this, we contacted a local contractor, who engaged a mason to determine that the floor would indeed need to be re-enforced.
We grounded the placement with 3 feet of cement and stabilized the top with cross hatch steel. We were then able to design the base for the oven and prep area in the aesthetic of the space.

Preparing the floor to support the oven’s weight
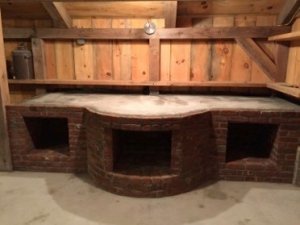
Building the new counter and prep area
Delivery and Installation
Depending on the size and weight of your oven, plan ahead for the logistics of installation. The contractor was prepared with a forklift for offload and transport into the space; we had to keep in mind the ceiling heights of our pre-existing structure.
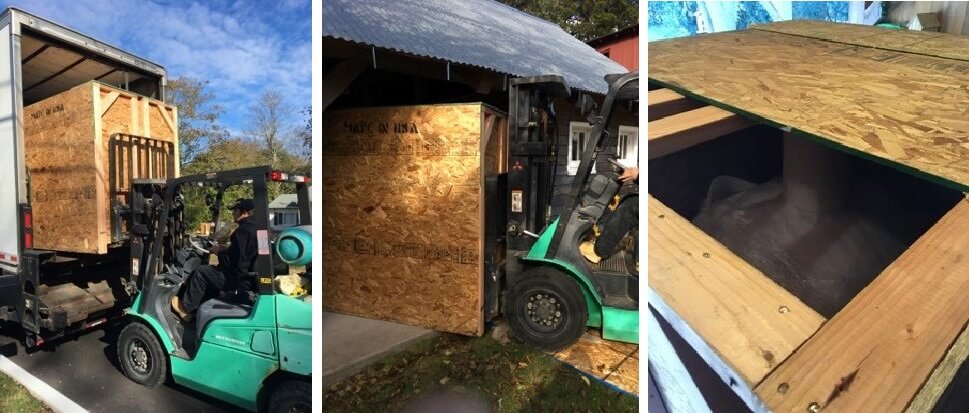
Offloading the crate, moving it into the barn, plus a sneak peek inside
Once removed from the crate, we used hydraulic jacks and 6×6 beans to lift and place the oven onto the base.

Placing the new Vesuvio oven on its base
Curing Your Oven
Once fully installed, plan time for proper tempering (curing) to make sure you dry out the moisture and allow the interior to settle without cracking. Curing the oven actually strengthens the refractory material for long-term durability. Based on the size of our oven, we did this over one week – lighting small fires every day with increasing burn time and temperature until we reached a high temp of 700°F. It is a good idea to have an infrared thermometer on hand to gauge the heat and to keep your fires in check.
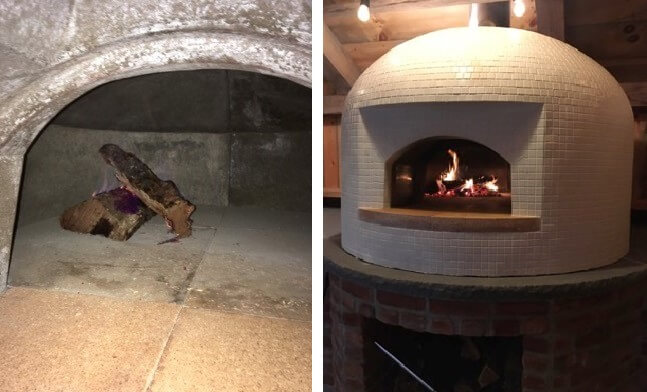
Starting slow allows the oven to cure without cracking
Enjoy Every Minute of it!
Once you are up and running, it is important to understand the internal temp of your oven and how to adjust it based on your needs. Your cooking options are limitless, from pizza and bread, to salmon, roasted vegetables, and apple pie — it has become our outdoor oven, with more versatility than we ever imagined!
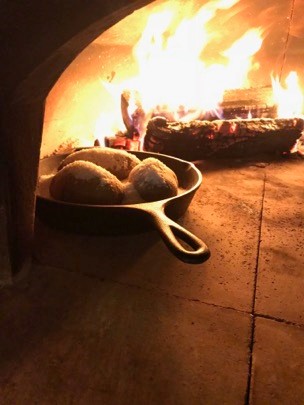
Cooking in John’s Vesuvio90 yields delicious treats
Want more? Click here for John’s recipe for Norwegian King Crab Legs made in his wood fired oven.