Wood-Fired Ciabatta
Jun 23, 2012Posted by Forno BravoI changed gears baking today — from France to Italy and from baguettes to Ciabatta. And I had a ball. Working with a classic Italian bread brought back some happy memories, and the bread was really nice. Very nice. The techniques that I have been developing making other types of bread really spilled over into today’s baking.
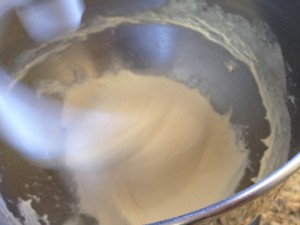
There are lots of little things to say. First, my dough was 82% hydration, using Trader Joe’s general purpose white flour. As you might guess, at that high hydration, my dough was really just a batter to start, so I mixed it a little longer and a little faster to develop the gluten as much as possible, and it really just held together. You would see the strands develop, as the dough started pulling away from the sides of the mixer as the dough developed. That was very instructive for me. Overall, I mixed the dough for 12 minutes on KitchenAid 5. That’s pretty fast, through I don’t think it was enough to heat up the dough or break down the flour.
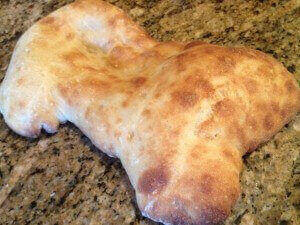
As you have probably heard, Ciabatta is a relatively recent invention (I should look it up, but there is a bakery in Northern Italy who lays claim to creating the loaf), and the word ciabatta means slipped in Italian. Personally, I think they should call it Dog Bone, after the shape of the loaf; but I have to admit that dog bone probably doesn’t sound as nice. So much for my marketing skills.
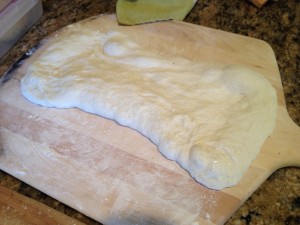
Another interesting aspect of the Ciabatta is that the dough is so highly hydrated that the loaf does not hold any type of shape and scoring is impossible. It’s really just a puddle of dough.
Here is my formula.
500 grams GP flour
410 grams of water
5 grams of yeast
10 grams of salt
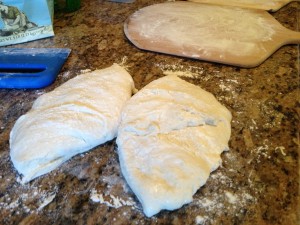
12 minute knead, 10 folds (yep, 10), bulk fermentation, 6 folds, second fermentation, push down and cut in two, shape, let rest for an hour and bake. Other than working with really wet dough, there is not a lot of technique.
And remember. Wet your surface and your hands before working with the dough. Don’t use flour (until you are ready to shape your loaves and load them on your pizza peel), or you will work too much flour into your dough and alter the formula.
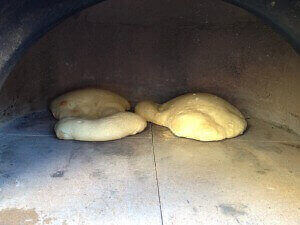
Shaping the loaf is an interesting activity. I have read that you can either fold the dough and then pull the ends, or that you can take the rested dough pull the ends right away. So I tried both, and I found that the the loaf that I folded (a letter fold into thirds) was harder to work with, and it puffed right up in the oven. As you will see a little later. So at this point, I think the simple method without the final folds worked better.
My pizza oven was perfect. After burning three nice pieces of firewood split into 1-3″ chunks and enjoying a blazing fire, I gave the oven ample time to cool down into the mid-low 500F’s. I also swabbed the deck with a damp towel. It’s amazing how much heat a small pizza oven can retain from just three pieces of wood. I also used my garden spray to create steam in my oven right after I loaded the loaves, and then again after five minutes.
Immediately after loading my bread, I could see that the loaf that I had folded prior to shaping (obviously on the right) puffed right up.
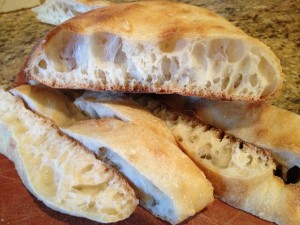
The entire family loved this bread. The crust was crunchy, but with a nice fresh, almost elastic feel and the crumb was moist and well developed, and the holes were great. The flavor was wonderful (though I could have developed the flavors even more with a longer, cooler fermentation). It was a little breath of Italy on a spring/summer evening. I am doing this again.


