Tips and Tricks on Picking Wood and Managing Your Fire
Oct 31, 2019Posted by Forno BravoWhat’s Your Favorite?
Do you have a favorite type of wood you love to cook with in your oven? Click on this form to tell us your preference and why, plus your best fire management tip. We will share them with other oven owners in a later blog to help everyone become a better Fire Master!
[ninja_form id=17]
For newer owners, managing your fire can be intimidating. Learning how to pick and cure your wood, start your fire, and maintain a consistent oven temperature can help reduce your stress. Here are just a few tips and tricks that will help!
Getting Started – The 4 basic Rules
Since the heart of your wood fired oven is the wood, and it will be burning next to your food, there are four basic rules to remember:
- Never burn laminates (plywood or particle board), painted woods, or anything with chemicals or toxins in it or on it. Just don’t! We want you to stay safe and healthy.
- Use dry, cured wood for a happy fire (apx. 20% moisture content.) Wet, green, or freshly cut wood of any type will be obnoxiously smokey and hard to burn.
- Fruit and nut woods are your friends for taste and aroma; and hardwoods burn hotter and longer with more coals than softwoods (i.e. need less wood for more heat.) –Typical favorites include apple, almond, cherry, and pecan and oak, madrone, or alder, plus a whole lot more! You can even mix and match types in the same fire for a blend.
- Skip the sap! Avoid pine, fir, and cedar. They will smoke you out and muck up your oven with soot and creosote.
What Size Pieces Do I Need?
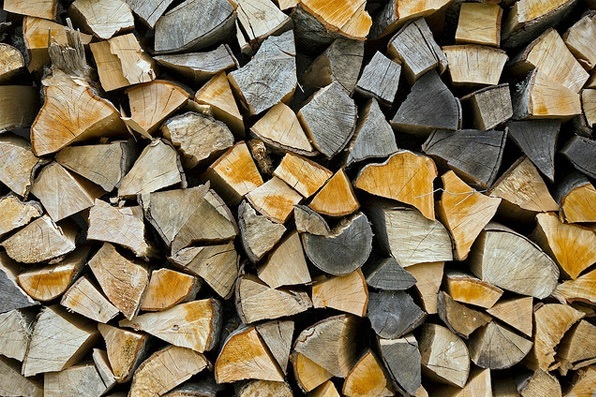
You want your wood size to be manageable, and smaller than what you would use for a fireplace. We’re talking split wood pieces with a diameter of about about 3″ max and 12-16″ long tops (Some folks like them as short as 7″ if you are working with a smaller oven.) If you buy your wood by the cord, you can ask to have it double split to get pieces of this size and save you some effort and ax work. Curing can take 6 months to a year to achieve, depending on factors like how dry your wood is when it starts, humidity levels where you live, how protected it is from rain and snow, etc.
You will also want some smaller pieces for kindling — about 5-6″ long and a couple of finger-widths thick. These will light quickly, but also burn long enough to get the larger pieces of wood started.
Learn more about choosing the right wood by clicking here.
Starting the Fire 1 – The Classic Teepee Method
How you light a fire is a personal thing, but at its root, it’s about balancing 3 elements: the fuel, the spark, and the air.
For this method, start in the center of the oven floor, and begin by taking some dry tinder (paper or a taste and odor-free fire starter) and place it in a small pile. Next, place smaller pieces of kindling around it in a teepee shape, resting it gently on the tinder. Once the structure is stable, add some larger pieces (fuel wood) to the outside of the structure (not too much and leave plenty of air gaps.) Light the tinder with a long match, propane torch, or long tube lighter.
Once the fire has gotten going, you can either add more wood to the sides where it is, or push it back towards the wall of the dome before adding more fuel. Continue feeding your fire and letting it burn until the top of the dome is clear/white and all of the soot has burned off.
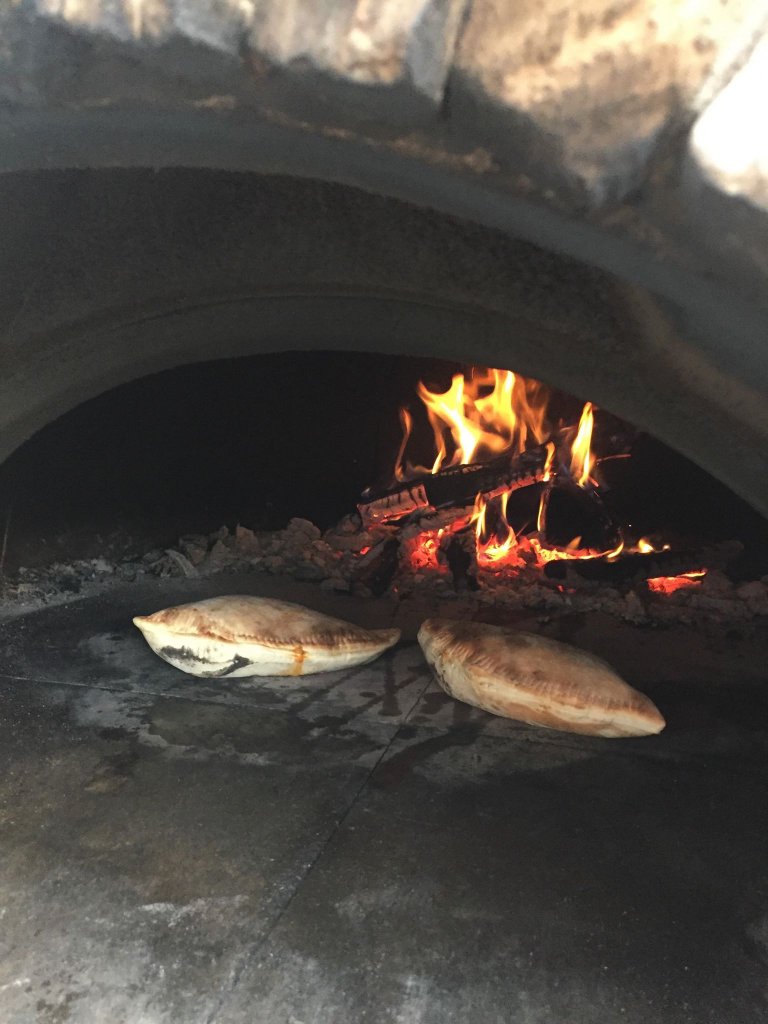
Teepee fire after it is going strong. Note how the angles of the wood allow for more air flow.
Starting the Fire 2 – The Raft Method
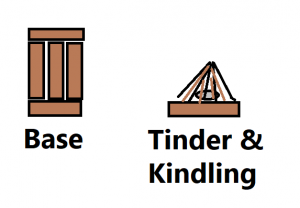
In this method, you are building a “raft” of wood as a base (3 pieces across and 1 piece perpendicular at the back and back of the raft.) Next, build the teepee on top of the base. You can build the raft near the front of the oven where it is easy to reach, and the once it is started, gently push the base deeper into the oven near the wall with an oven rake. The kindling will fall over onto the base and light that wood as well. Additional wood can be added at an angle, resting against the base or oven wall to maintain the air gaps needed for the fire to burn. This method works best with larger ovens. Be sure to use heat resistant gloves when working with any fire!
Keeping Consistent Temperatures
Once your fire is burning and the dome and floor are hot, you can brush ash off of your oven floor and begin cooking. However, if you are going to be cooking for awhile, you will need to add more wood to your fire. A pro tip that many chefs use is to place a piece of wood in the oven – on the opposite side away from the flames – before you need it. Being in the hot oven preheats the wood. When your fire starts to burn down, use a pair of tongs or long, fire-resistant gloves (welding gloves work well for this) to place the prepped piece on the coals. Because it is already warm, it will catch quickly with very little smoke, and will help keep temperature ebbs and spikes to a minimum.
If you are going to take a break in your cooking, some chefs like to pull some coals out onto the oven floor. When you are ready to start again, simply push them back and brush off the surface . This is an optional step, but you will learn your oven’s preferences over time to get the best results for your style of cooking. Do think ahead to the next day. Because the oven will continue to release heat for hours, you can use your oven to make a stew or roast as it cools down, or even bread and cinnamon rolls for breakfast the next day without adding any extra fuel.
Final Note – Over Firing
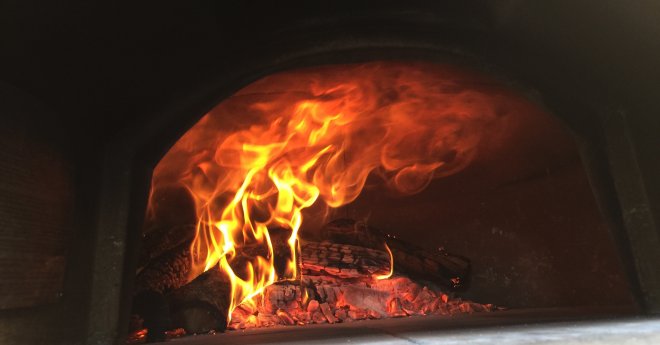
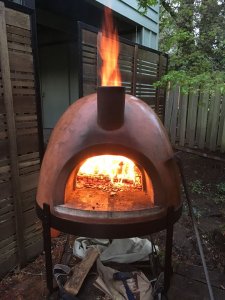
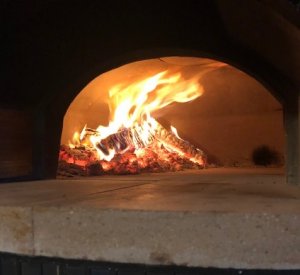
Wood fired ovens are very efficient. Cool air coming in from the mouth of the oven feeds the fire, and the warm air and smoke are sucked out of the vent. For a small or mid-sized oven, you will only only need about 4-7 pieces of wood total to fully heat your dome. If flames are coming out of the mouth or the chimney, your fire is too big! This may look exciting, but over firing can damage the oven (or you,) as well as making a real mess, and it won’t warm your oven faster, because the refractory materials need time to absorb the heat fully.
Another important safety note: Do not close the oven door fully when wood is burning inside of the oven. Fire needs air flow. Closing the door can cut off the oxygen, and when the door is opened, the fire can suddenly erupt and flair dangerously!
Too much fire!
Just Right!


