How to Install a Forno Bravo Oven Kit
Jul 28, 2022Quick links:
Optional steps (see notes below):
This article shows you how to assemble a Forno Bravo Modular Oven Kit. We’re using a Cucina stand (available for purchase) for the oven base in this tutorial, but you can configure your base however you wish, so long as it supports the oven’s weight and is made with non-combustible materials.
Notes on Stucco:
Also, the stucco-style finish used in these instructions is optional, since the external facade can be customized to your liking. We are including stucco in this tutorial because it is the simplest design that you can apply to your oven.
Let’s get started.
1. Install the floor insulation and firebrick
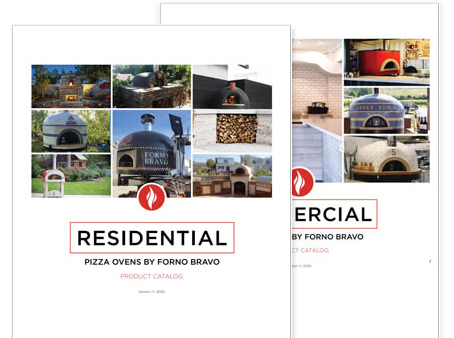
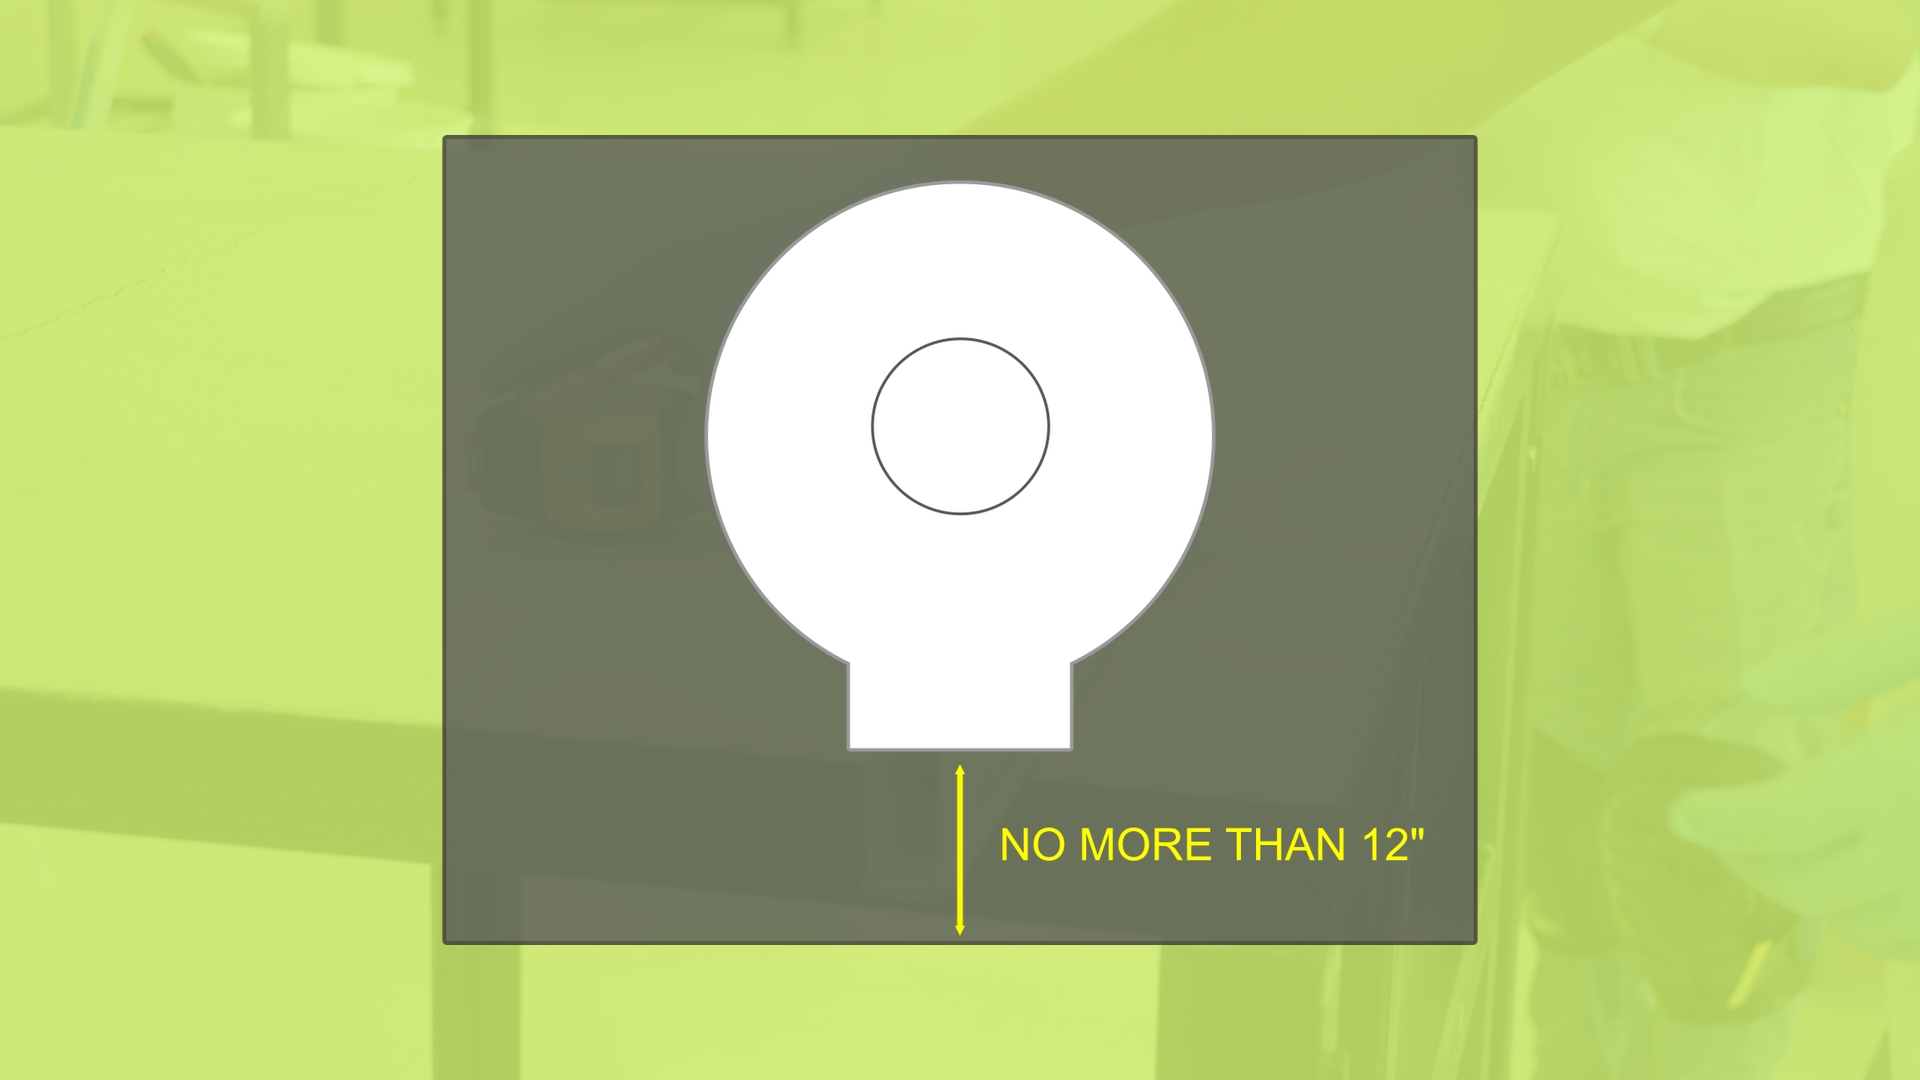
- Decide which way to orient your oven and select where the front will be. Measure a minimum of four inches inward from the front edge of the Cucina stand base. Mark that measurement with a line. If you want more of a hearth, make a deeper line.

- NOTE: your landing should NOT exceed 12 inches; otherwise, it will be difficult to use the oven.
- Leave enough space at the back of the base for the oven to fit on the counter or stand completely.
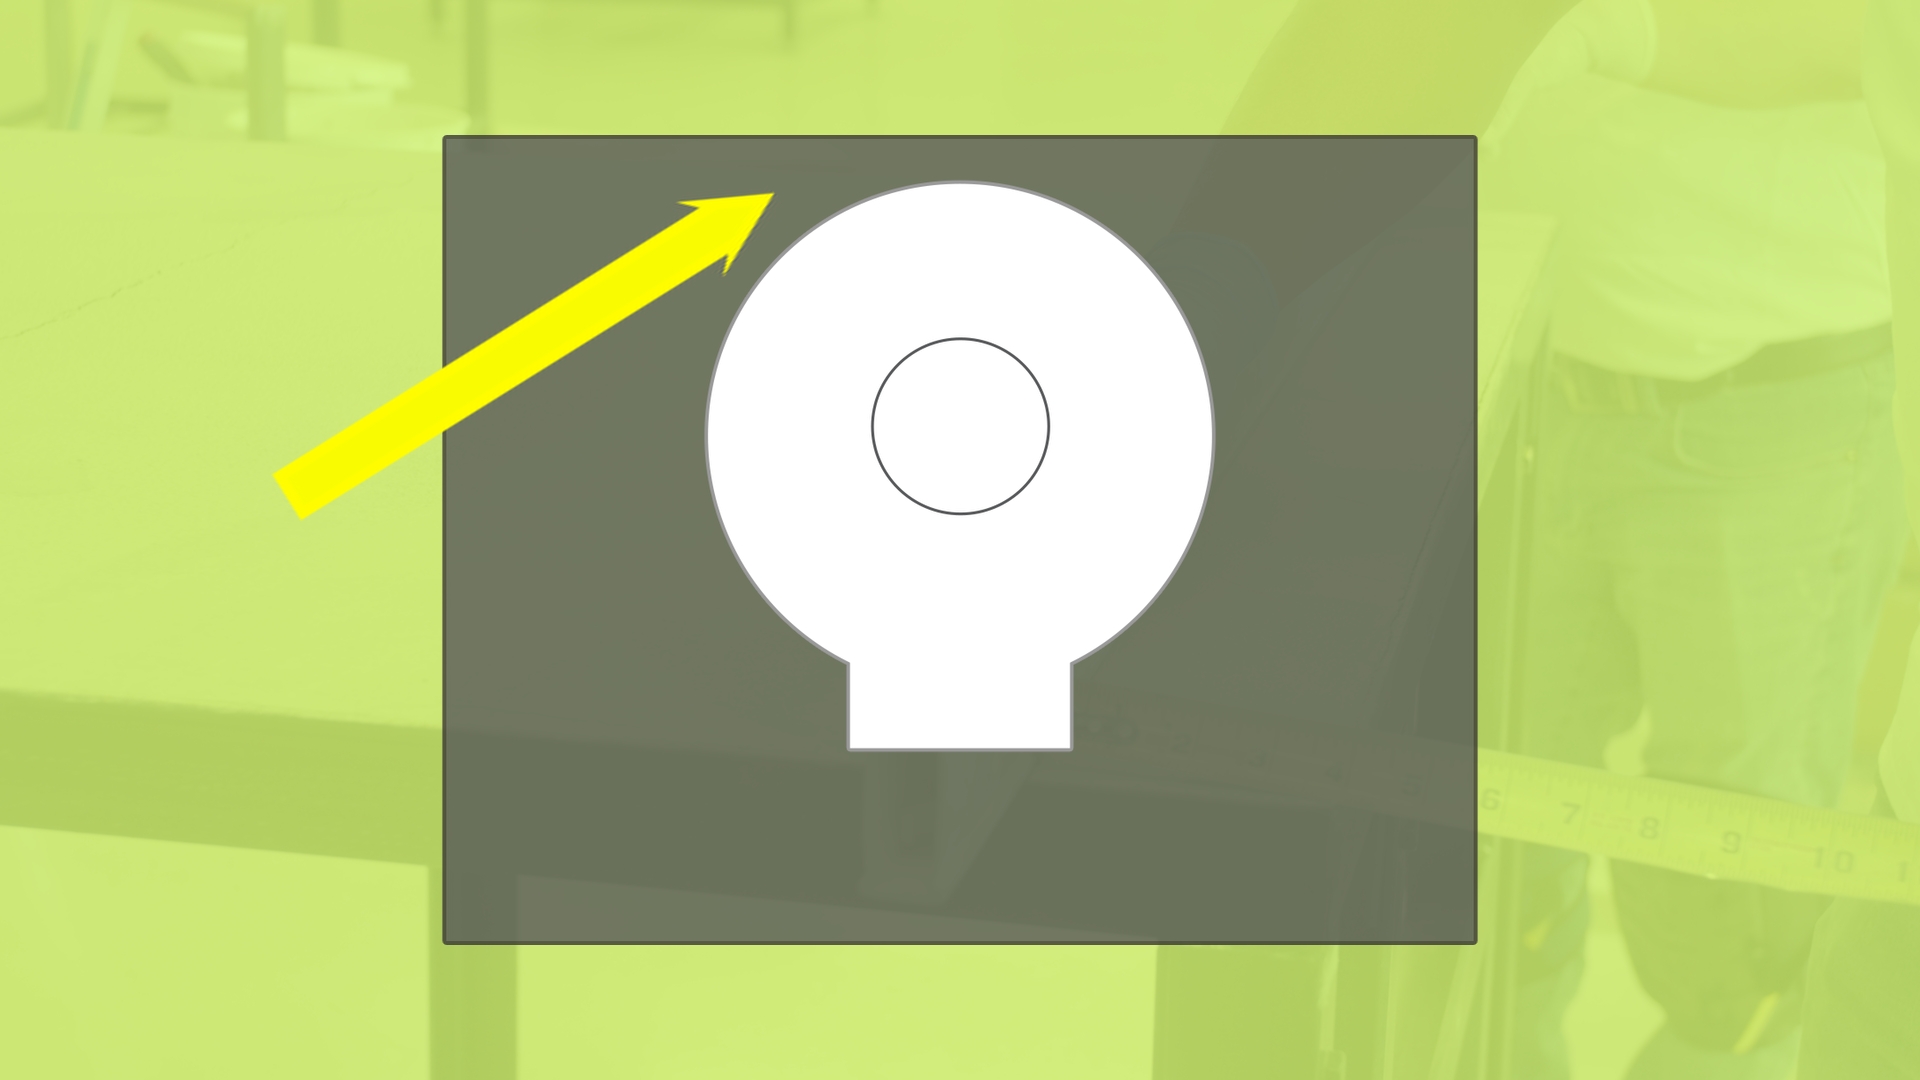
- Next, place the ceramic fiber insulation board on the stand. Line it up along the measurement you previously marked.Warning: Always wear a mask, gloves, and safety glasses when working with ceramic board insulation. Wash your hands and clothes after working with insulation to remove any fibers or residue that can irritate your skin and eyes.
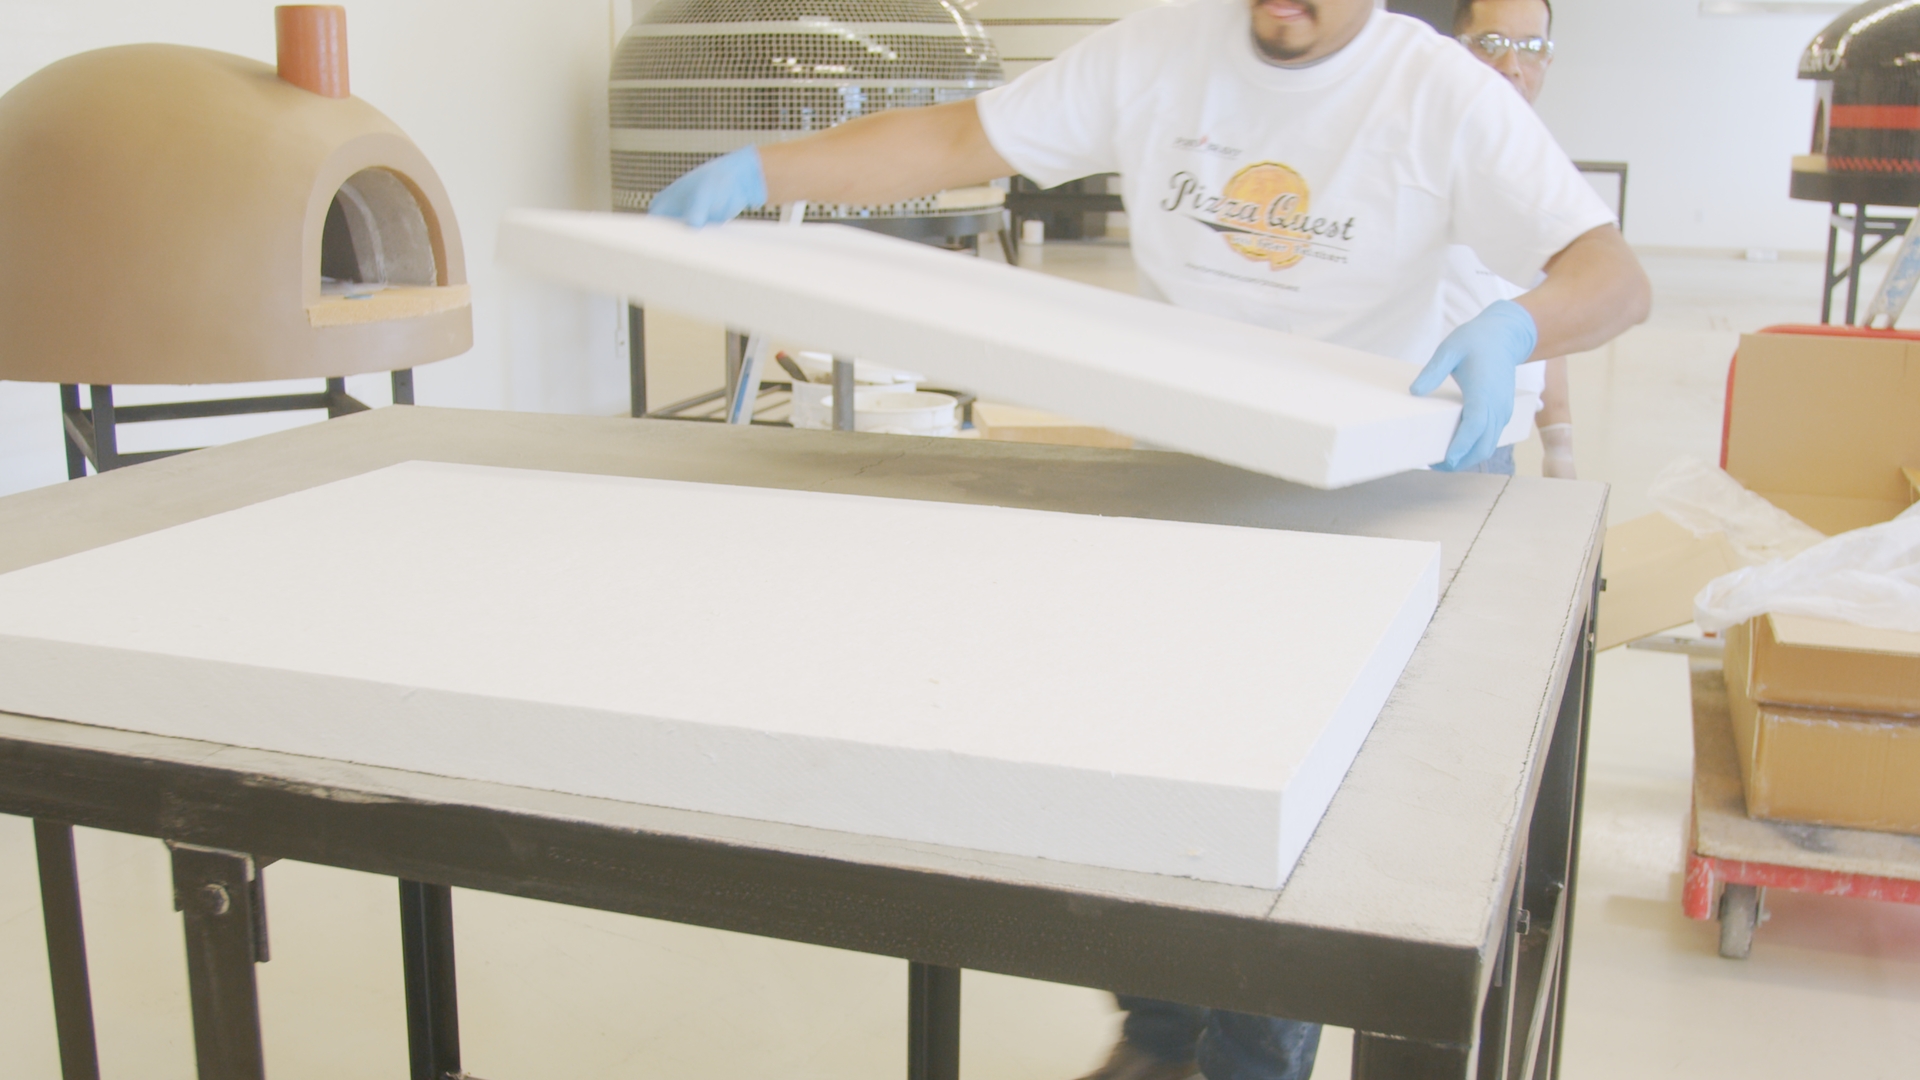
- Use a razor blade or jigsaw to trim the insulation board to fit the stand.
- Measure the halfway point on the stand in the front of the oven, where you will place the middle of the oven floor.
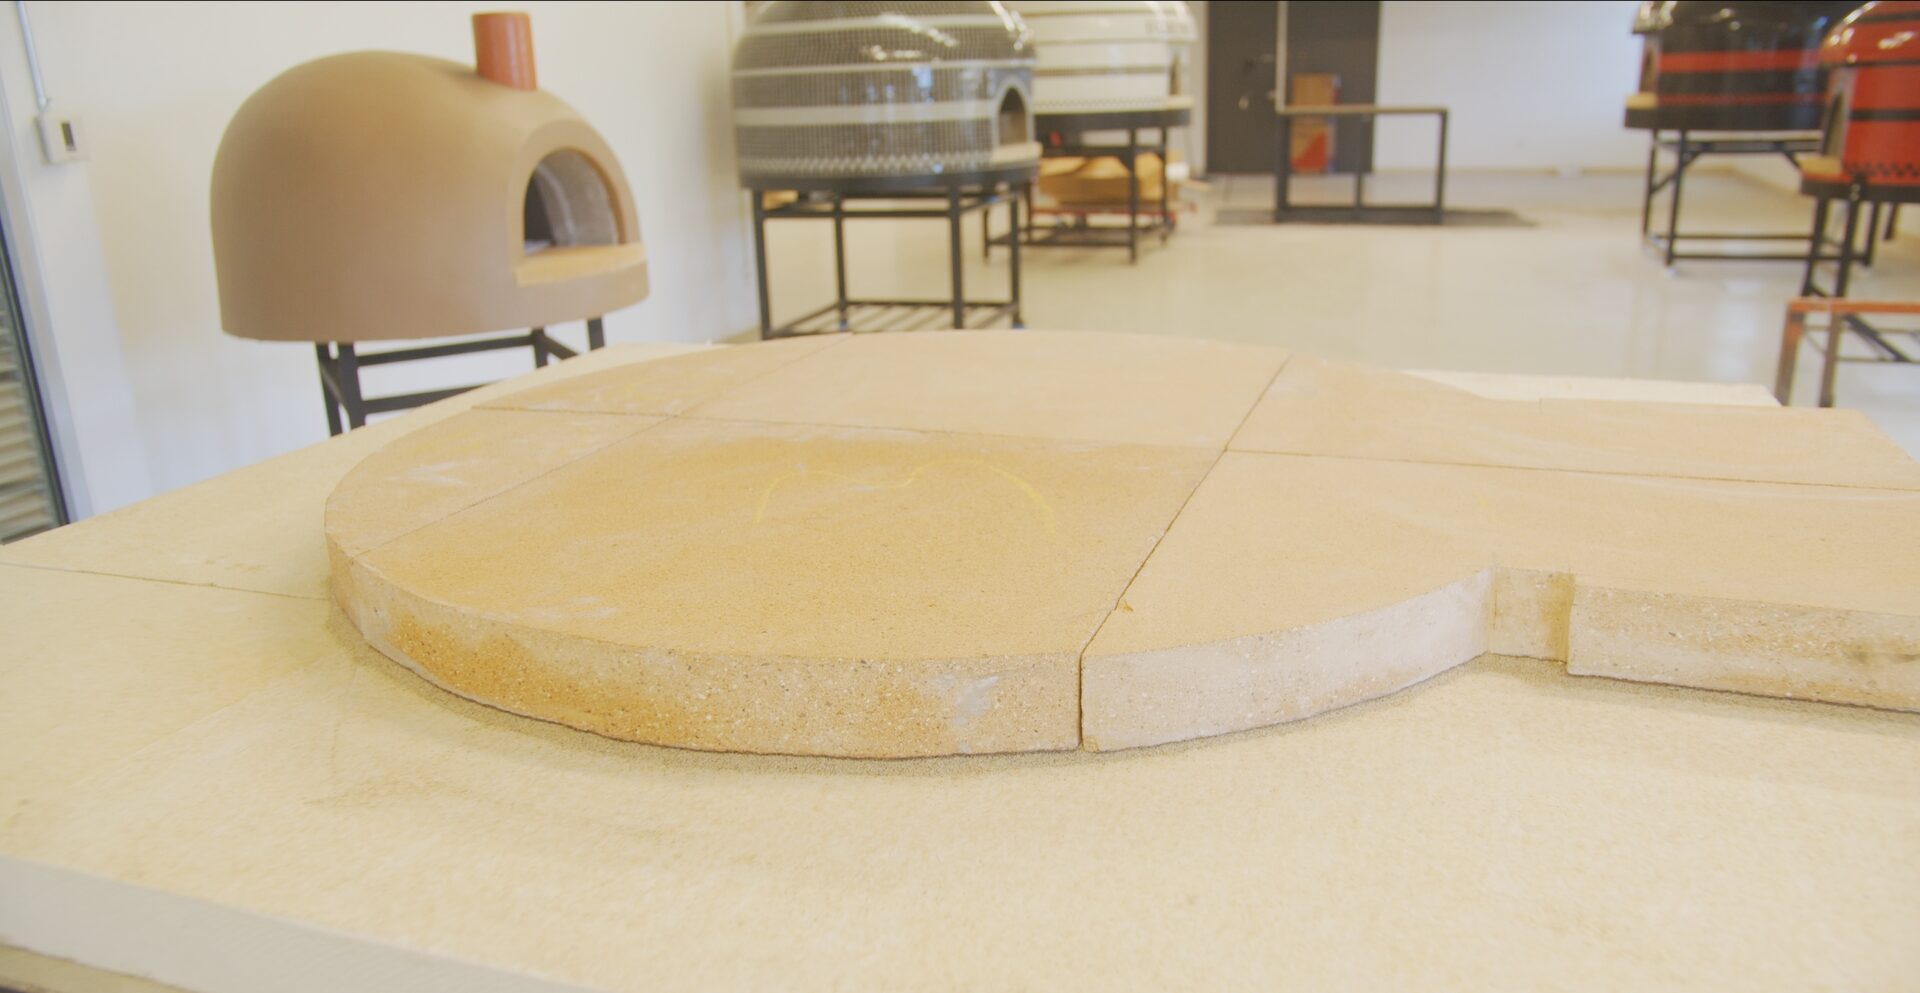
- Lay down the firebrick floor and trace the outer shape.
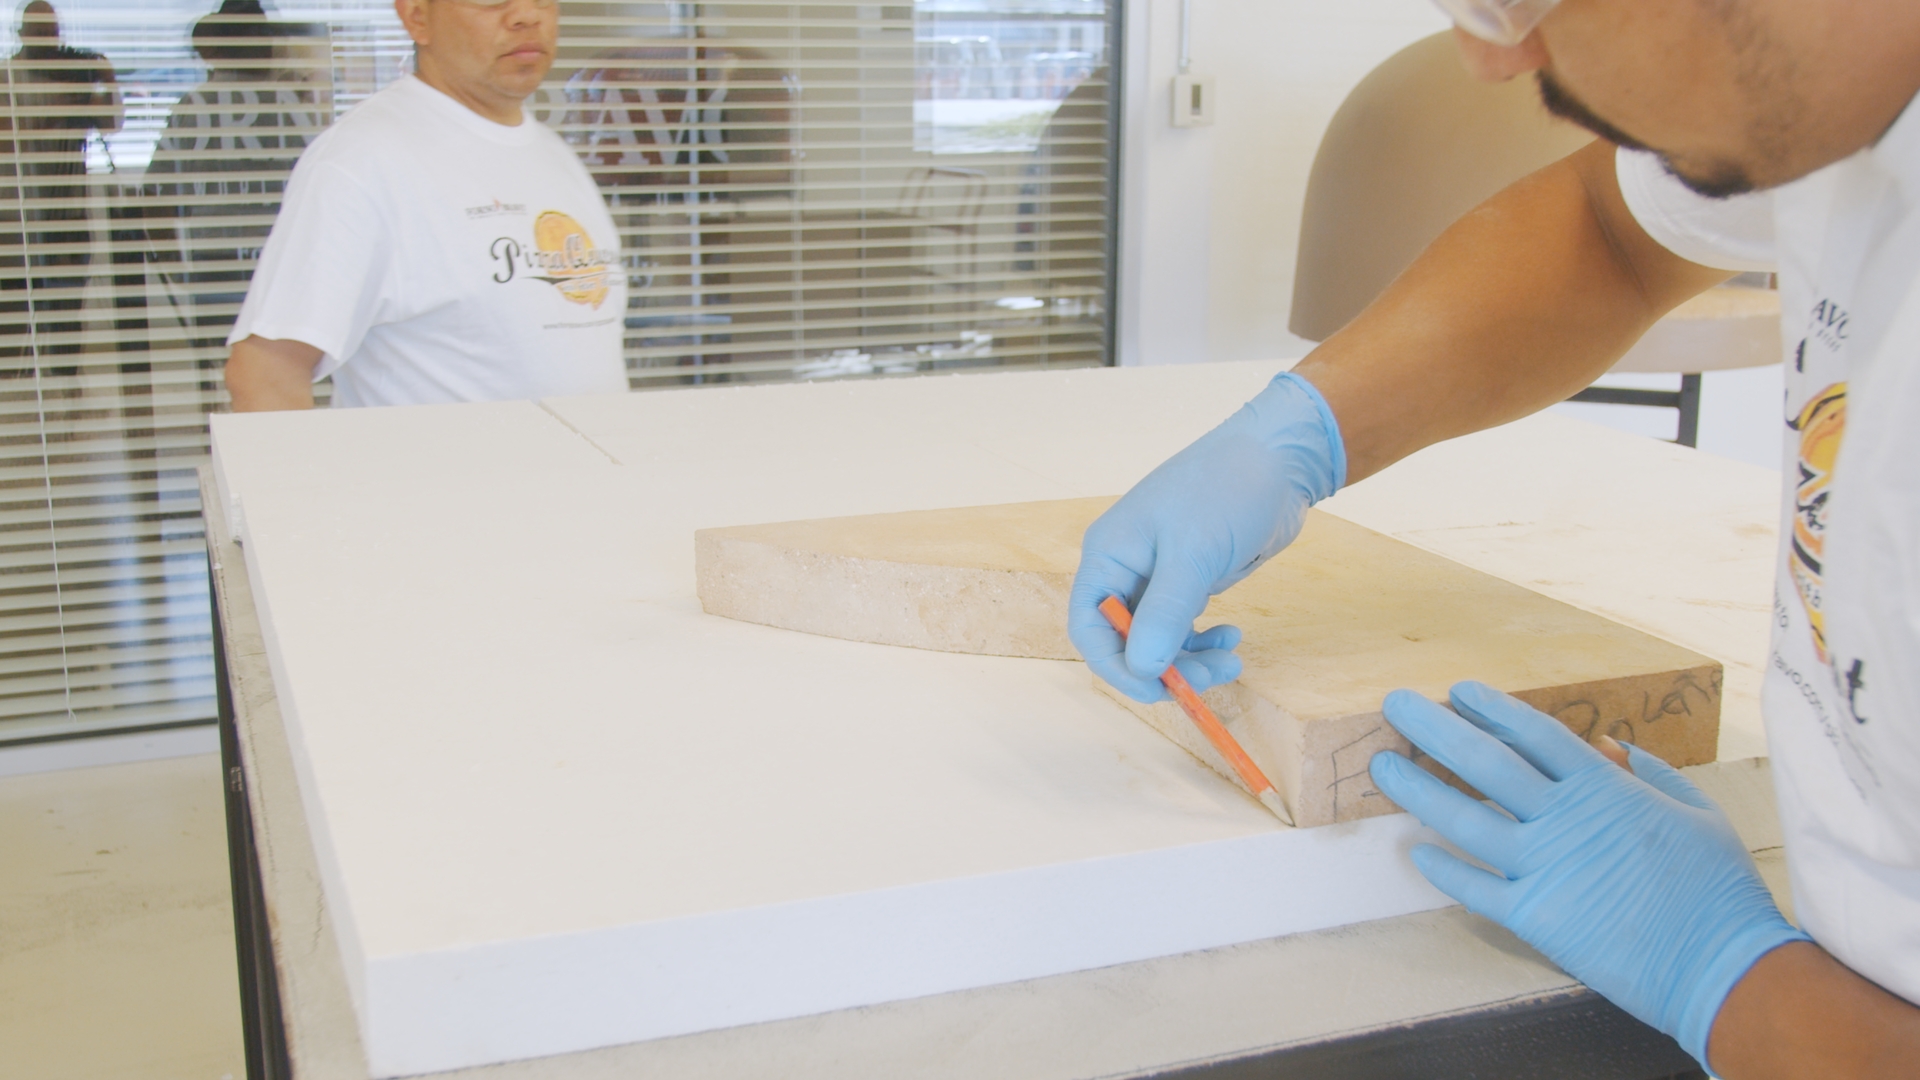
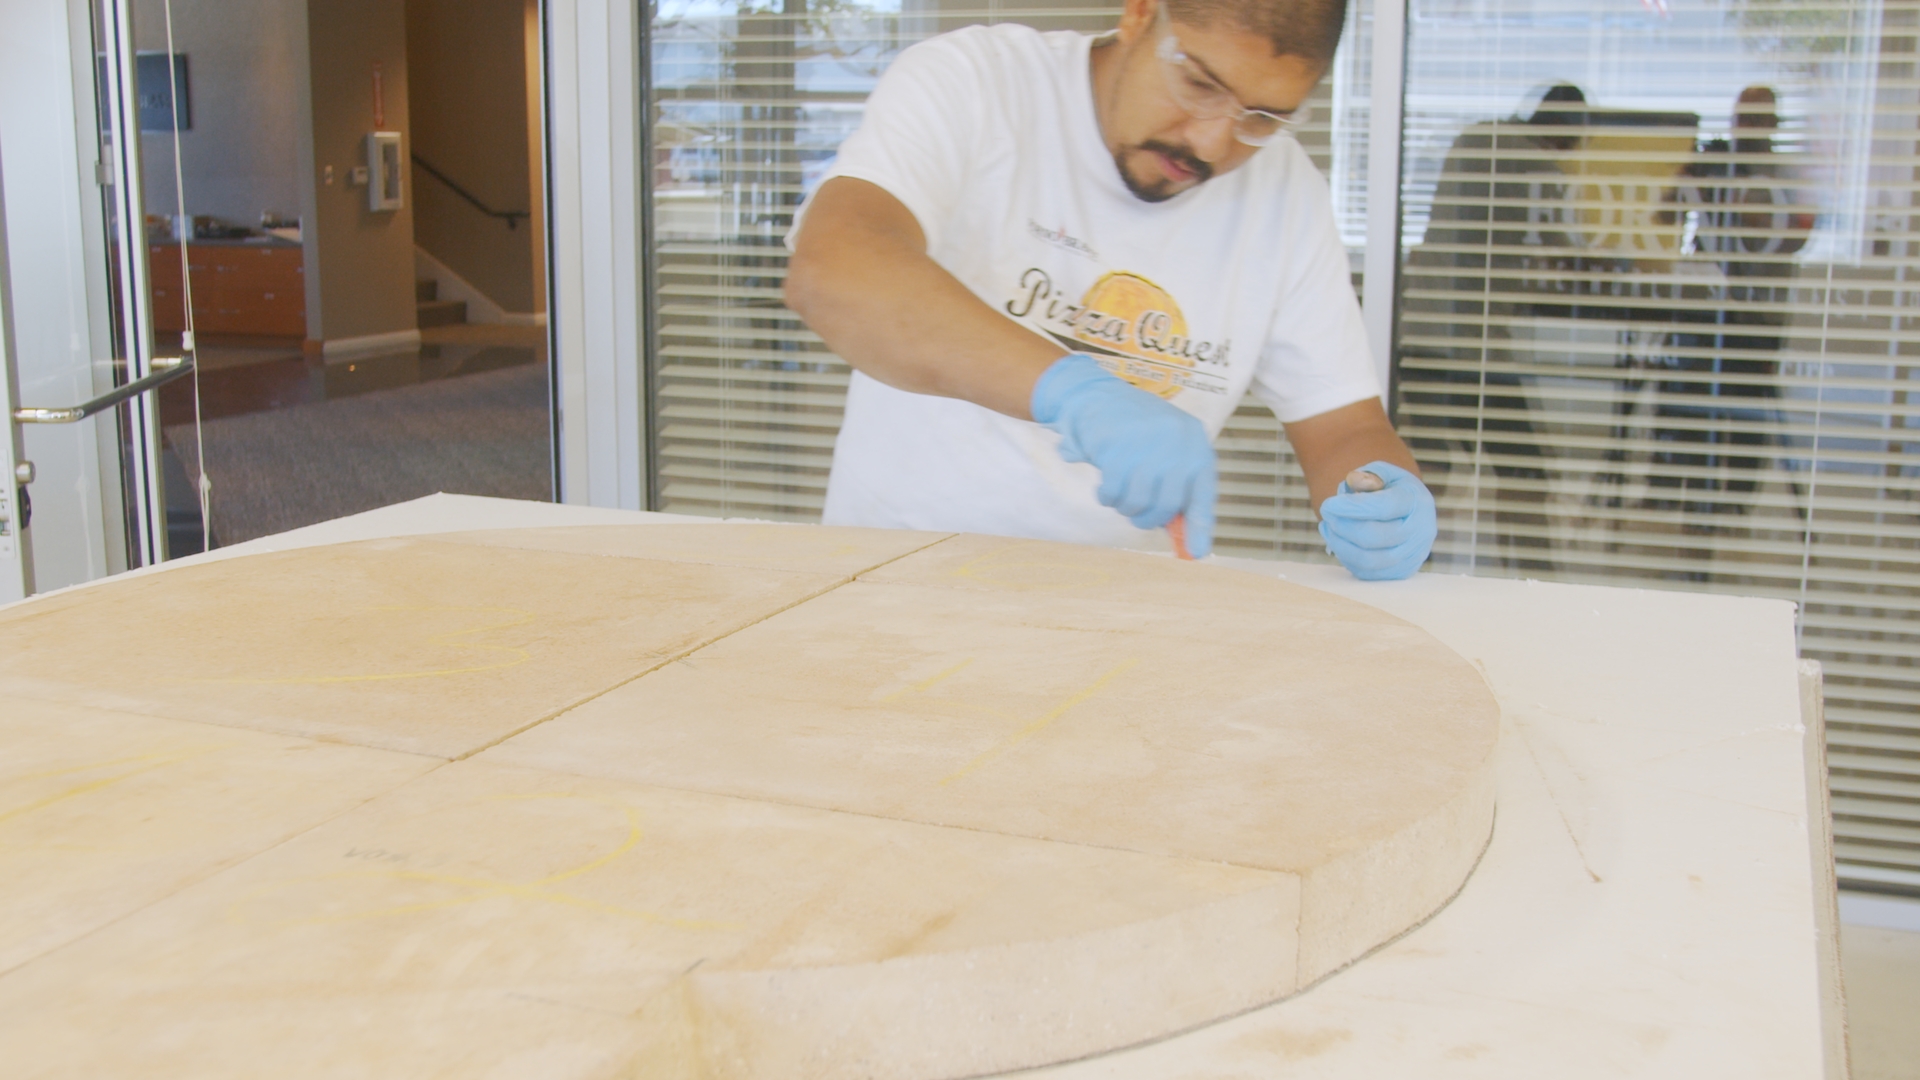
- Then, remove the floor pieces, but leave the insulation in place.
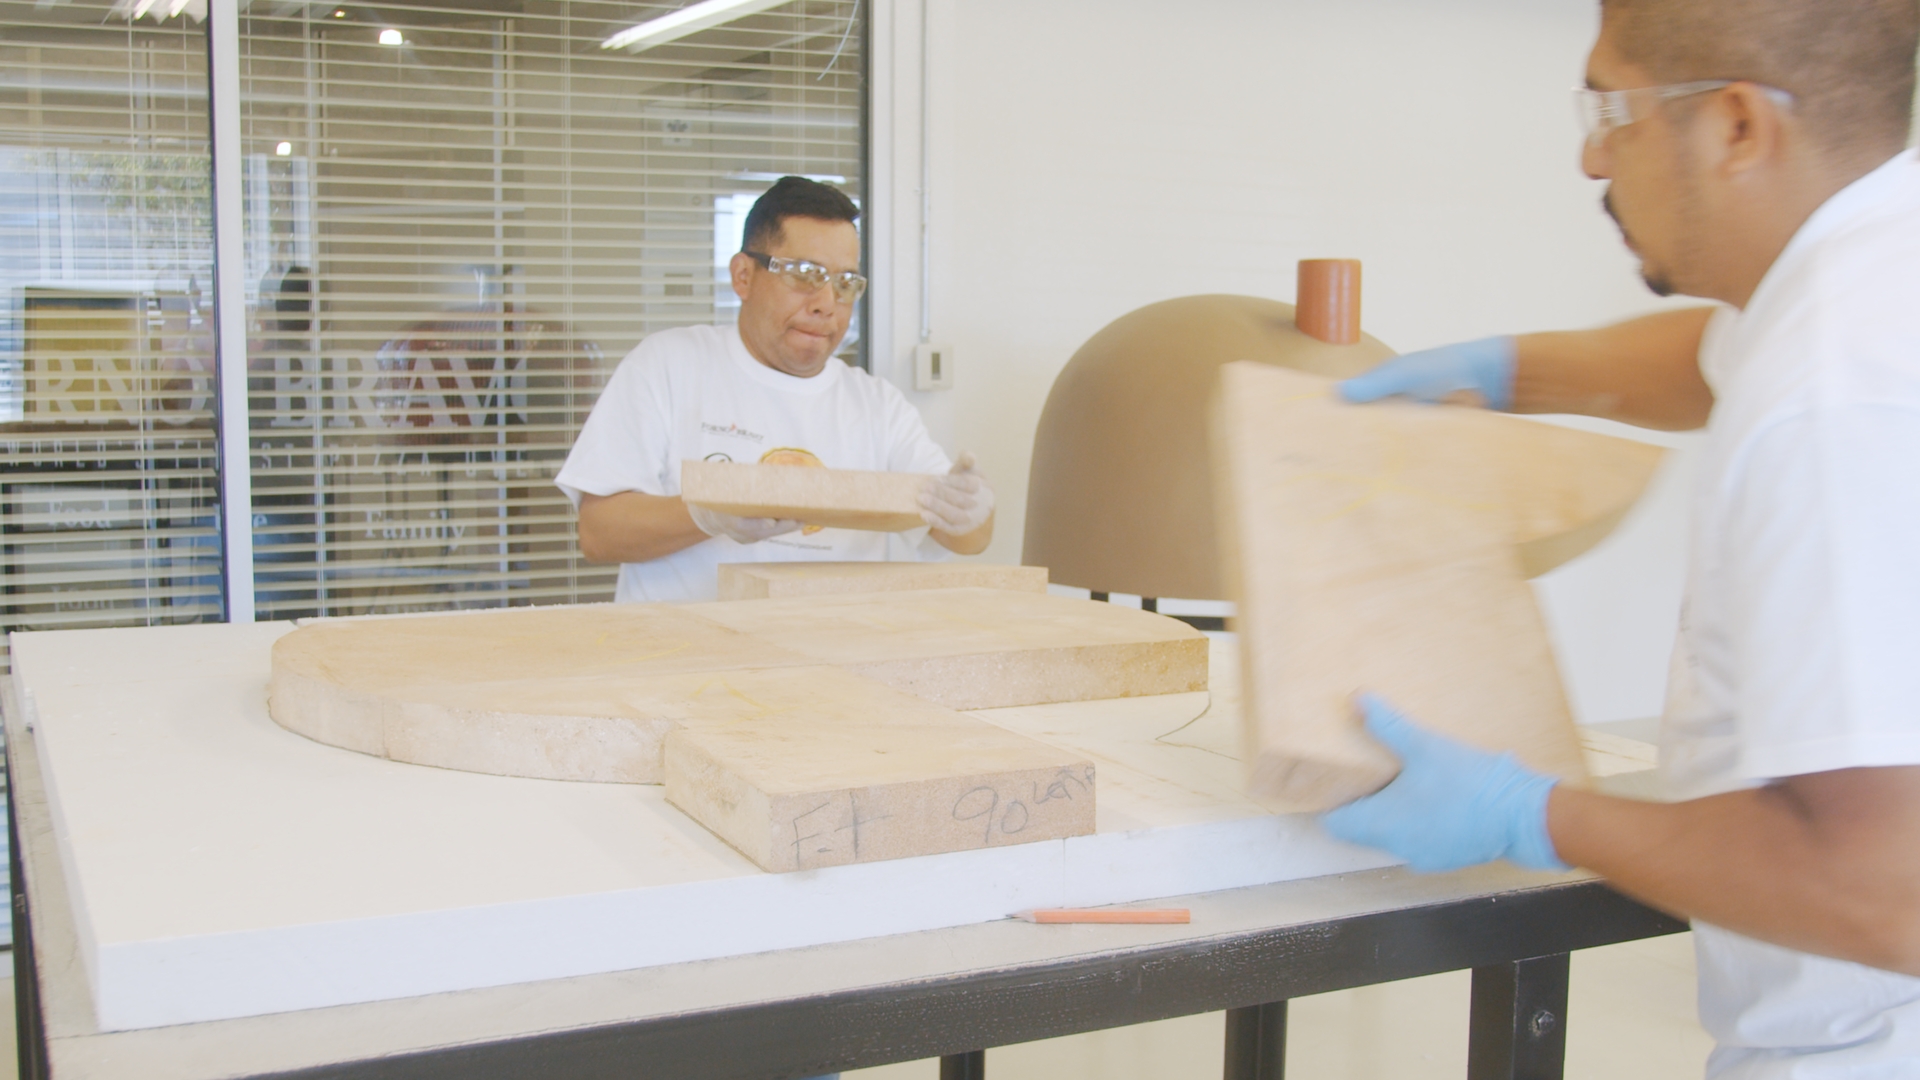
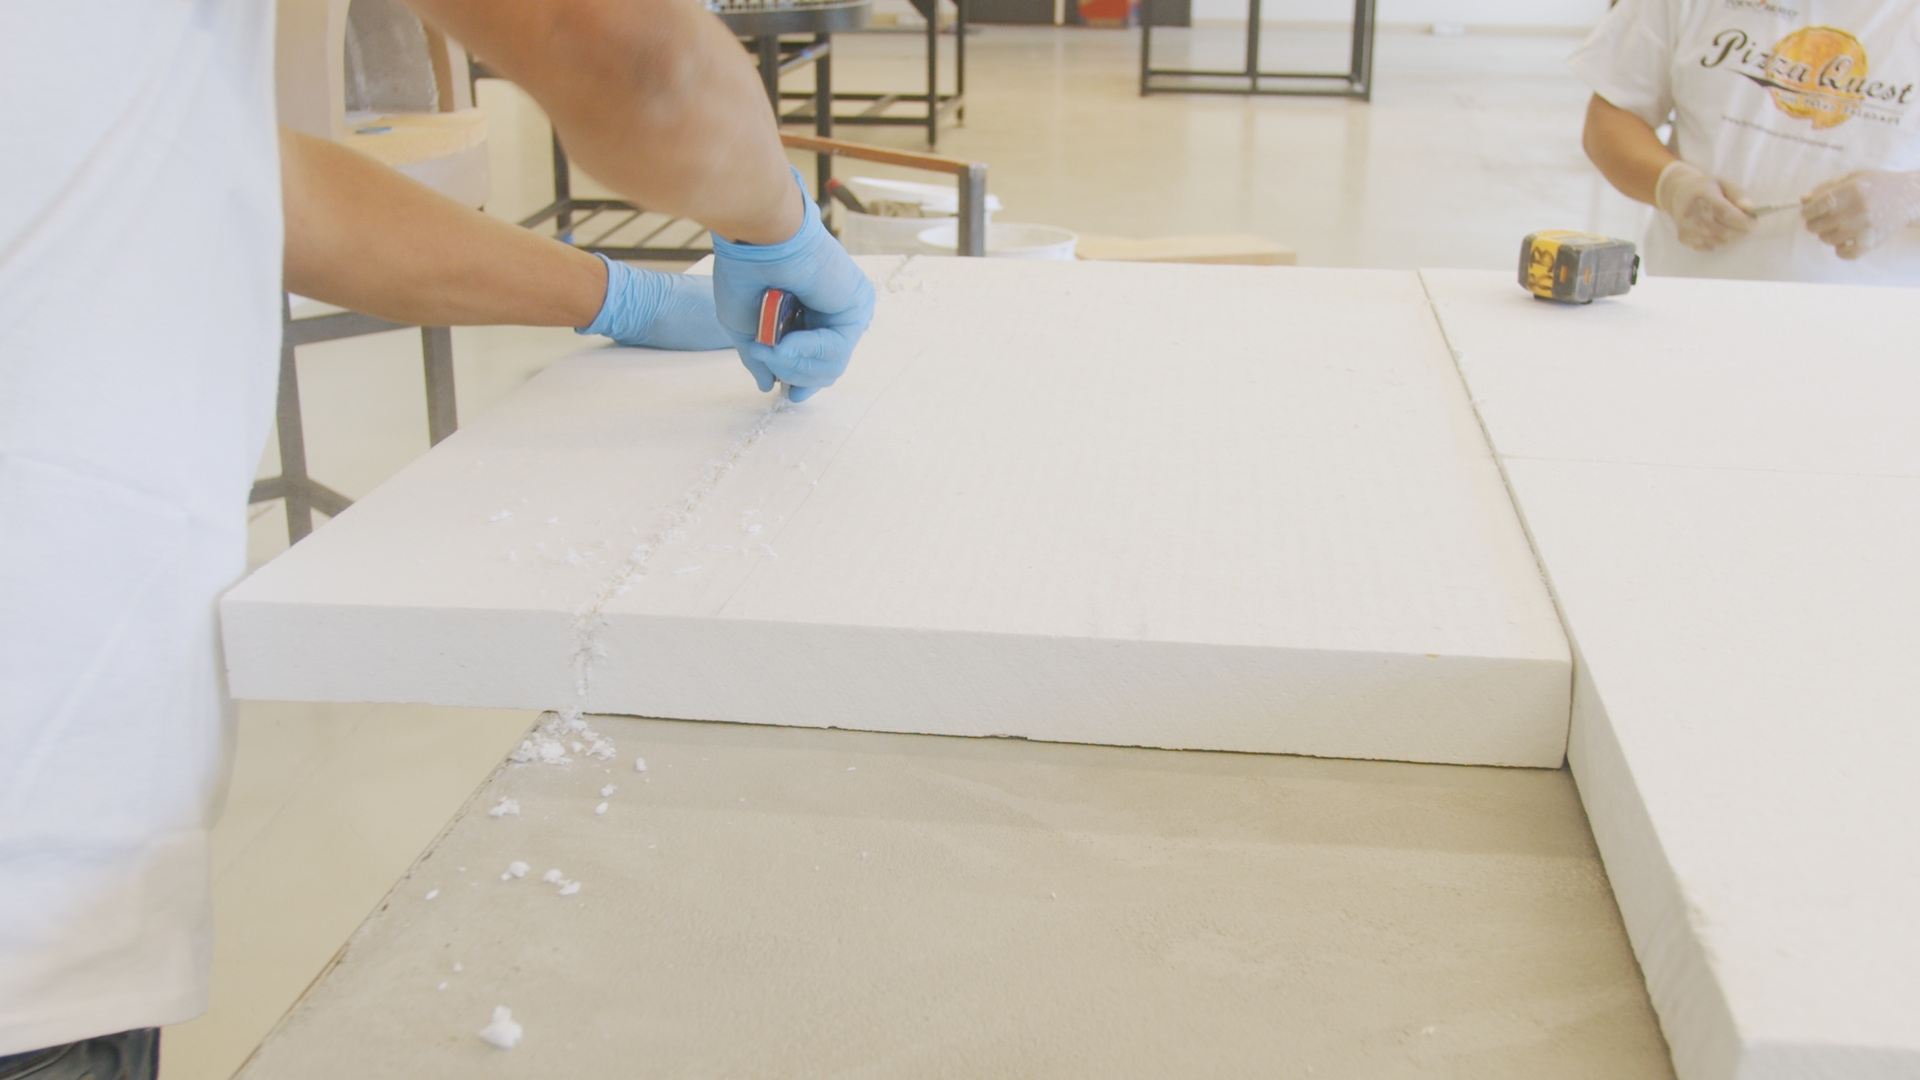
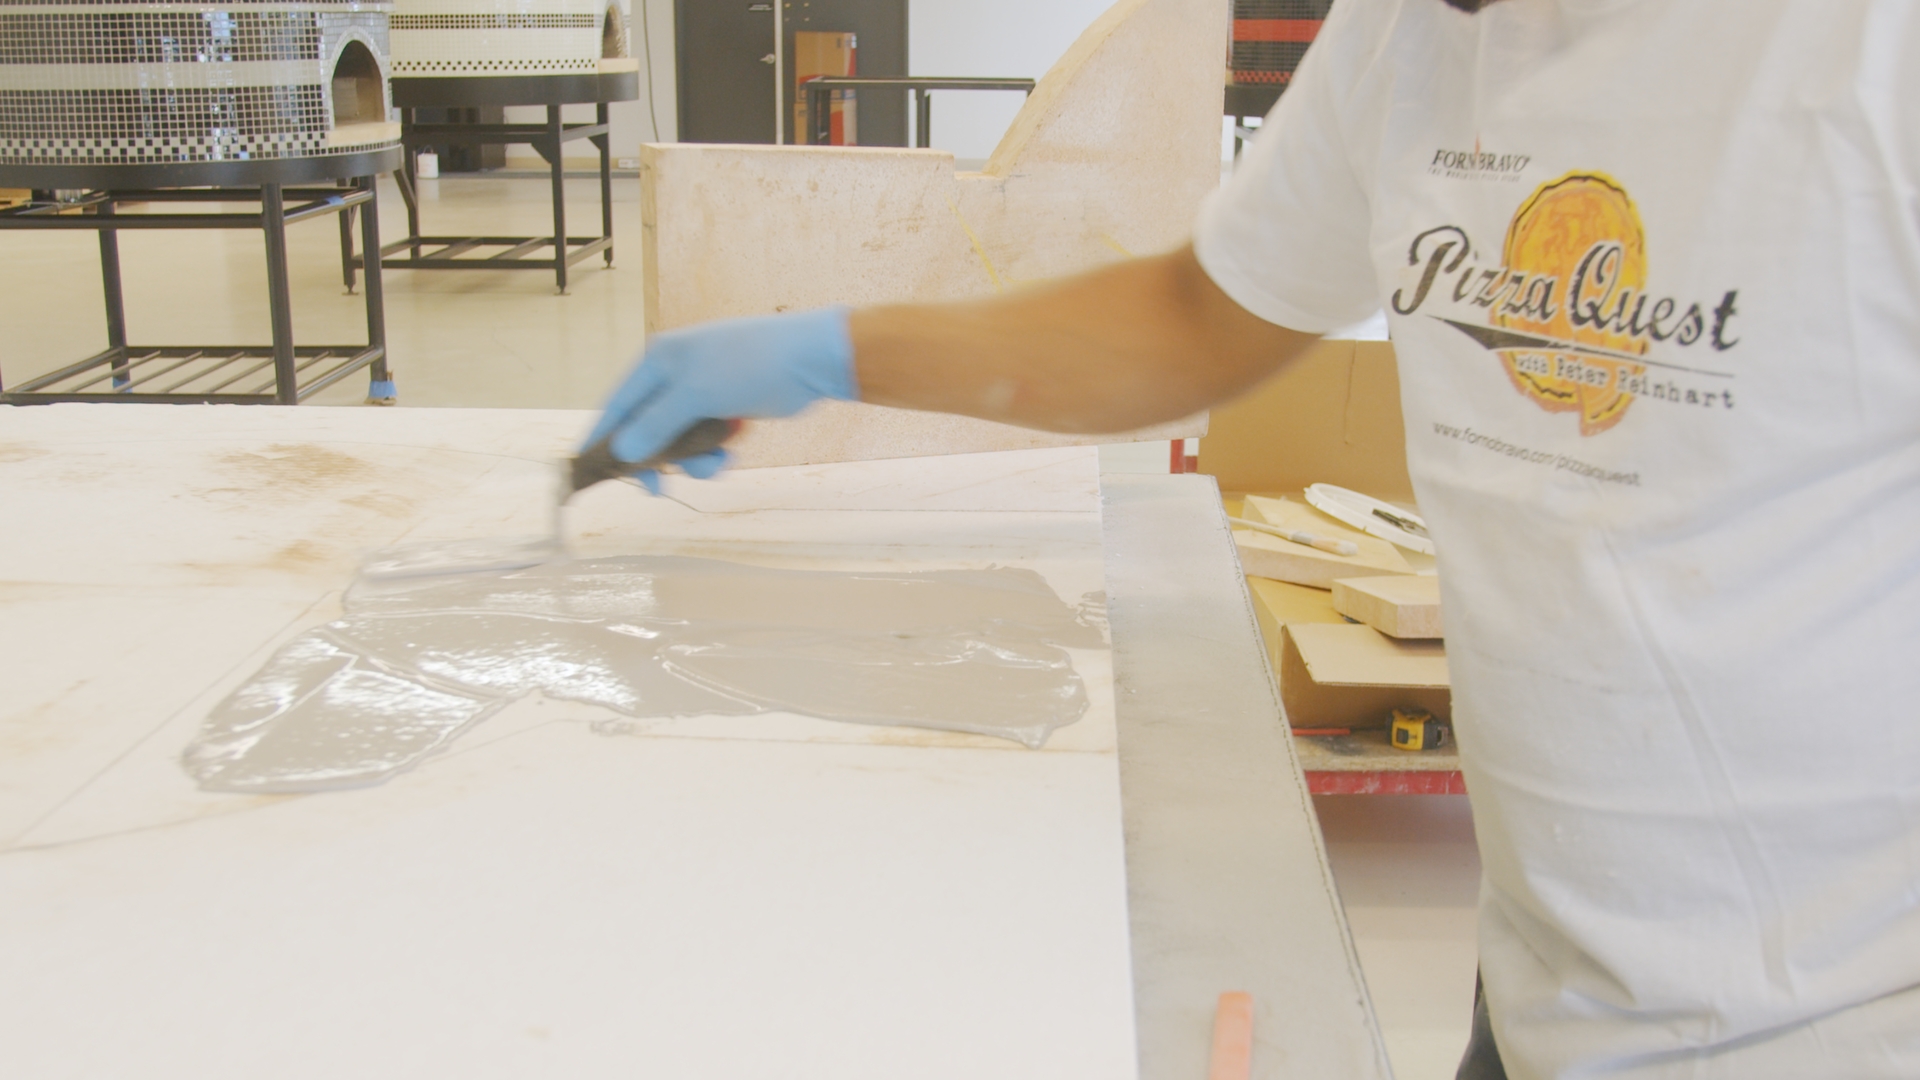
- Now, you are ready to set your floor, one brick at a time. To begin, use your hands or a notched trowel to apply a thin, 3/8-inch layer of 60-mesh fine sand on the designated section for each firebrick floor piece.
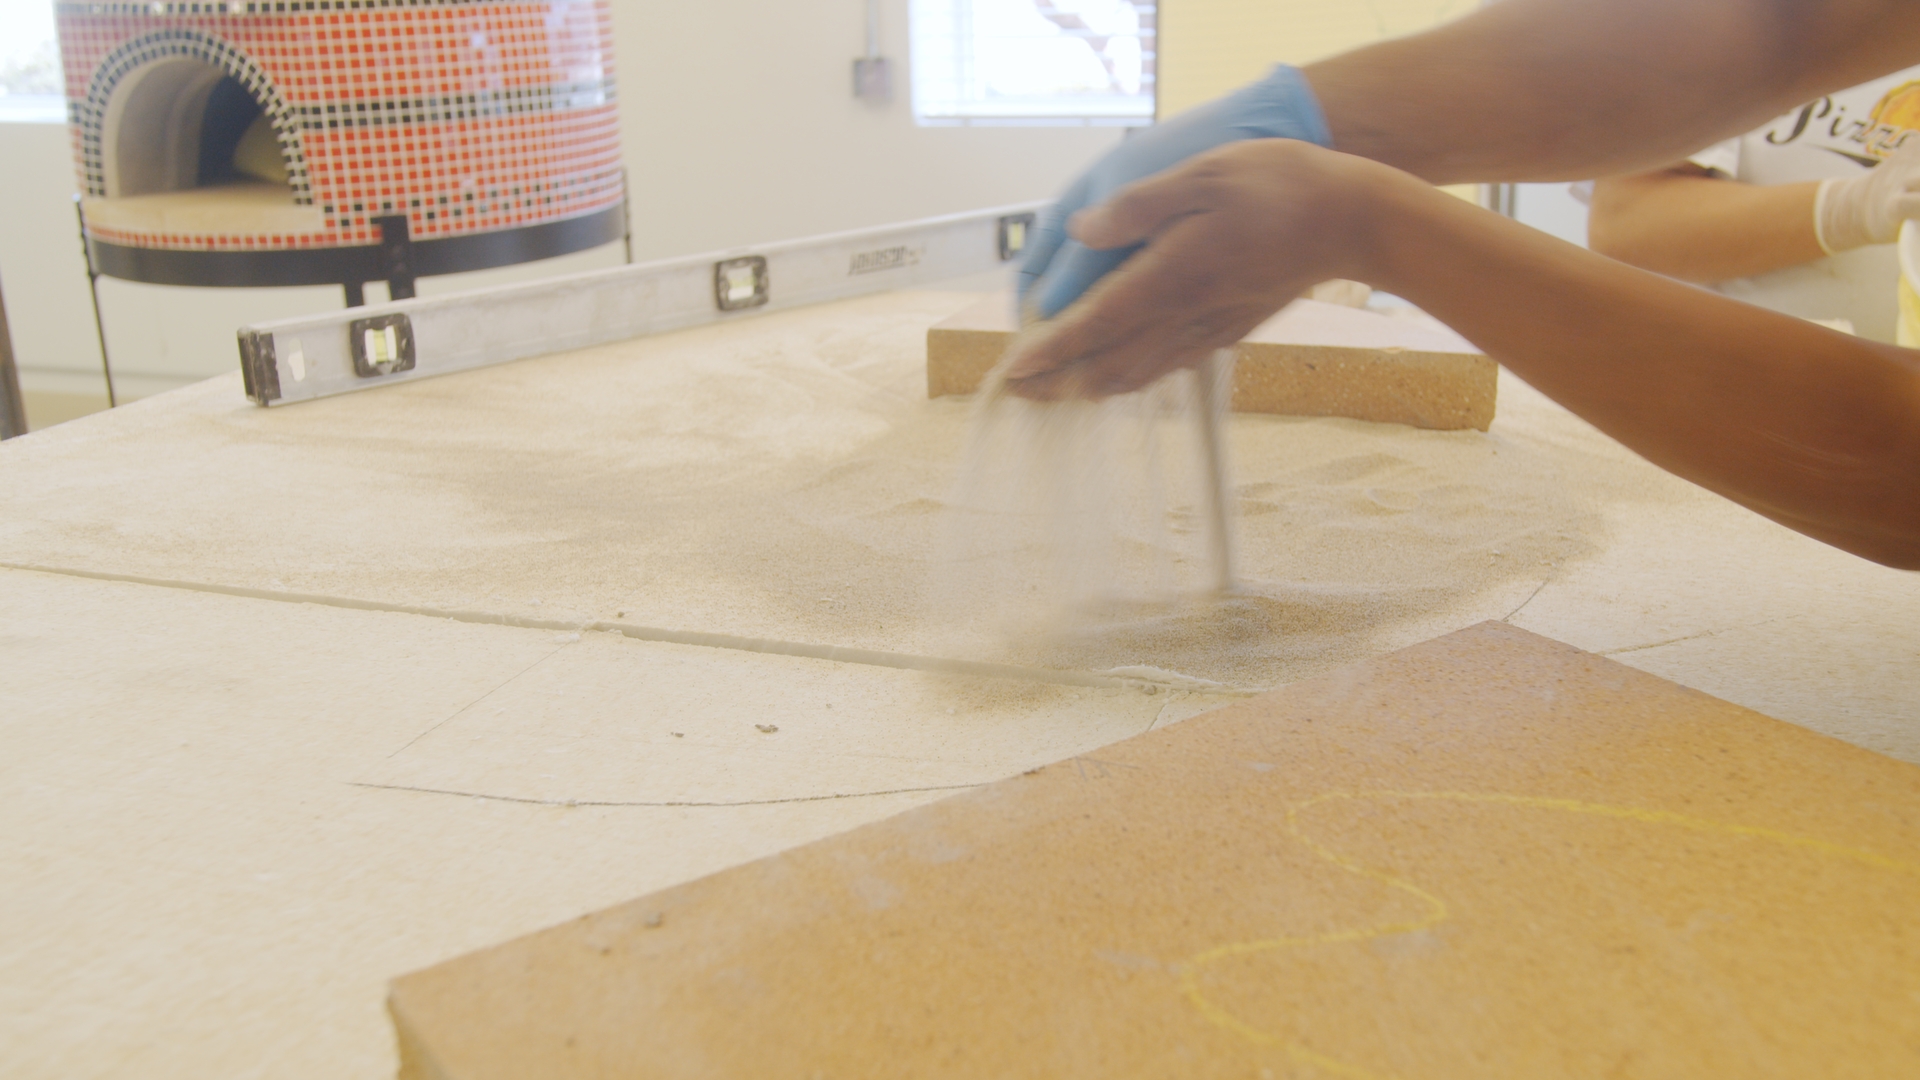
- Place the firebrick piece on the sand. (The sand provides great heat connectivity to the cooking floor.) Brand specifics may vary, but you will use about 50 pounds of 60-mesh silica sand for one oven.
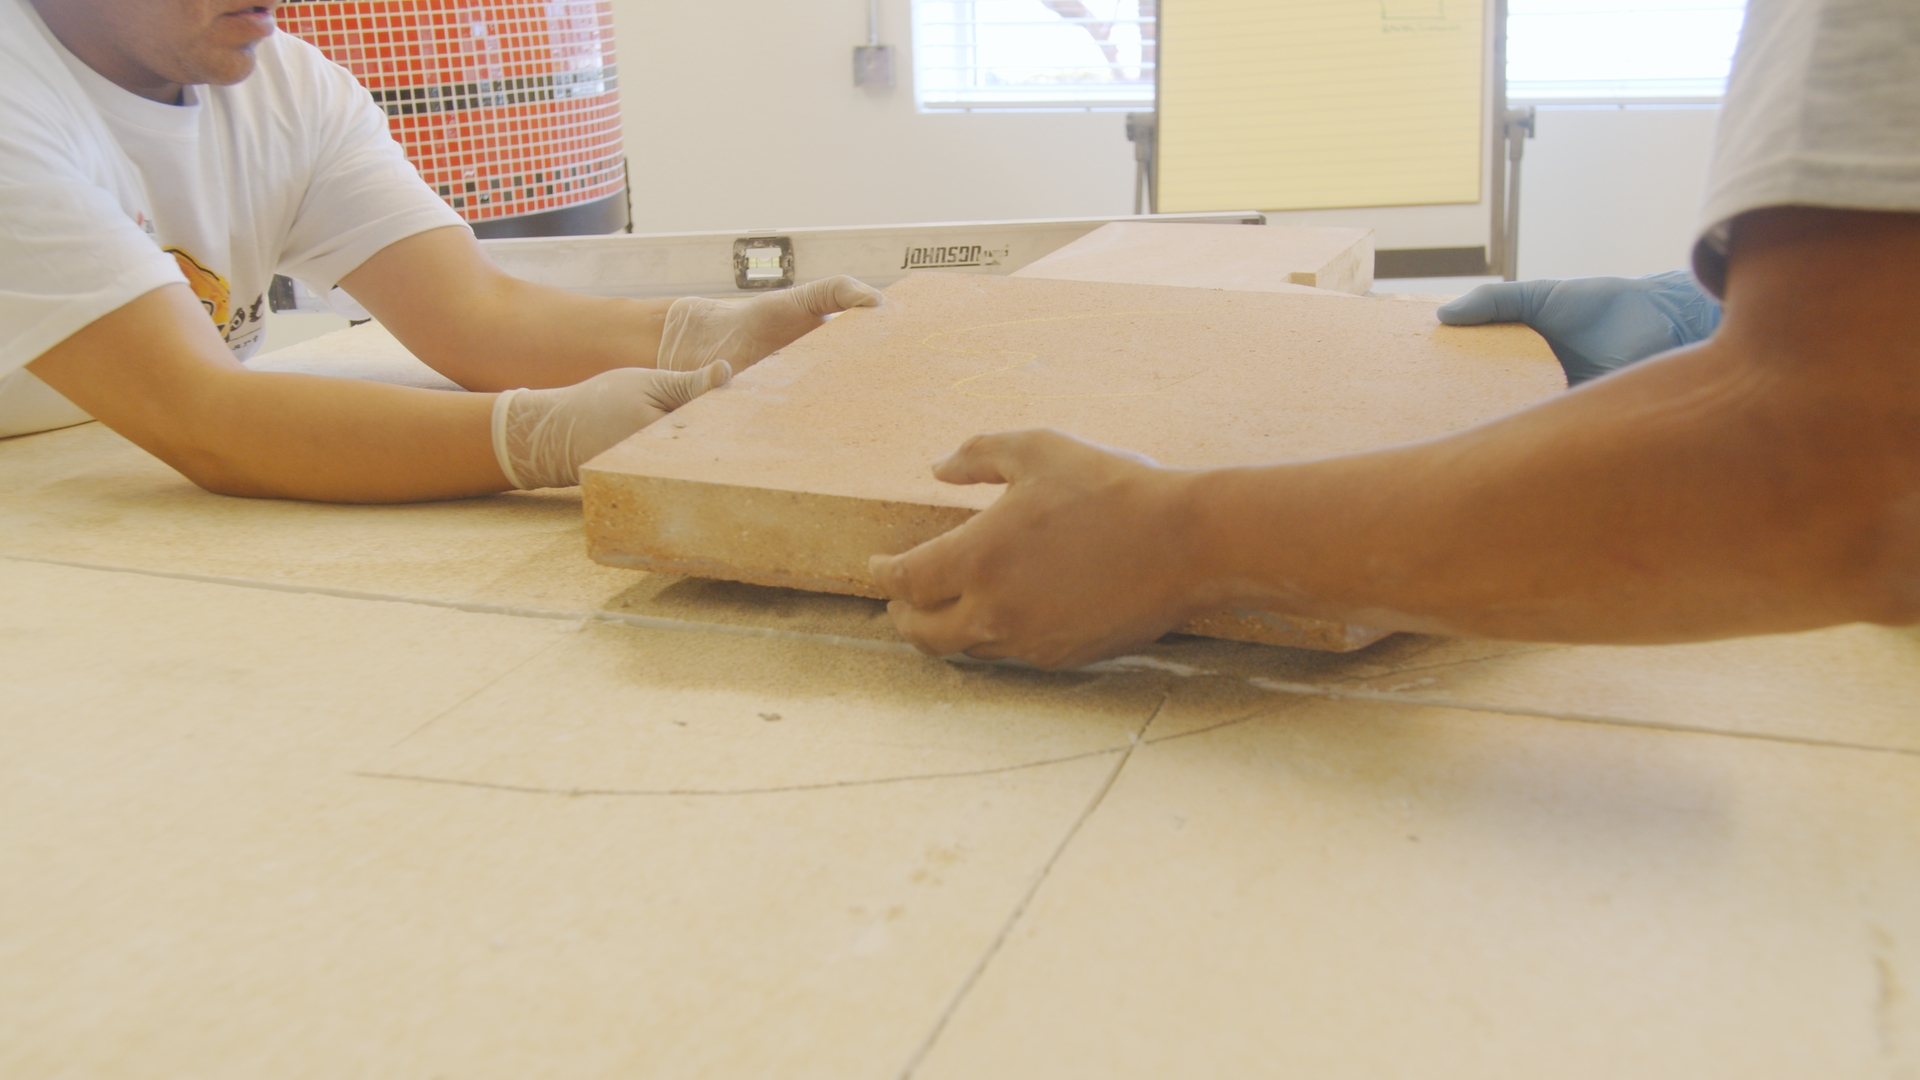
- With a bubble level, make sure everything is even. Repeat this process until you place all of the firebricks with sand underneath them.
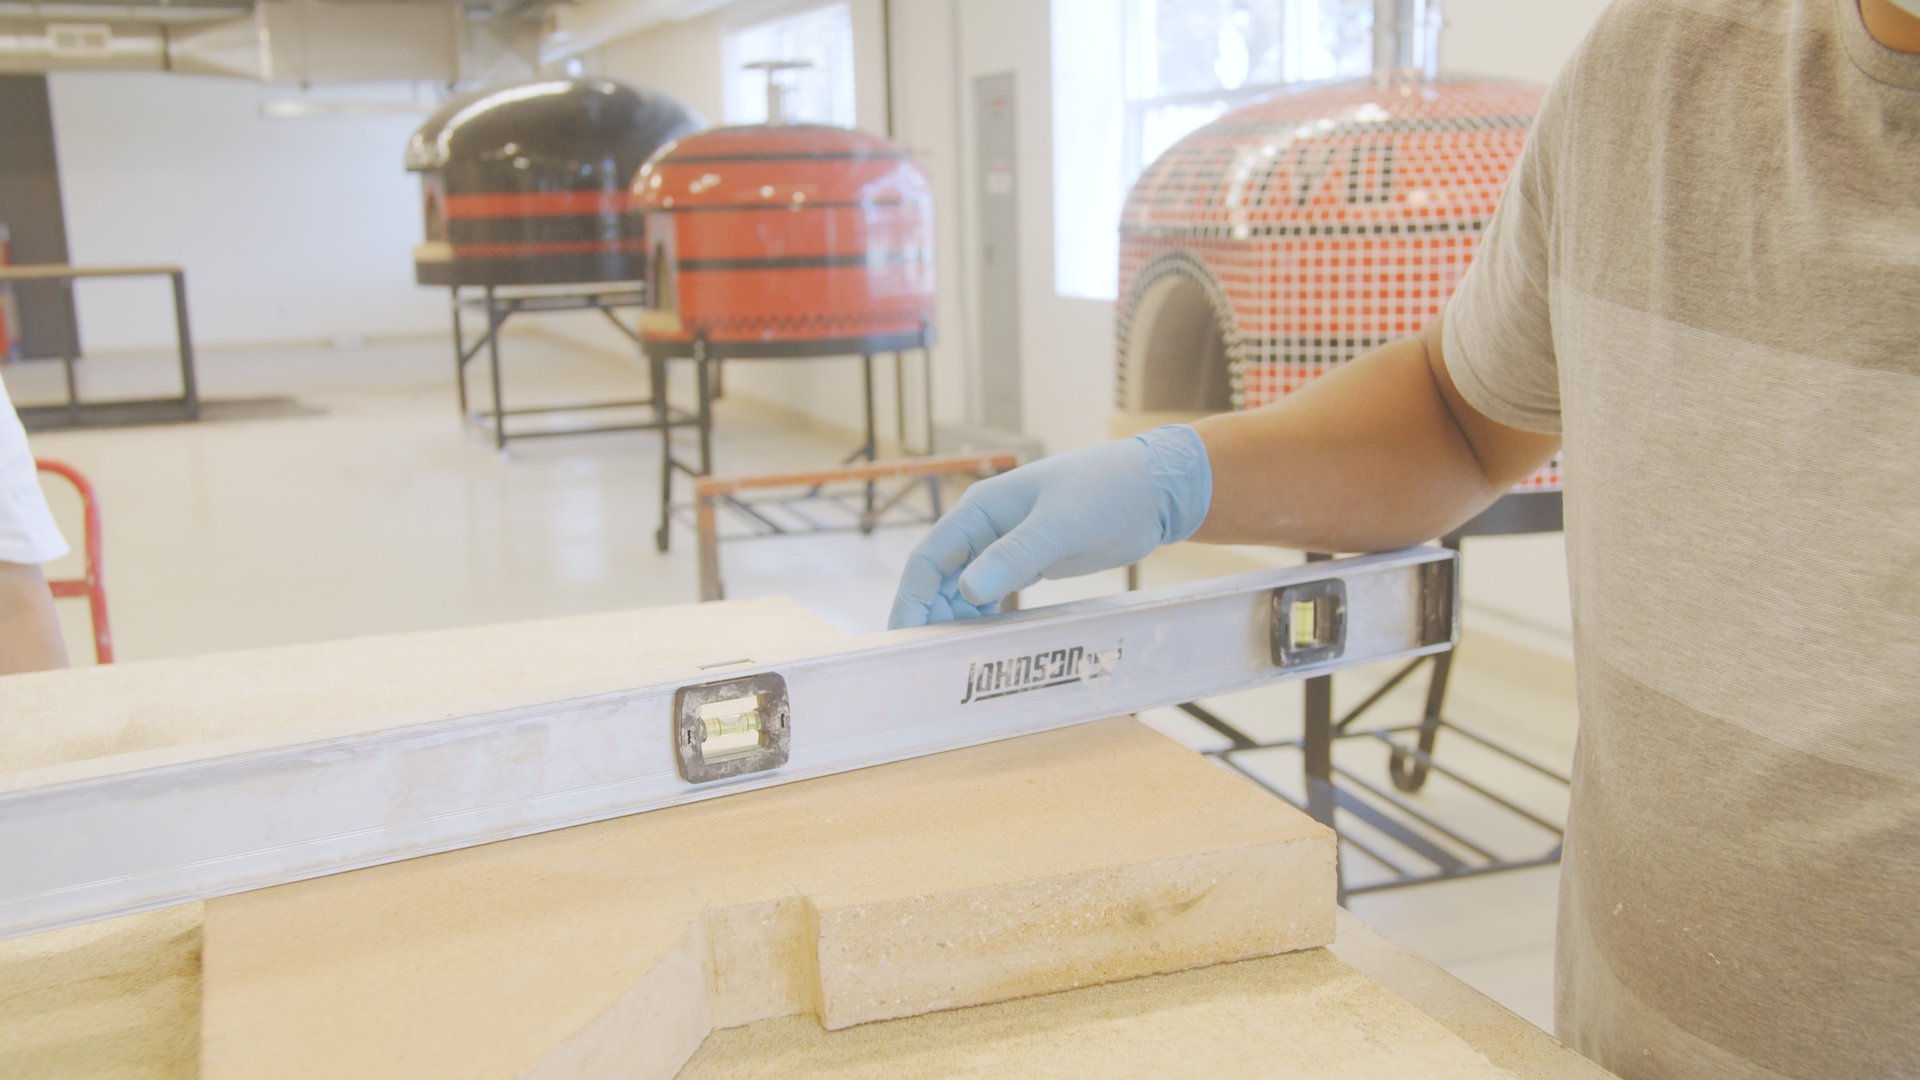
Caution: Do NOT make the sand layer too thick. There will not be enough clearance for the oven door to fit properly if the floor is too high.
- If you prefer, you can use a high-temperature mortar instead of sand. This option ensures the tiles won’t shift while in use.
- Please note that using high temp mortar will make replacing the tile in the future more difficult.
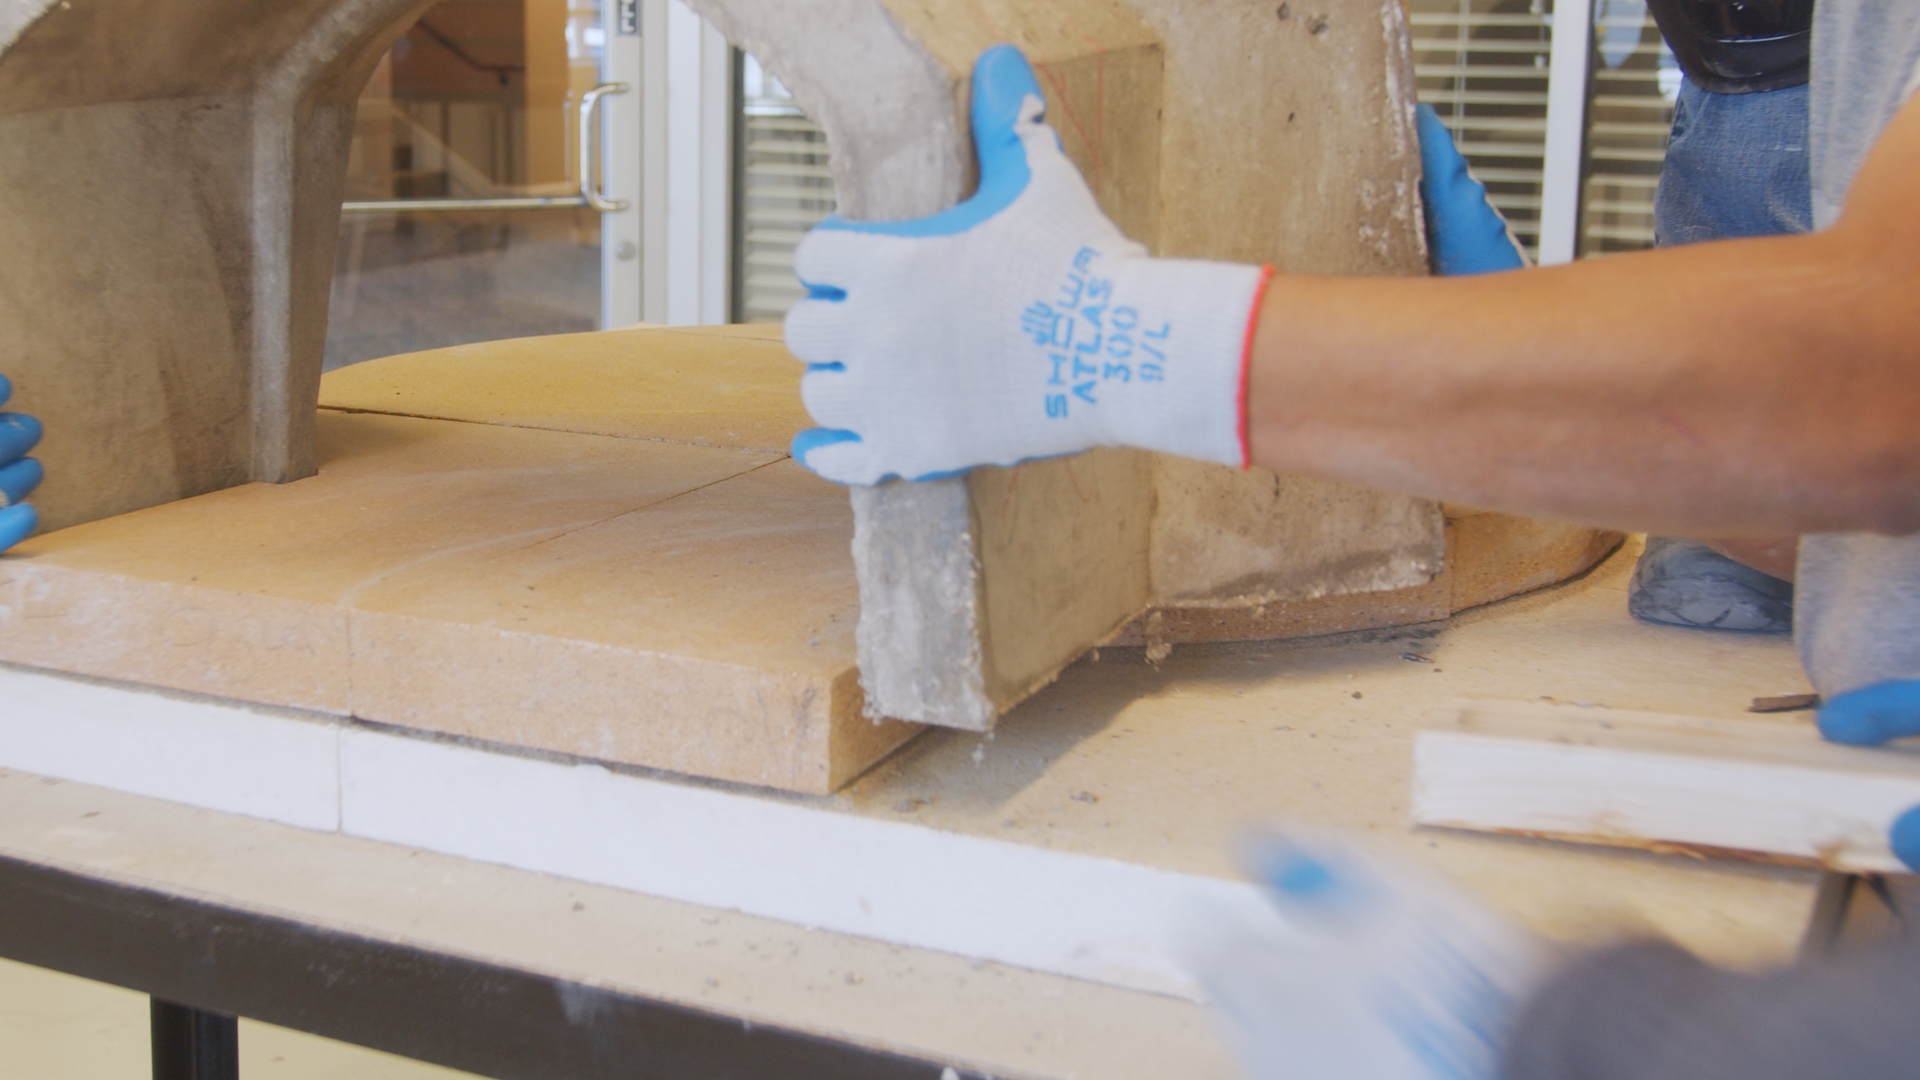
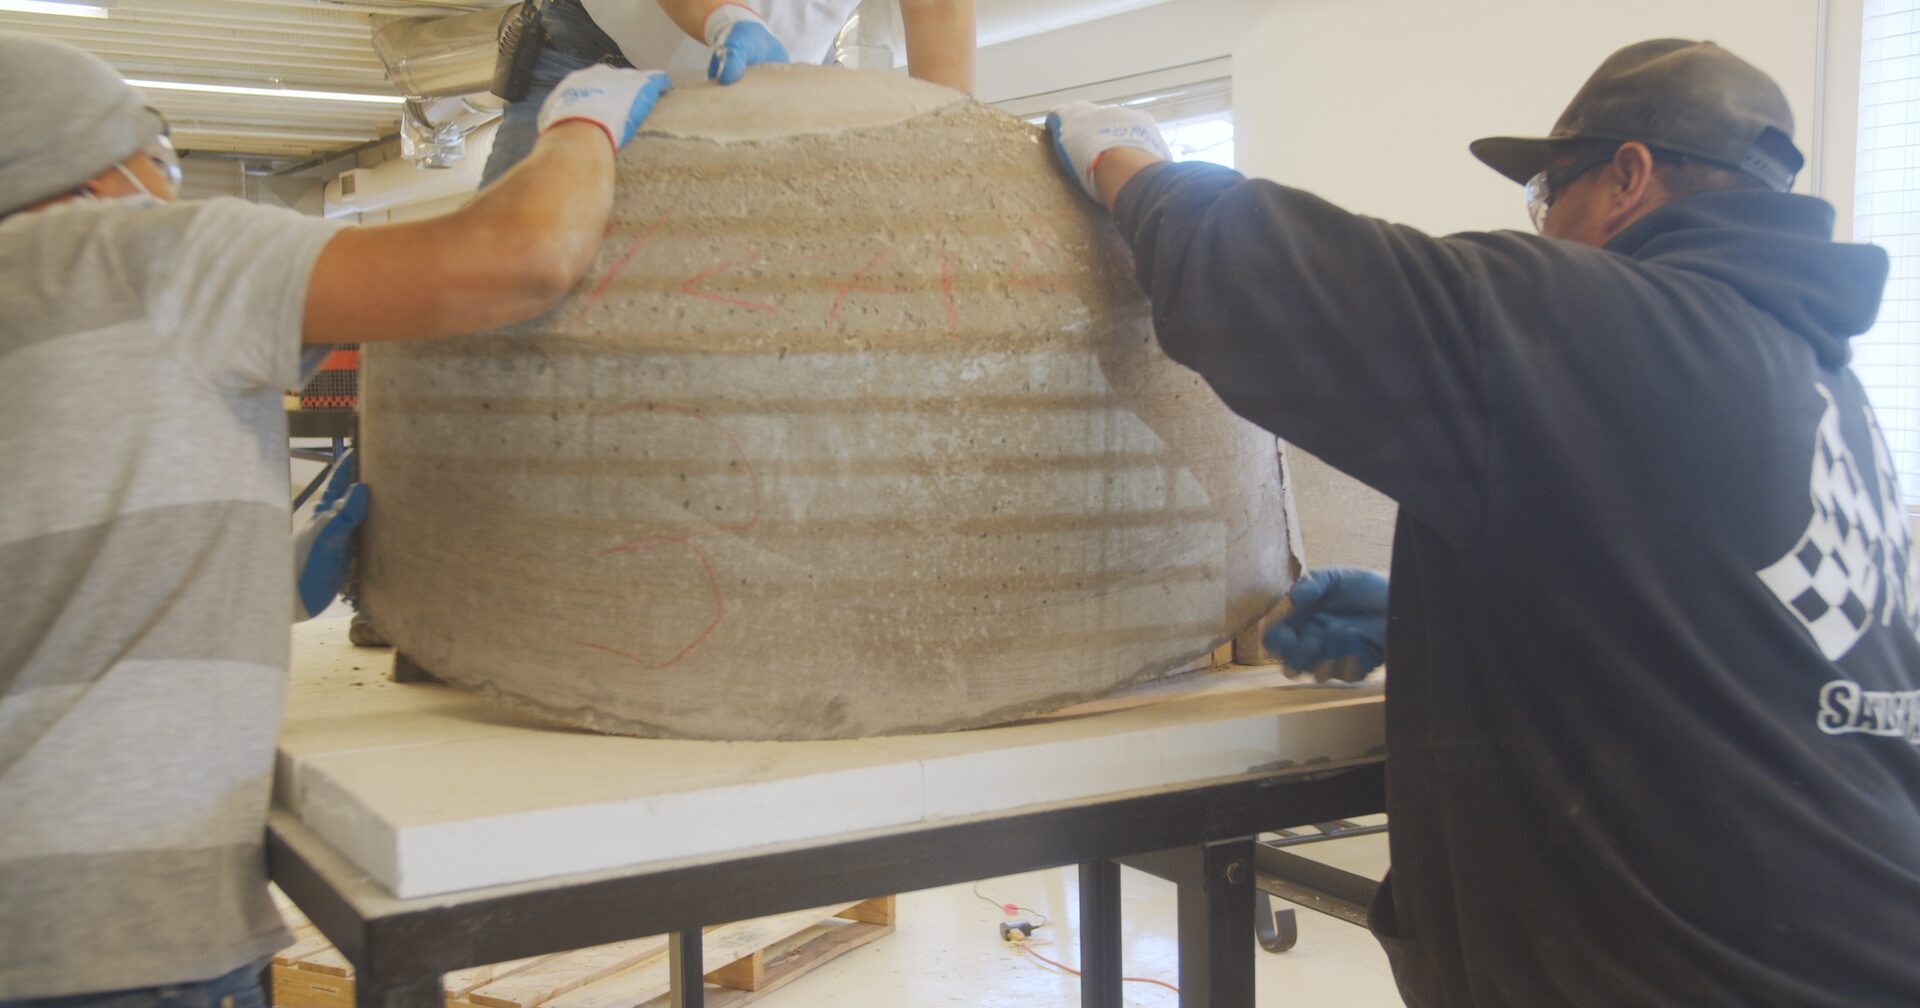
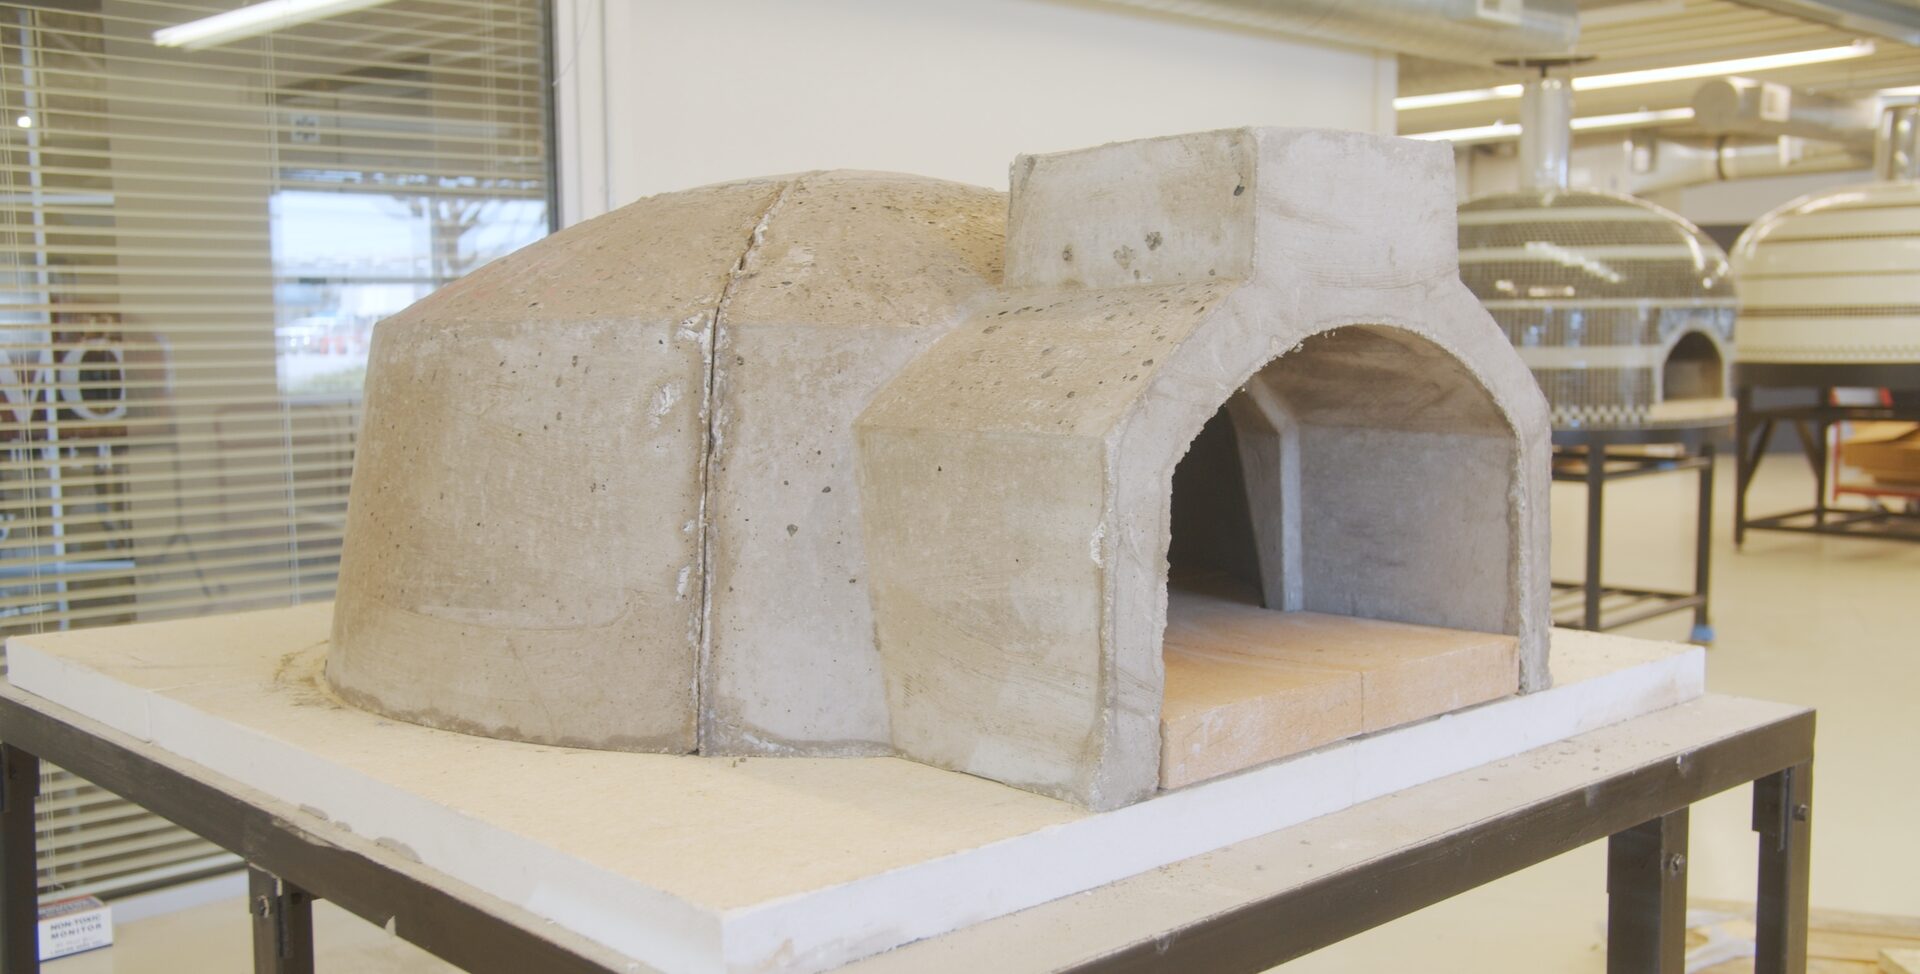
2. Place the Dome
- You don’t want your fingers to get pinched when you place the front section of the dome, so push a wooden 2×4 against each side of the oven floor.
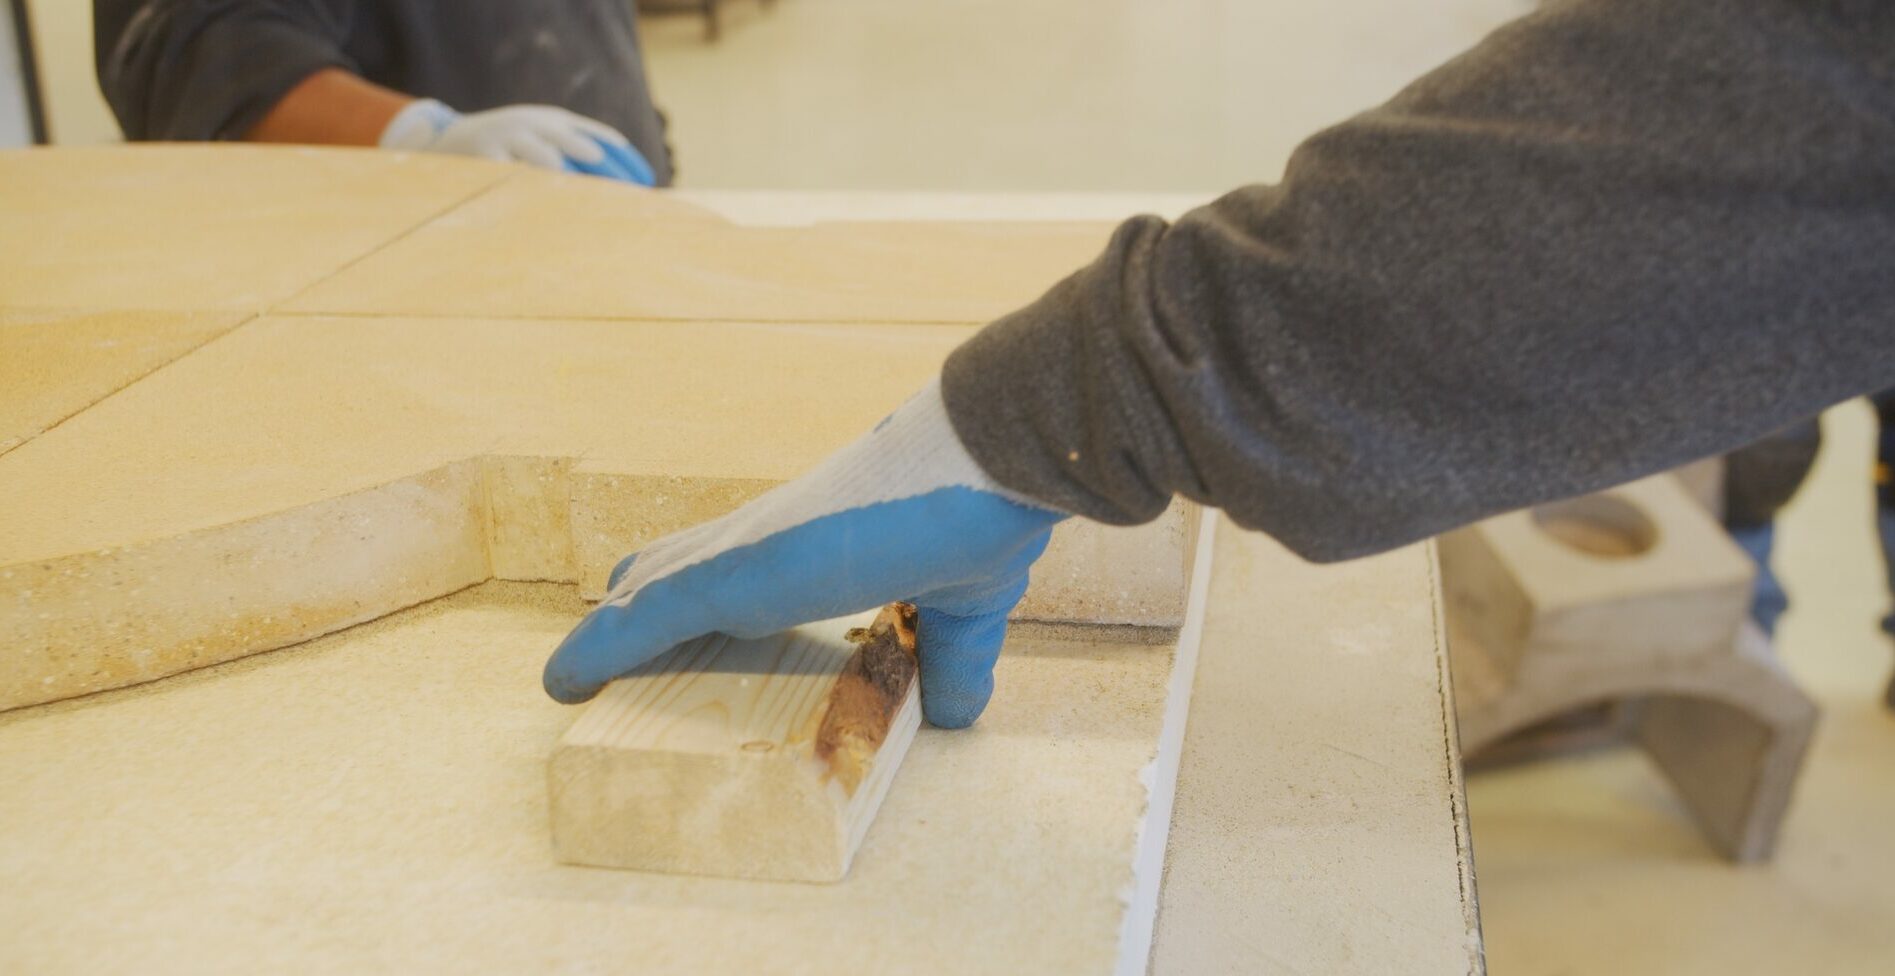
- Make sure the front edge of the dome is flush with the front edge of the floor, then remove the wood when the dome mouth is aligned.
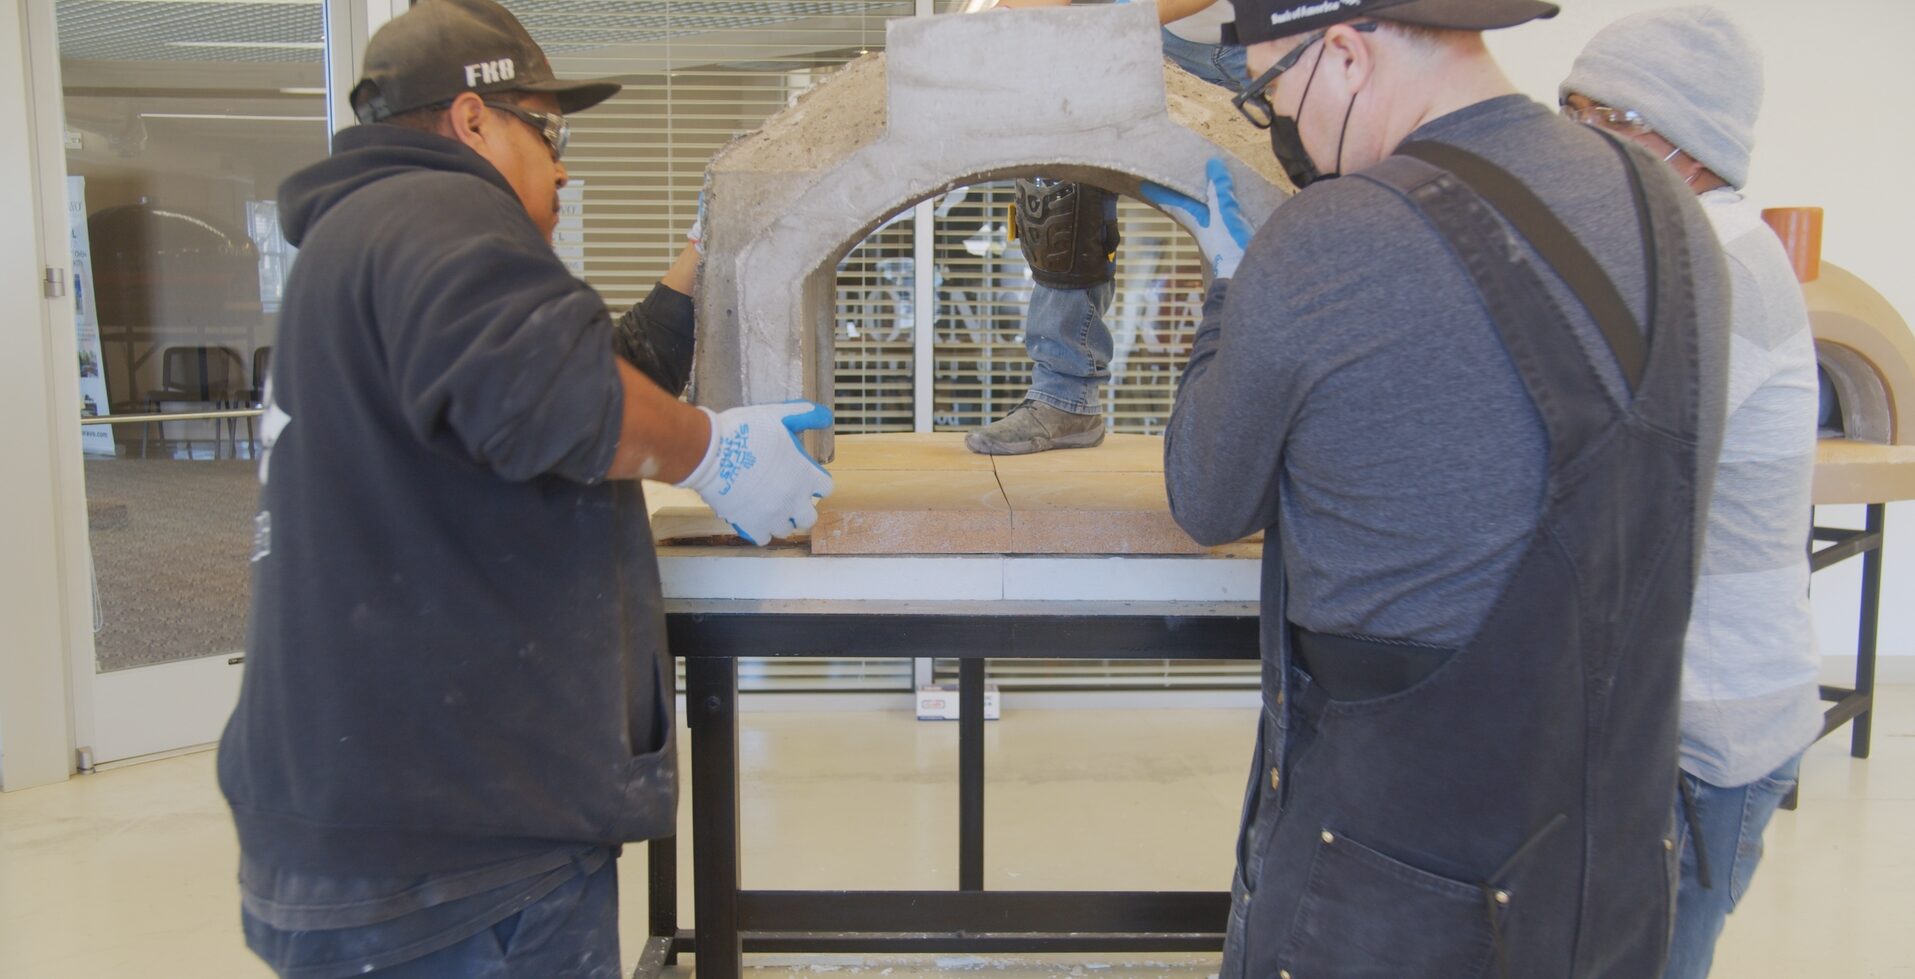
- Add the second dome piece, and make sure the seams are together. The gap should be no less than 1/16 inch and no more than 1/2 inch for the oven to perform properly.
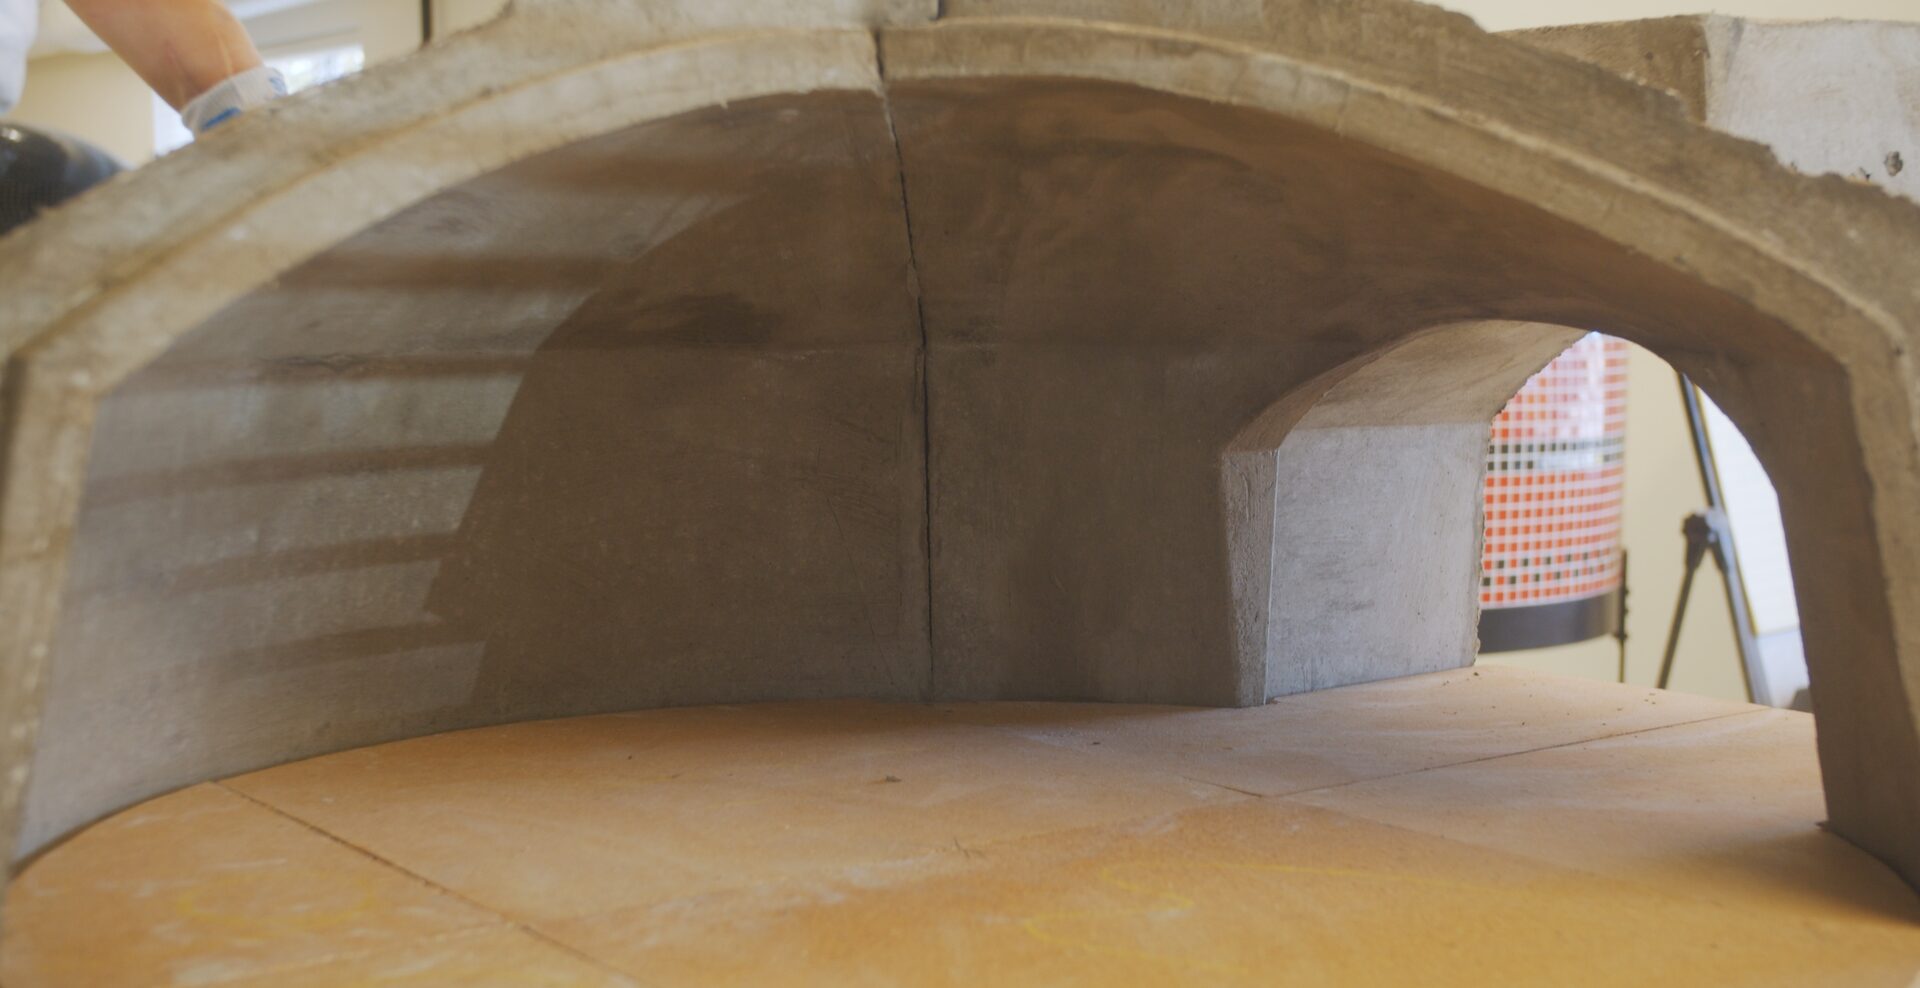
- Add the third piece and push them together before applying the motor. Joint gaps should be 1/4 inch for best performance.
- Seal the seams with sairset; it comes with your outdoor pizza oven installation kit. Sairset comes pre-mixed, but stir it well in a bucket before applying it to the seams (at least 5 minutes, or as directed on the container.) Alternatively, you can use high-temperature mortar. The mortar or sairset should form a three to four-inch band that covers where the dome pieces meet.
Tip: Do not ‘pack’ the mortar into the joint, or the dome will not have room to expand and contract.
- Allow the mortar or sairset to dry for 12 to 24 hours, or whatever is specified on the material instructions, before adding your dome insulation.
3. Install the Chimney
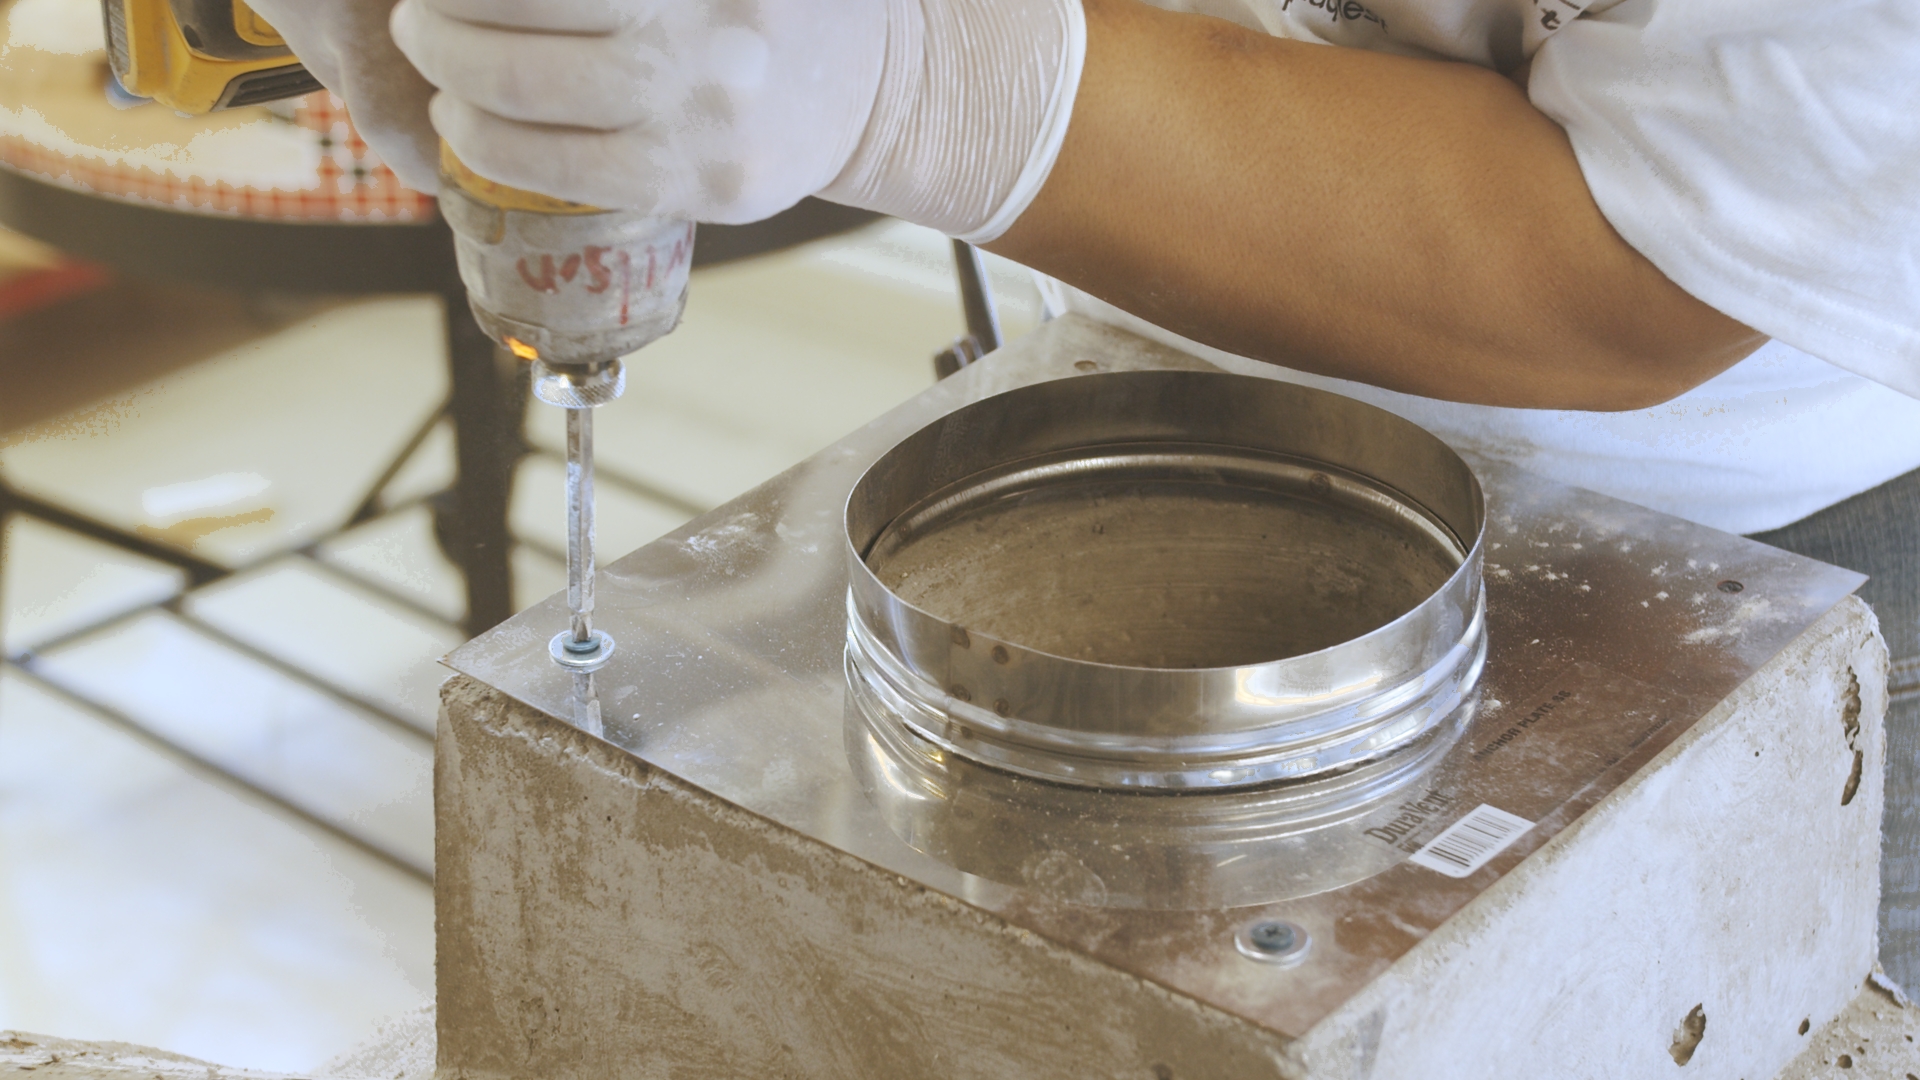
- Place the chimney anchor plate on the top of the dome vent.
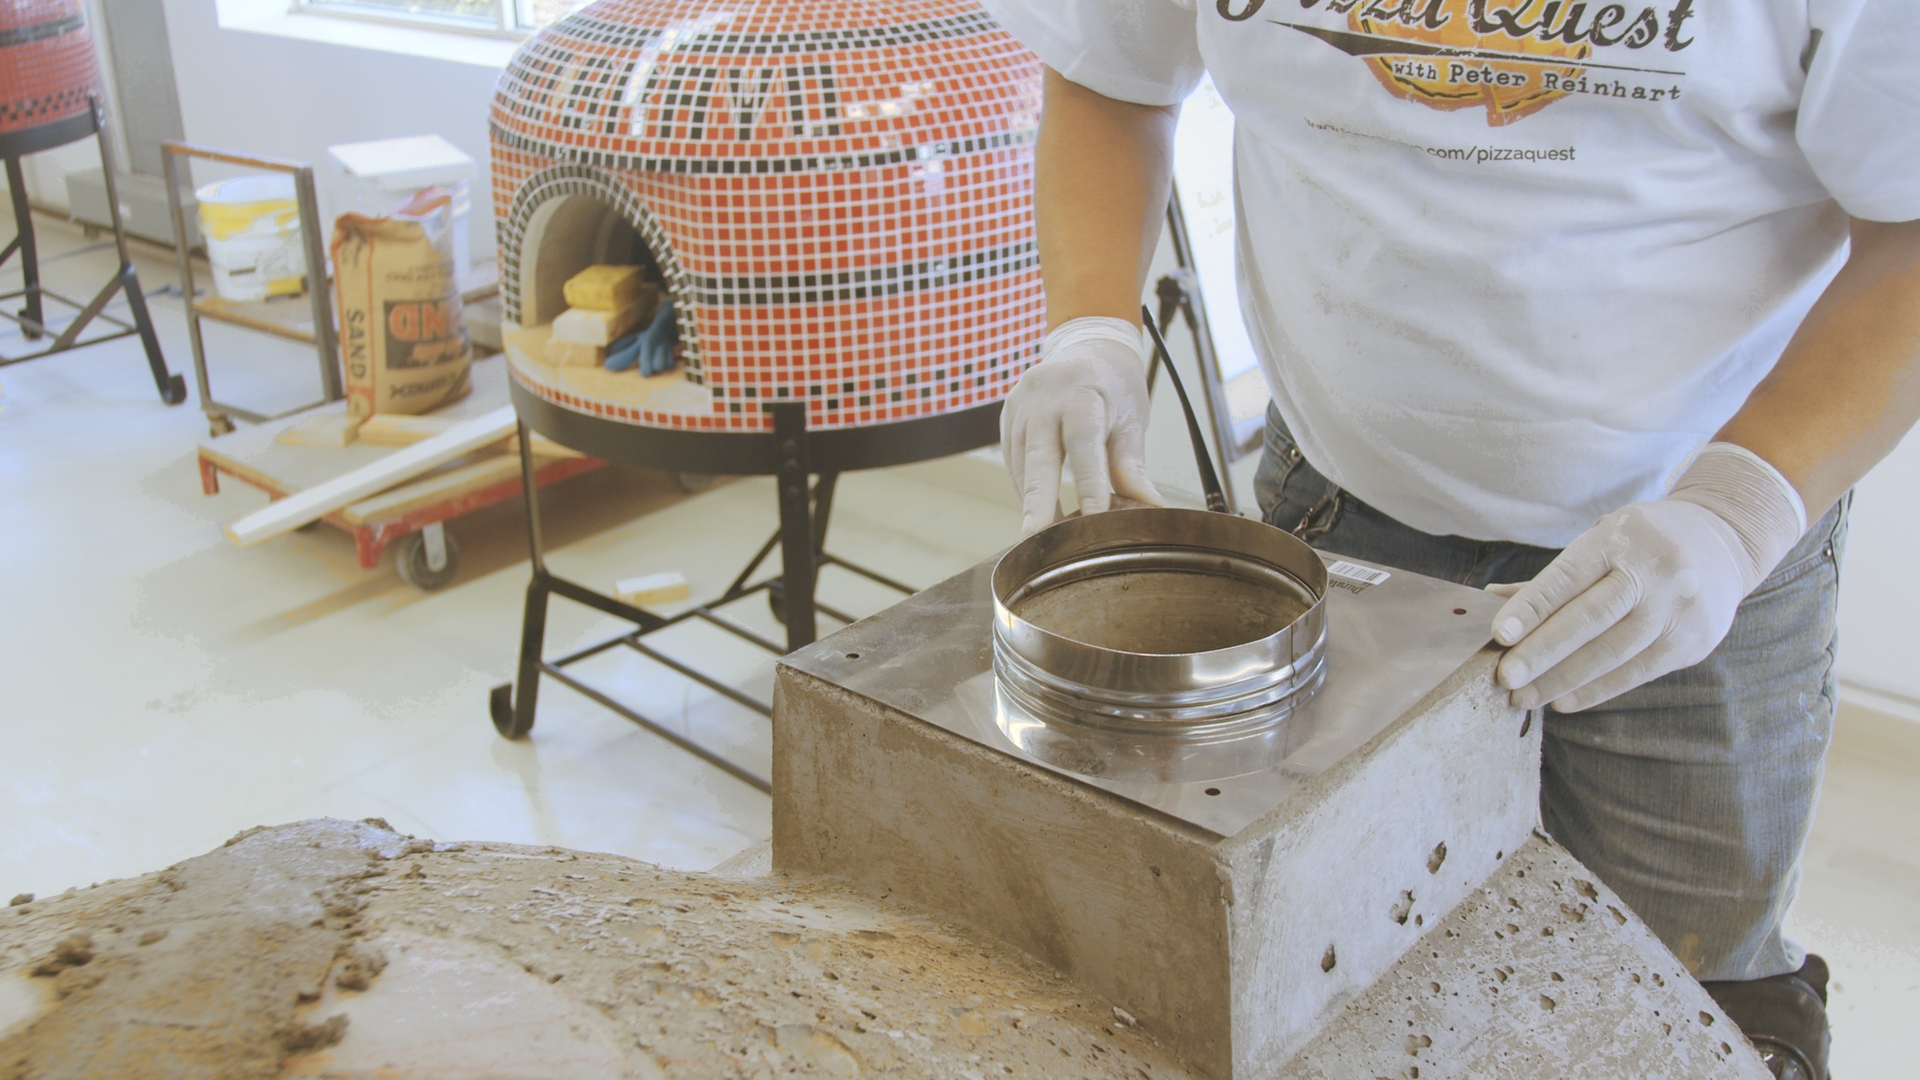
- Mark the spots for the screws in all four corners using a marker.
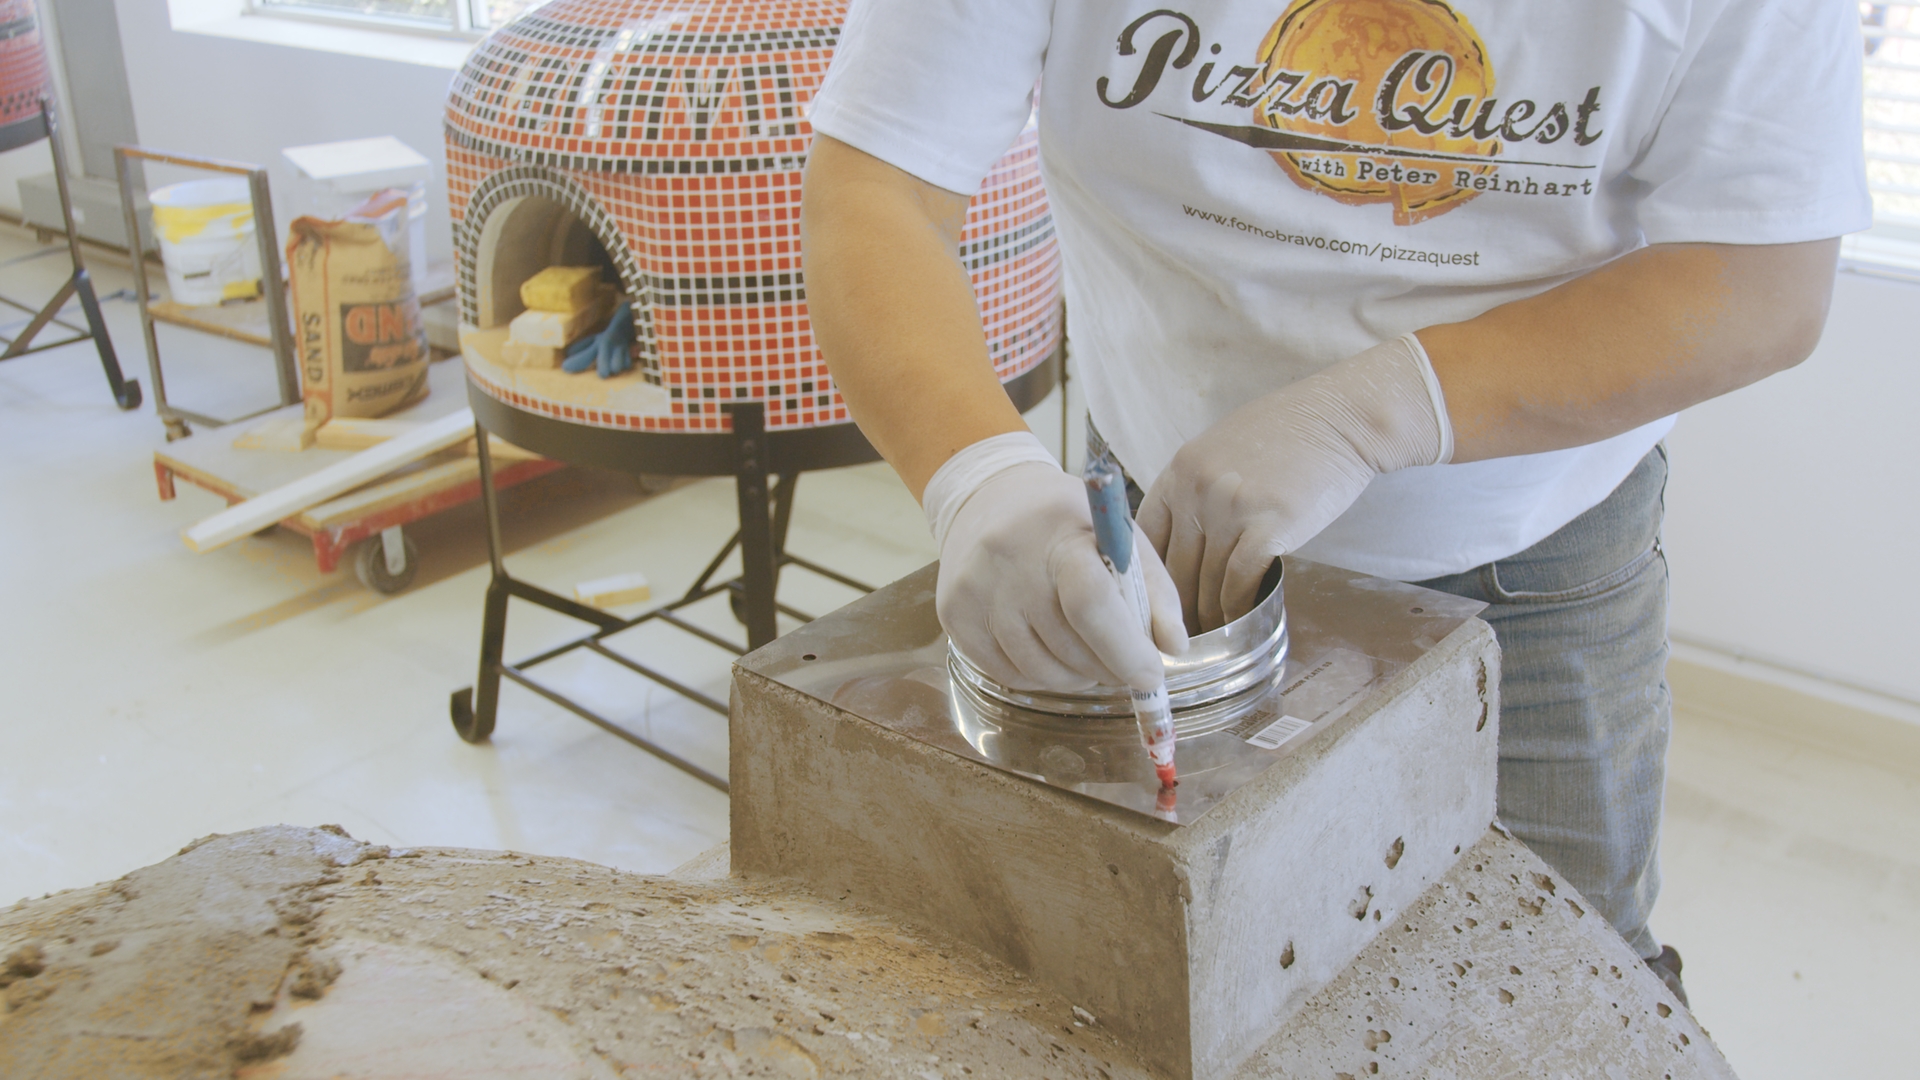
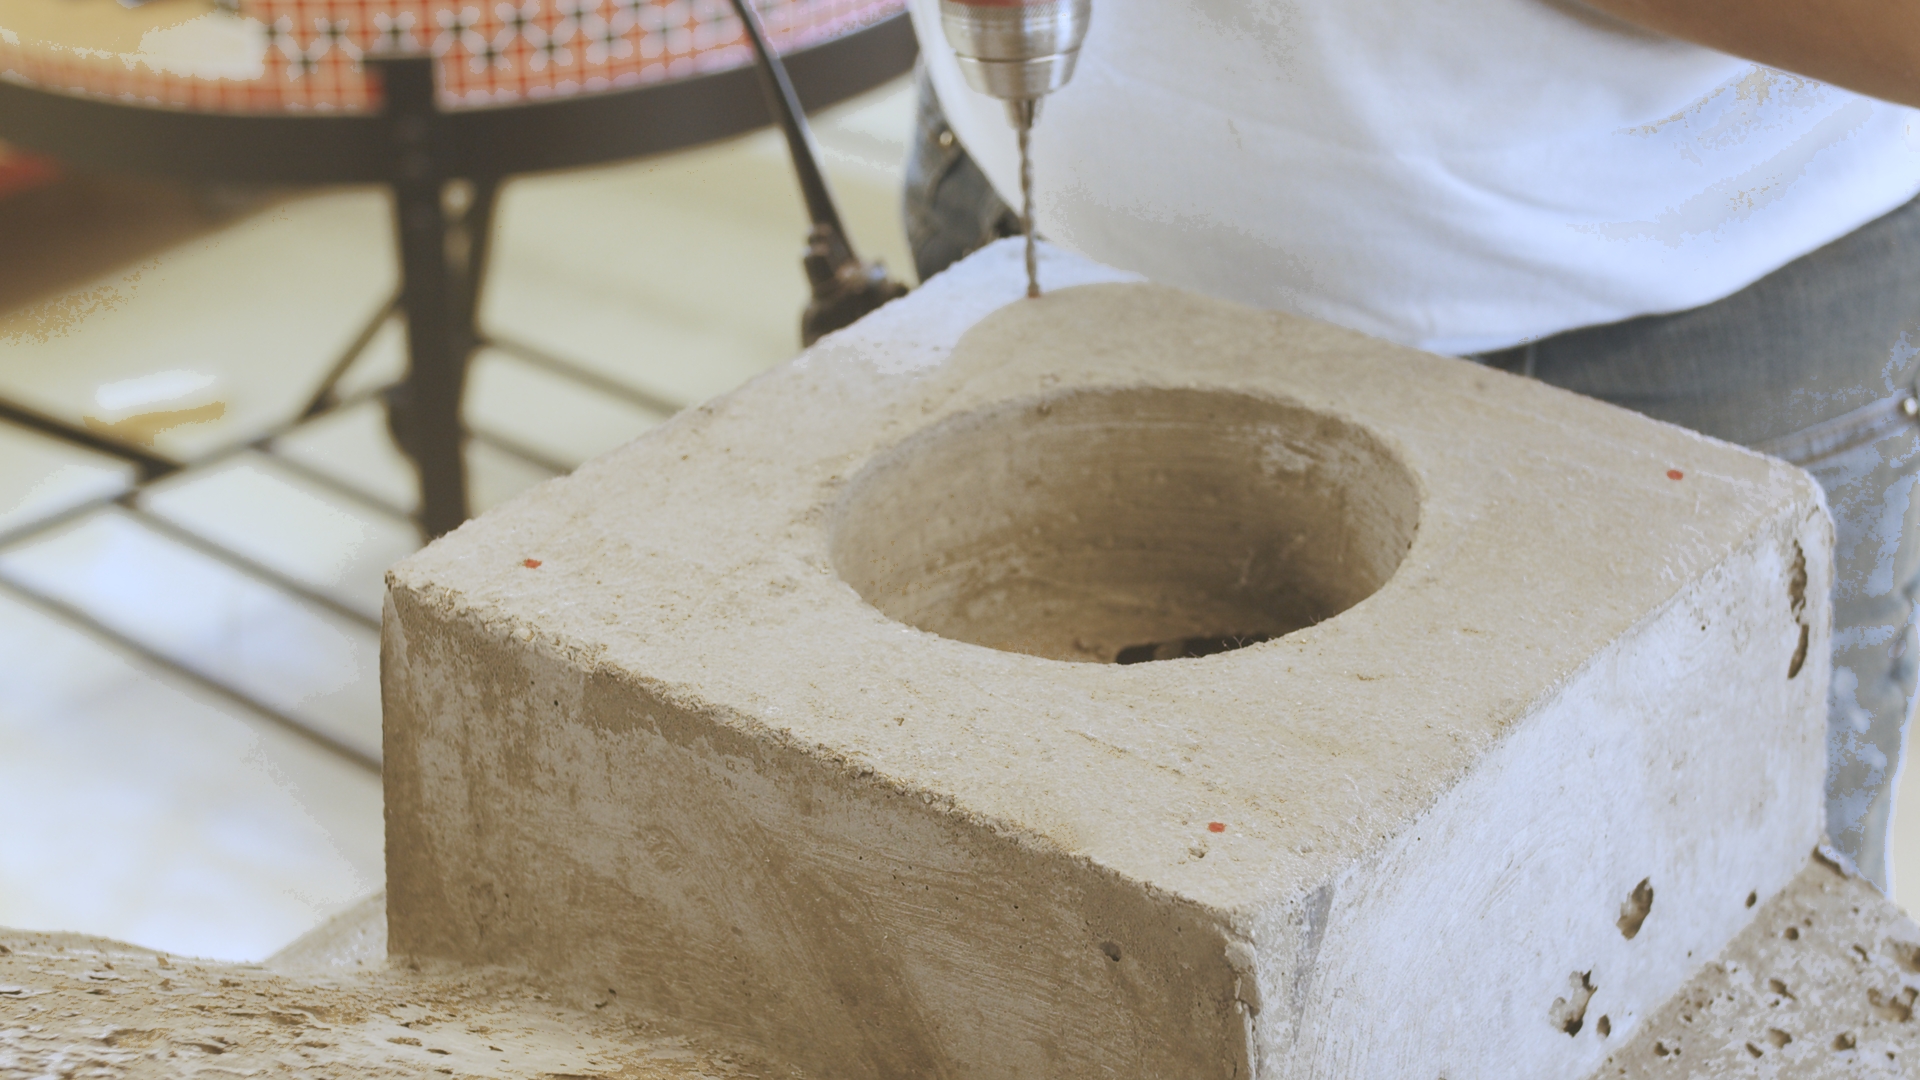
- Pre-drill the holes using Hilti concrete drill bits.
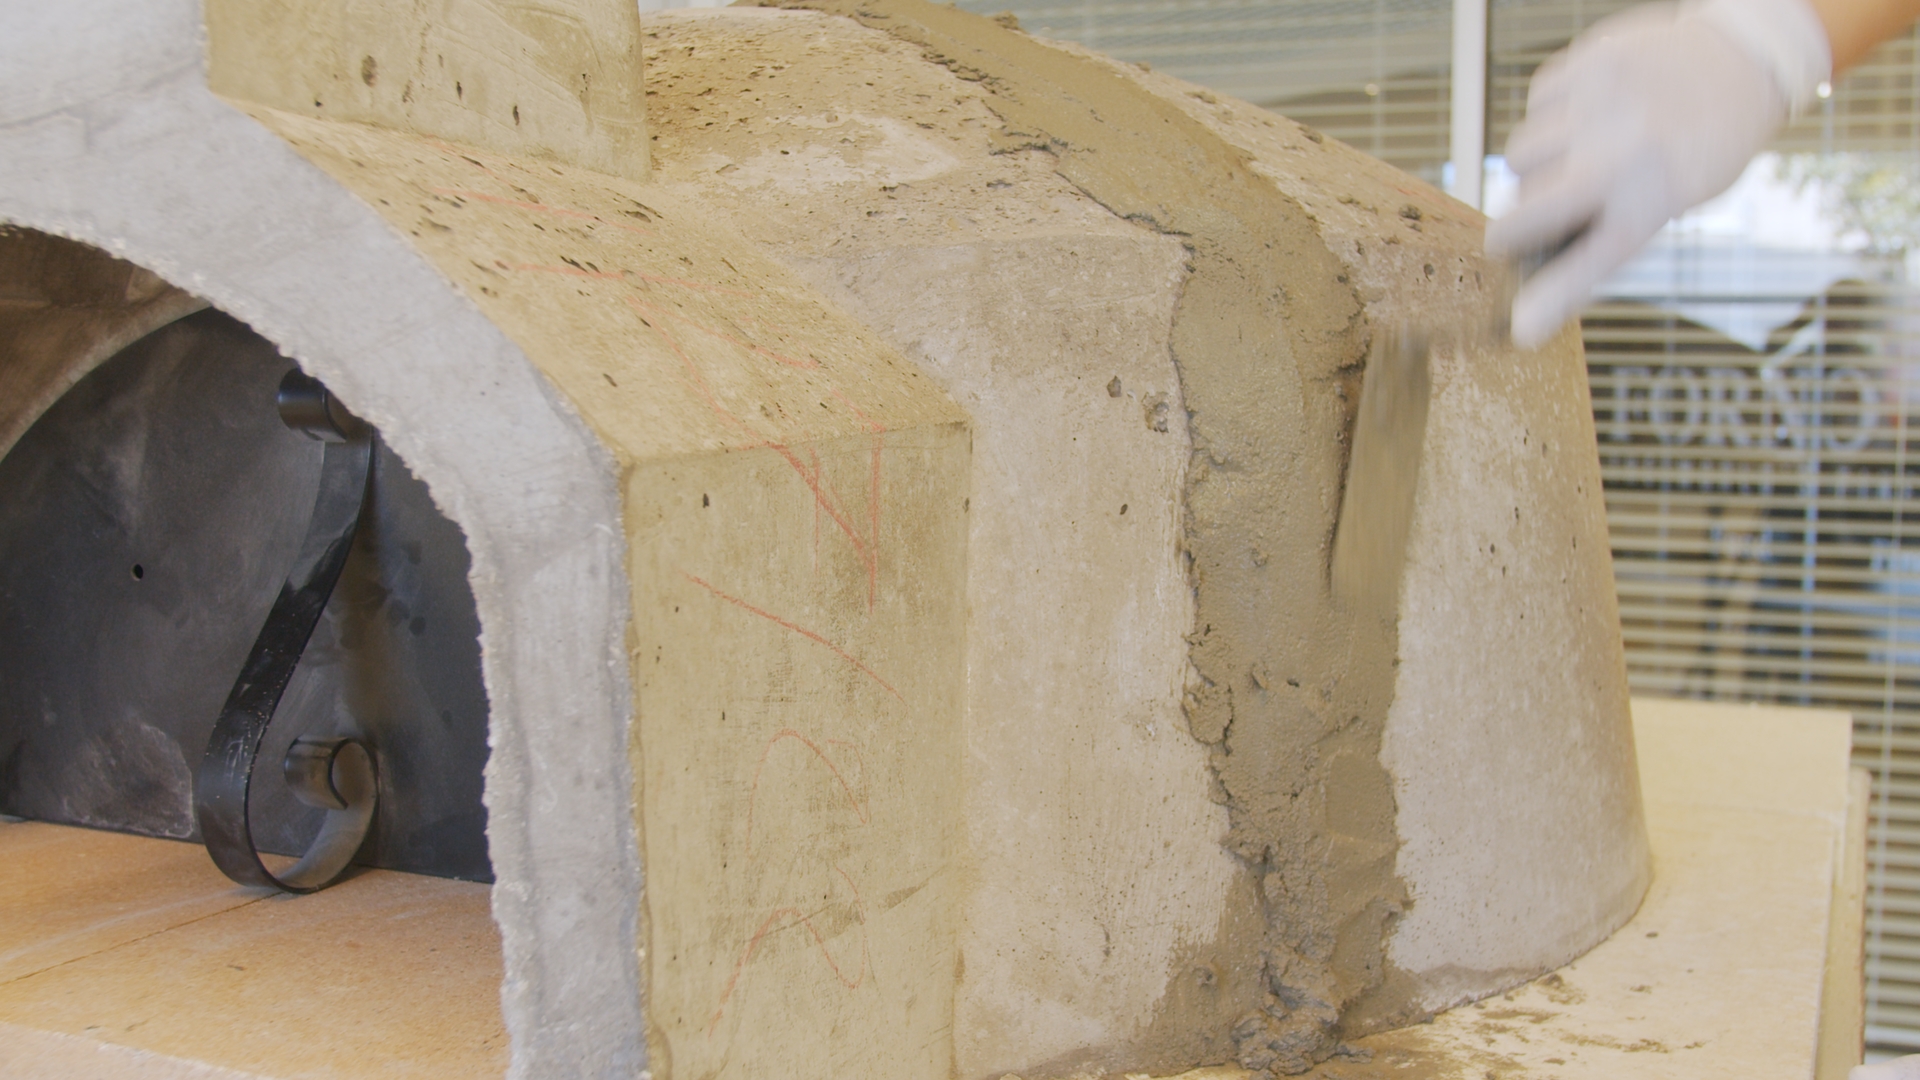
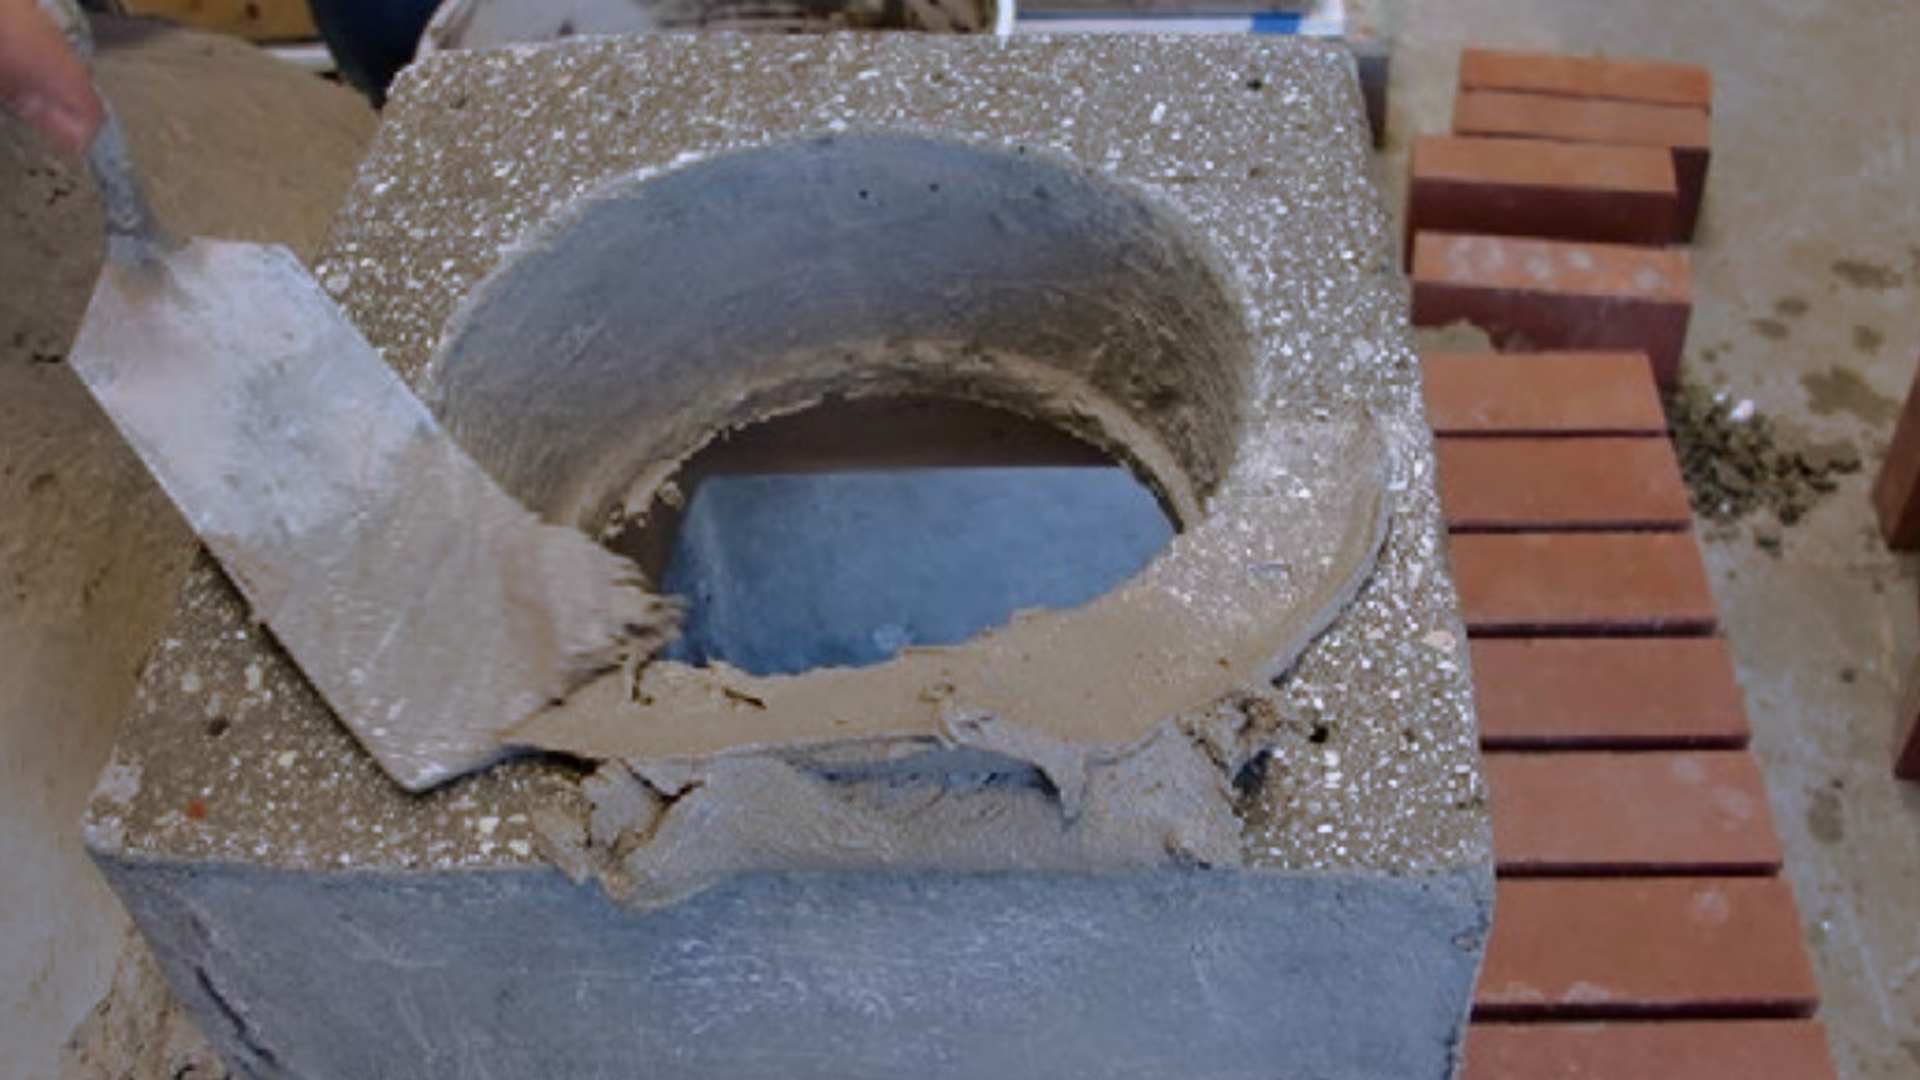
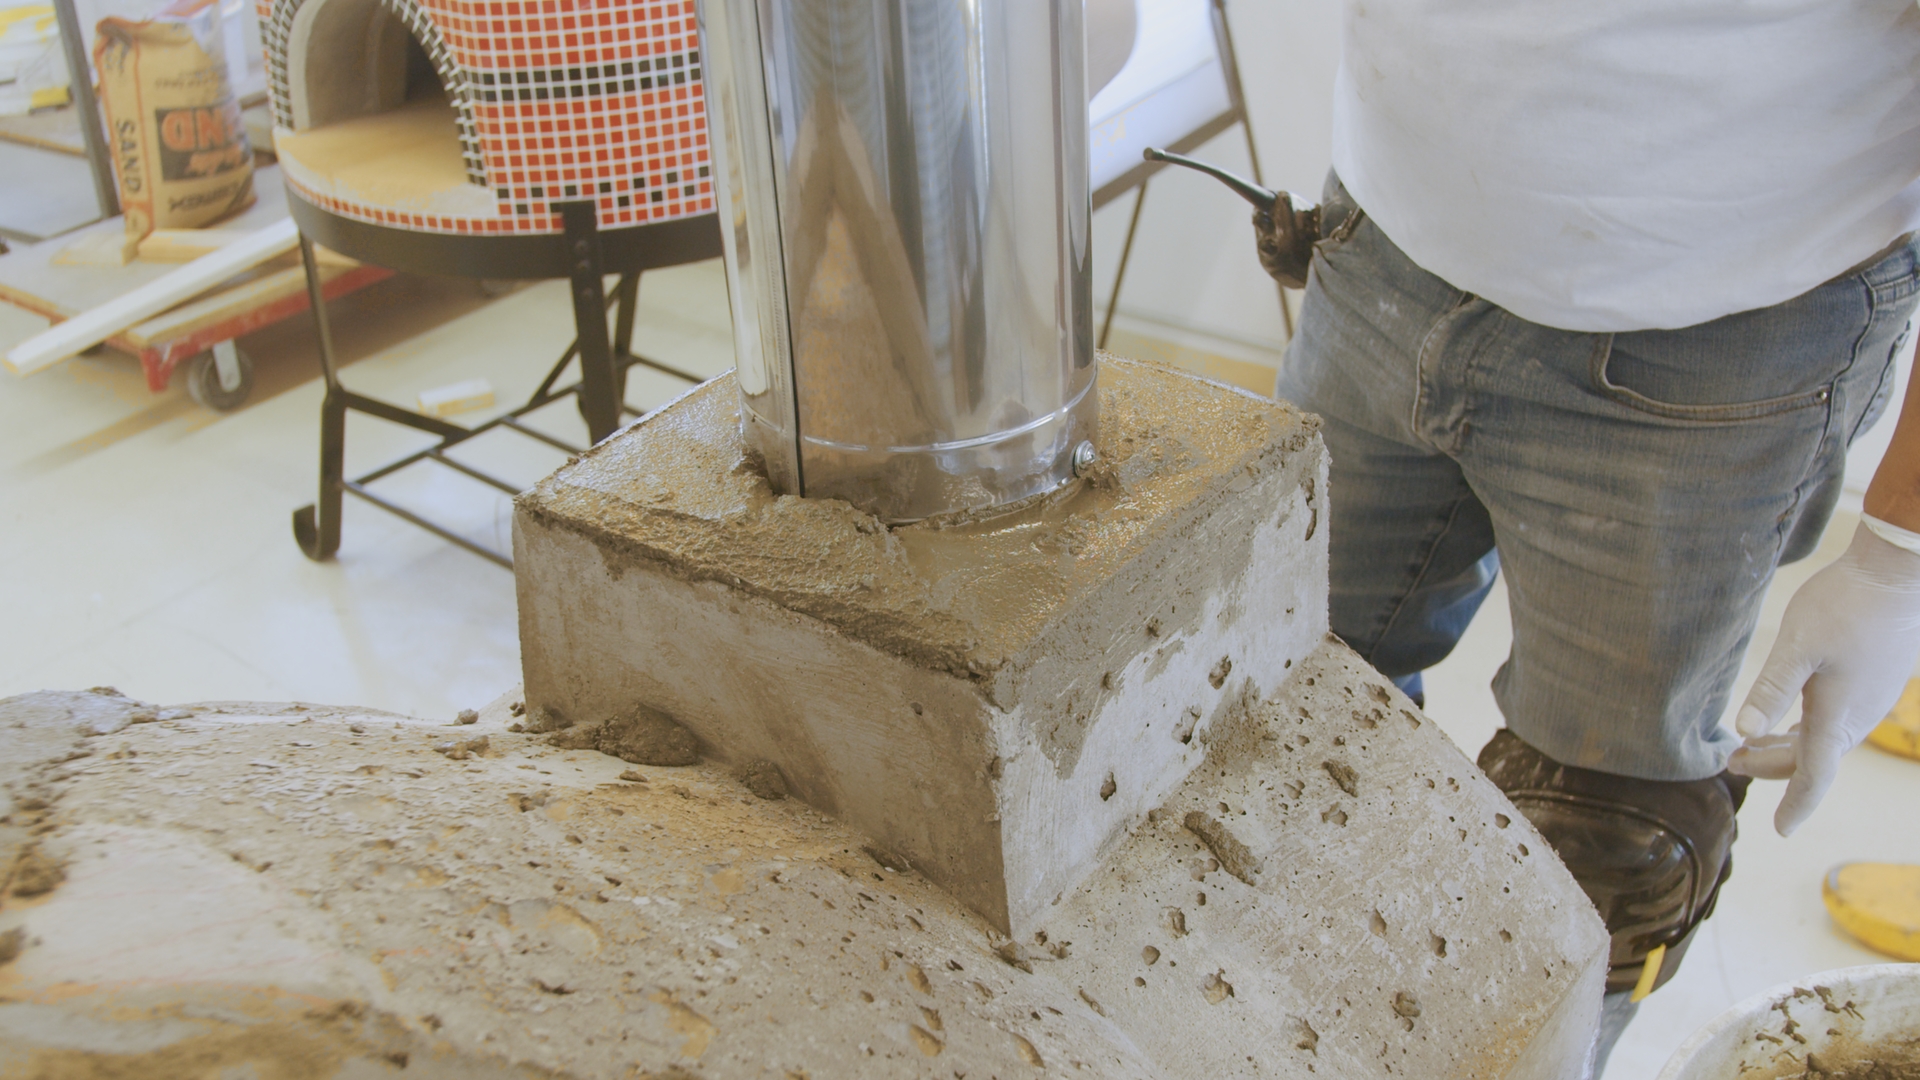
- Apply a bead of sairset around the vent hole and smooth it with a trowel. Alternatively, you can use high-temp refractory mortar or fireplace caulk so that it can withstand temperatures of 1700 degrees F and above.
- Put the anchor plate on the dome and secure it with the washers and concrete screws. Check everything with a level.
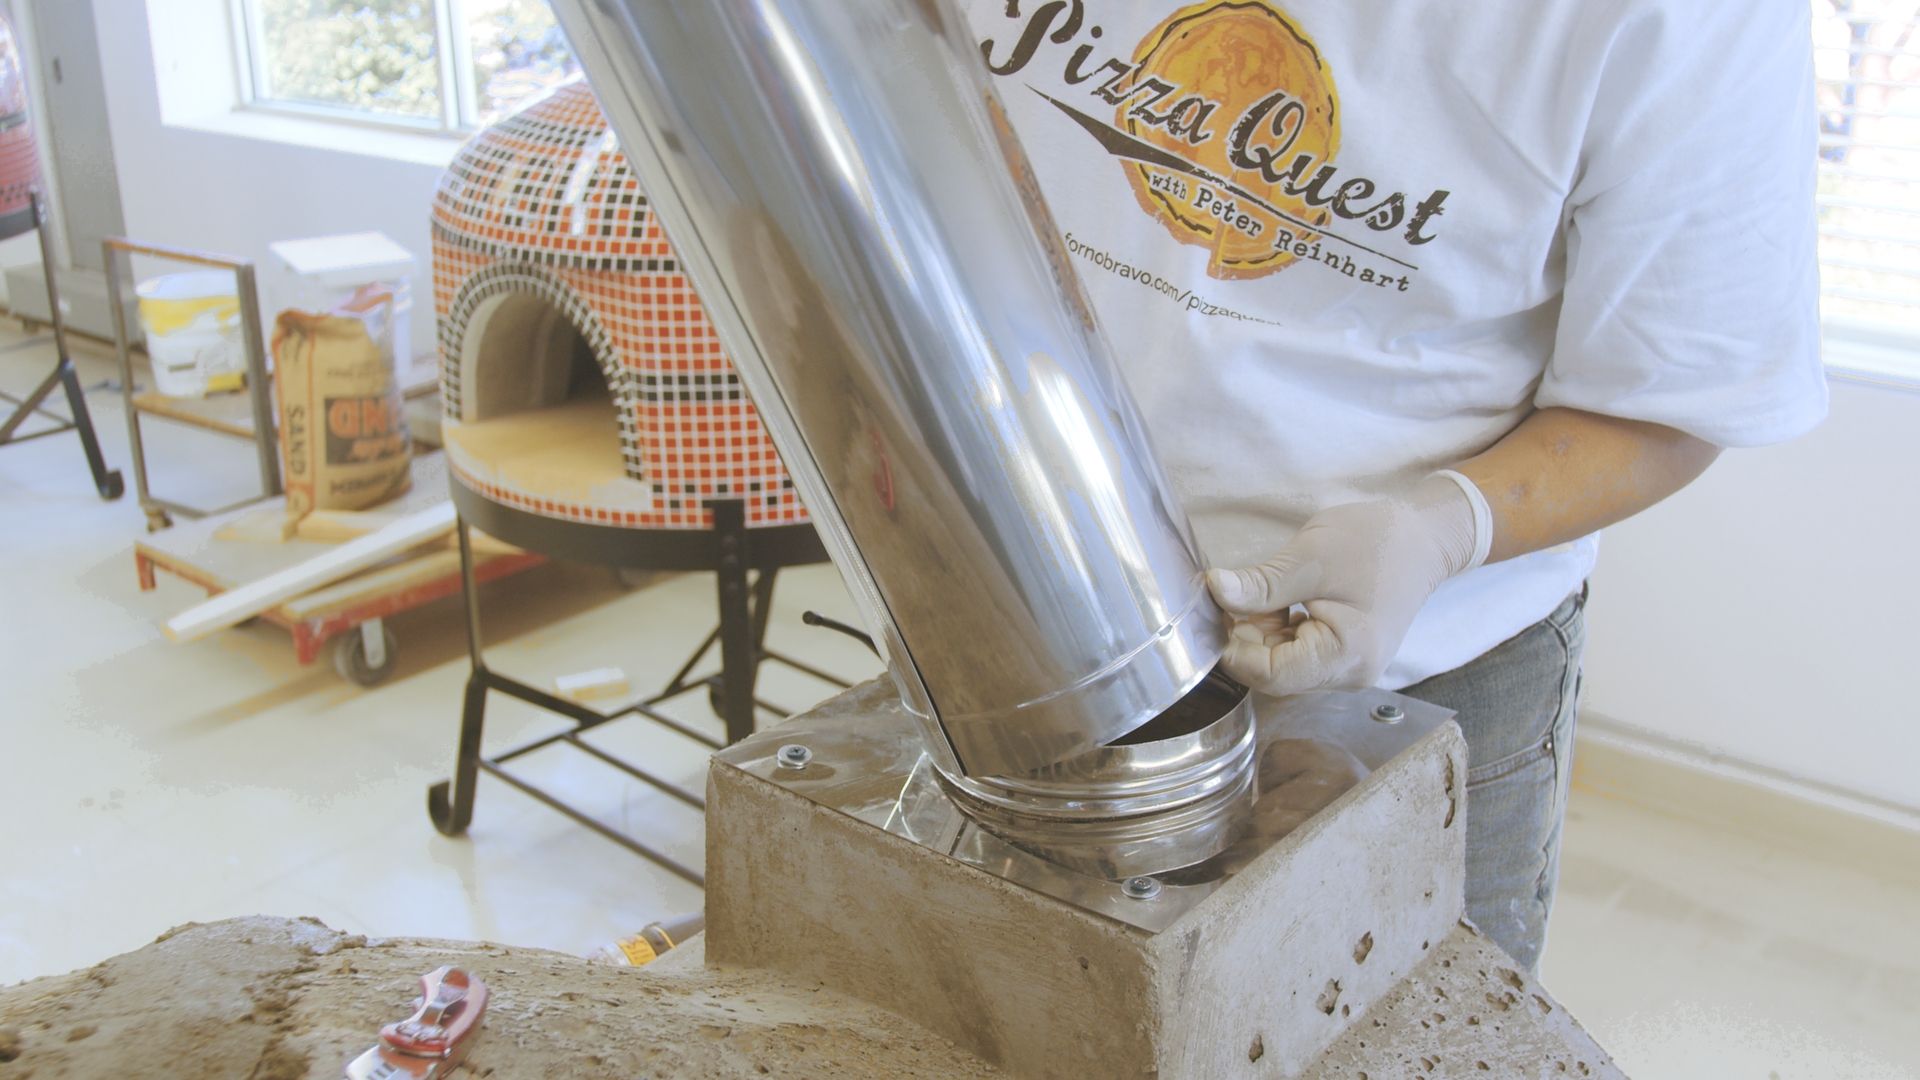
- Attach the chimney flue to the base.
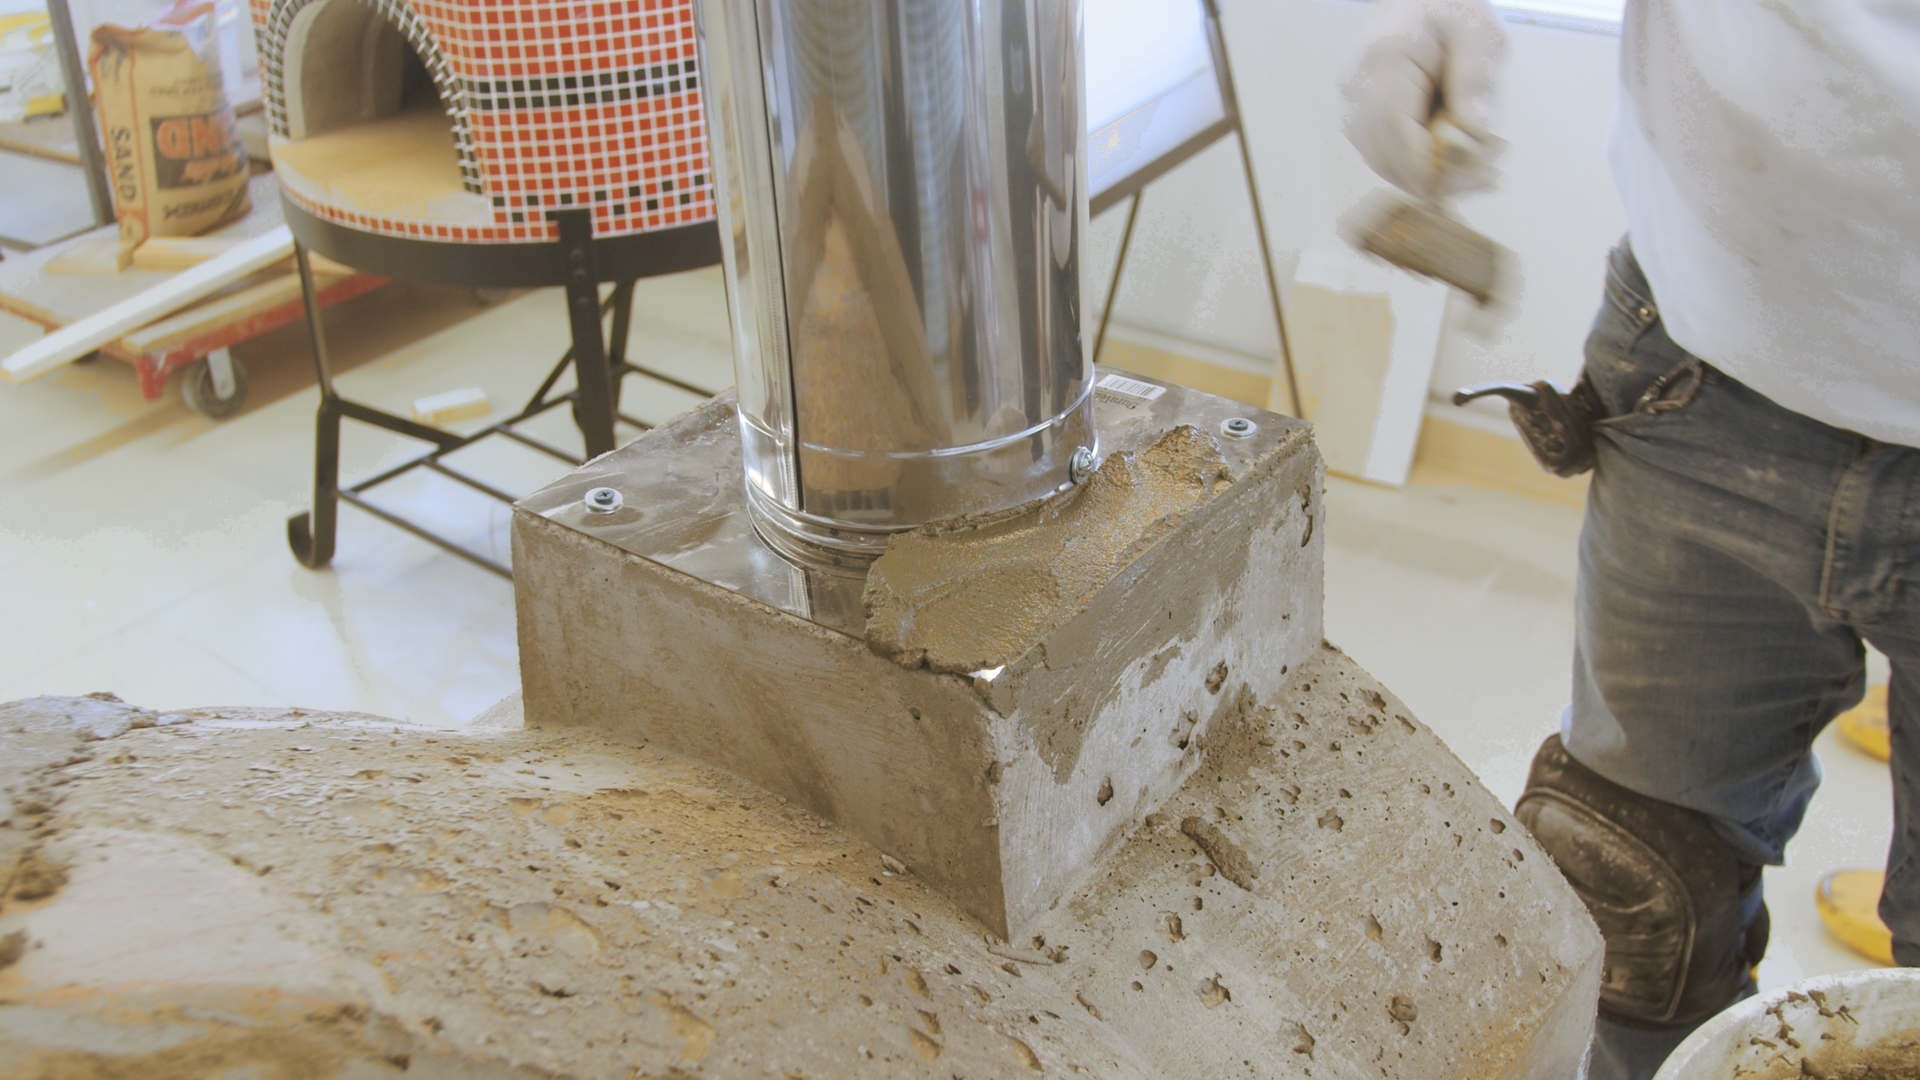
- Apply mortar to the top of the anchor plate and the top edge of the masonry vent. Let everything dry.
4. Add Insulation
Warning: Always wear a mask, gloves, and safety glasses when working with ceramic board insulation.
Wash your hands and clothes after working with insulation to remove any fibers or residue that can irritate your skin and eyes.
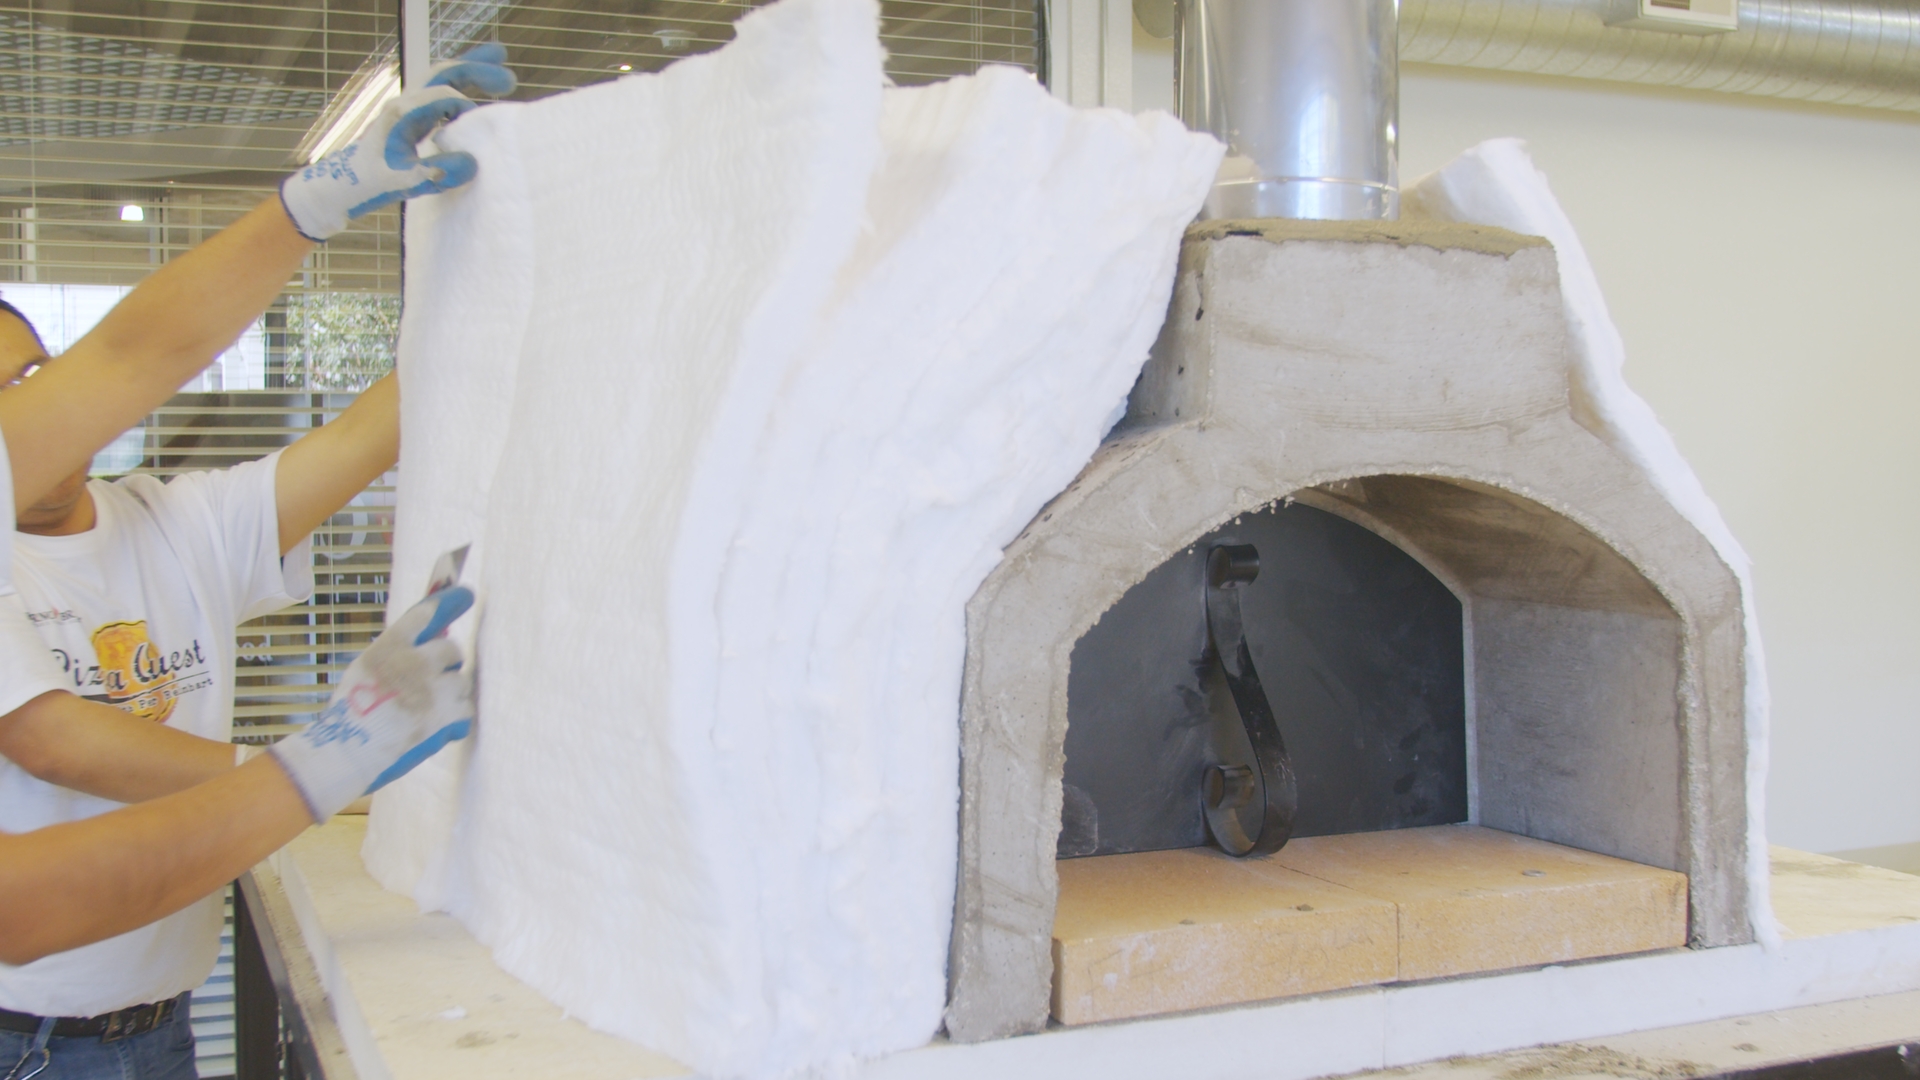
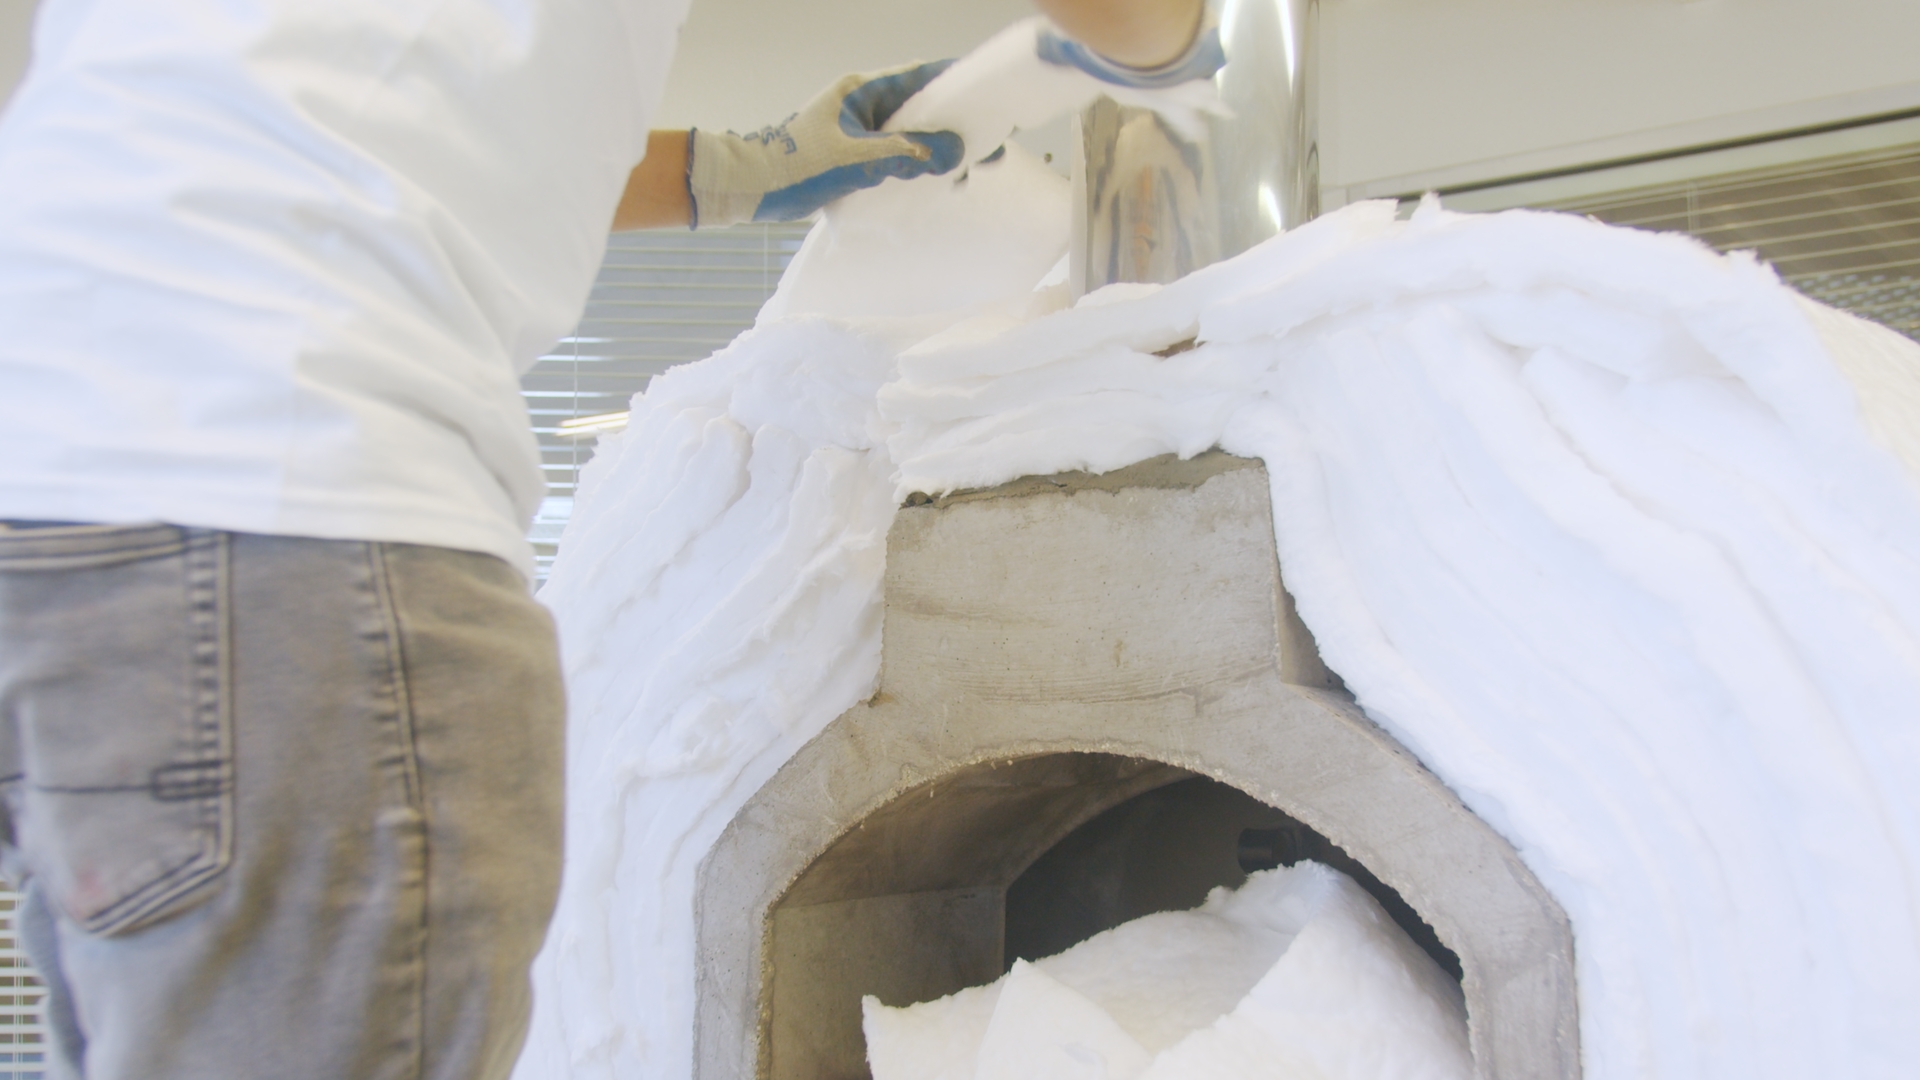
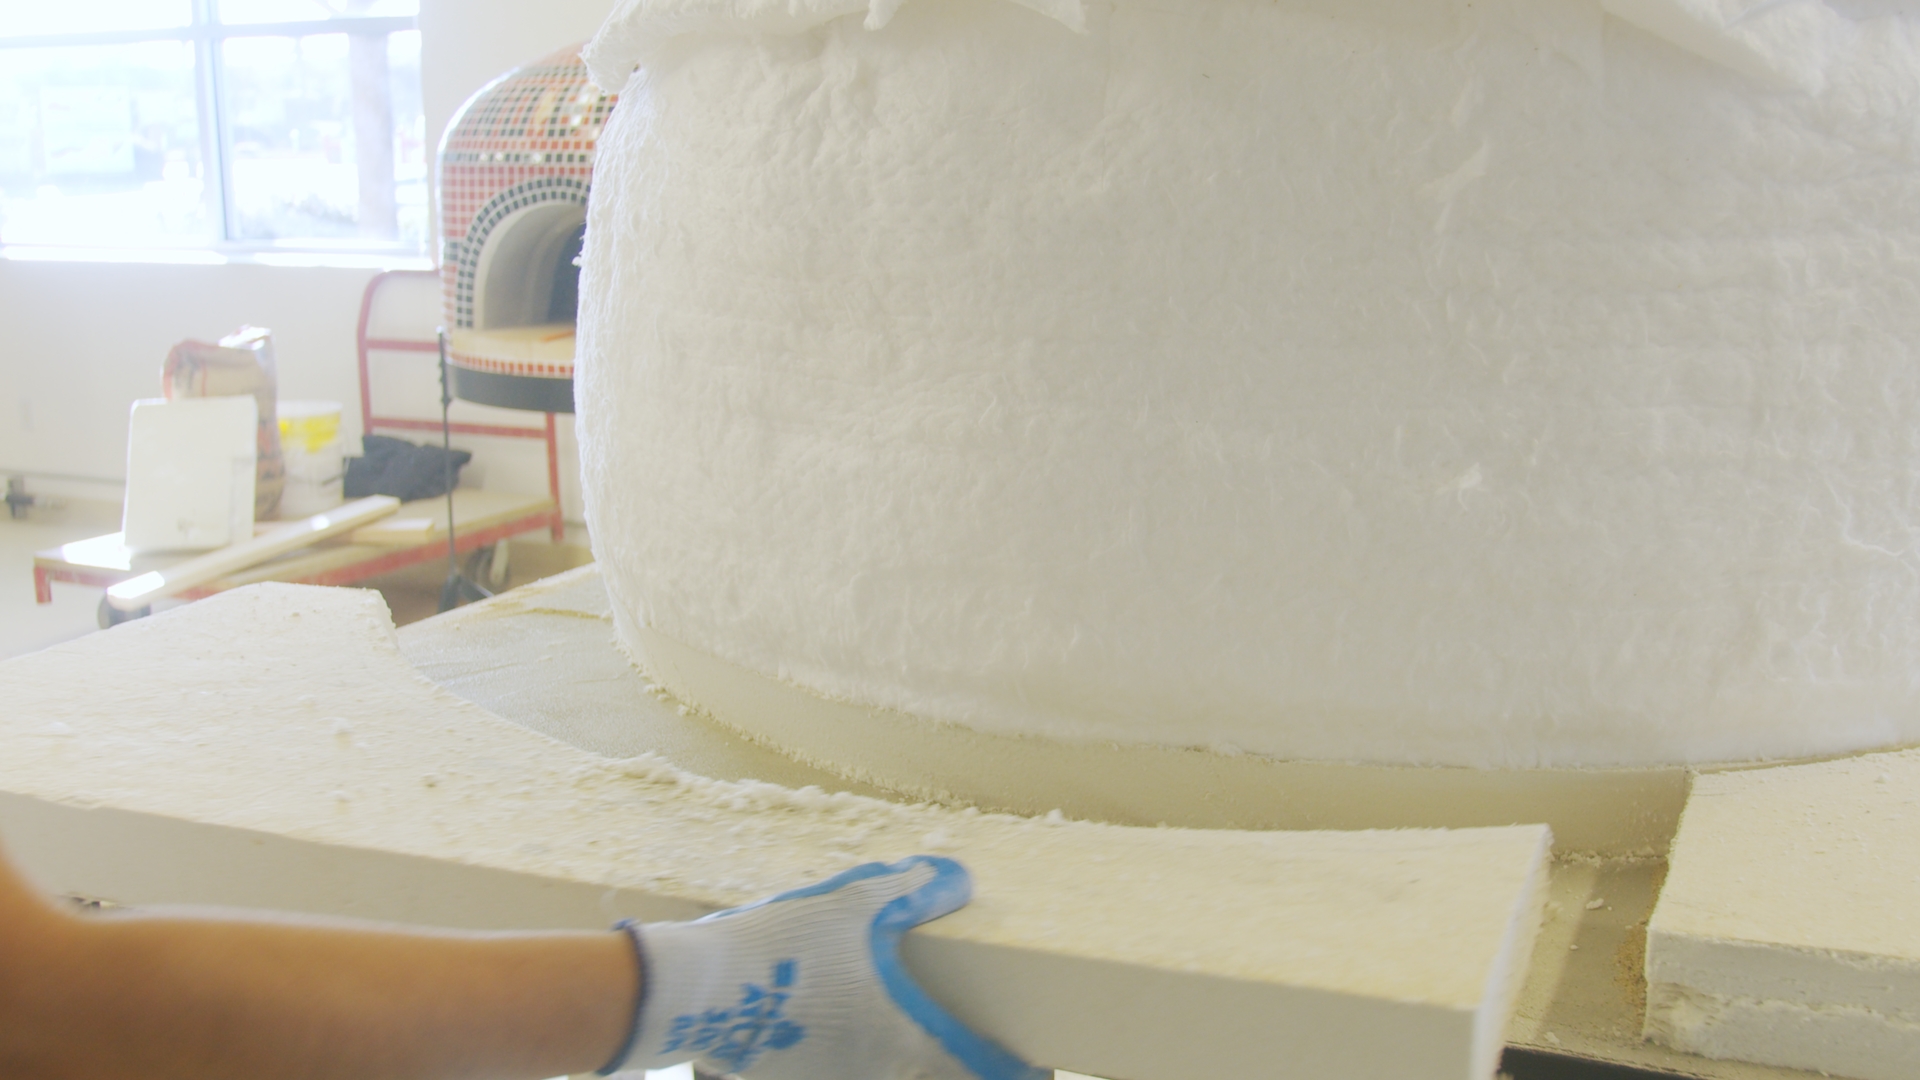
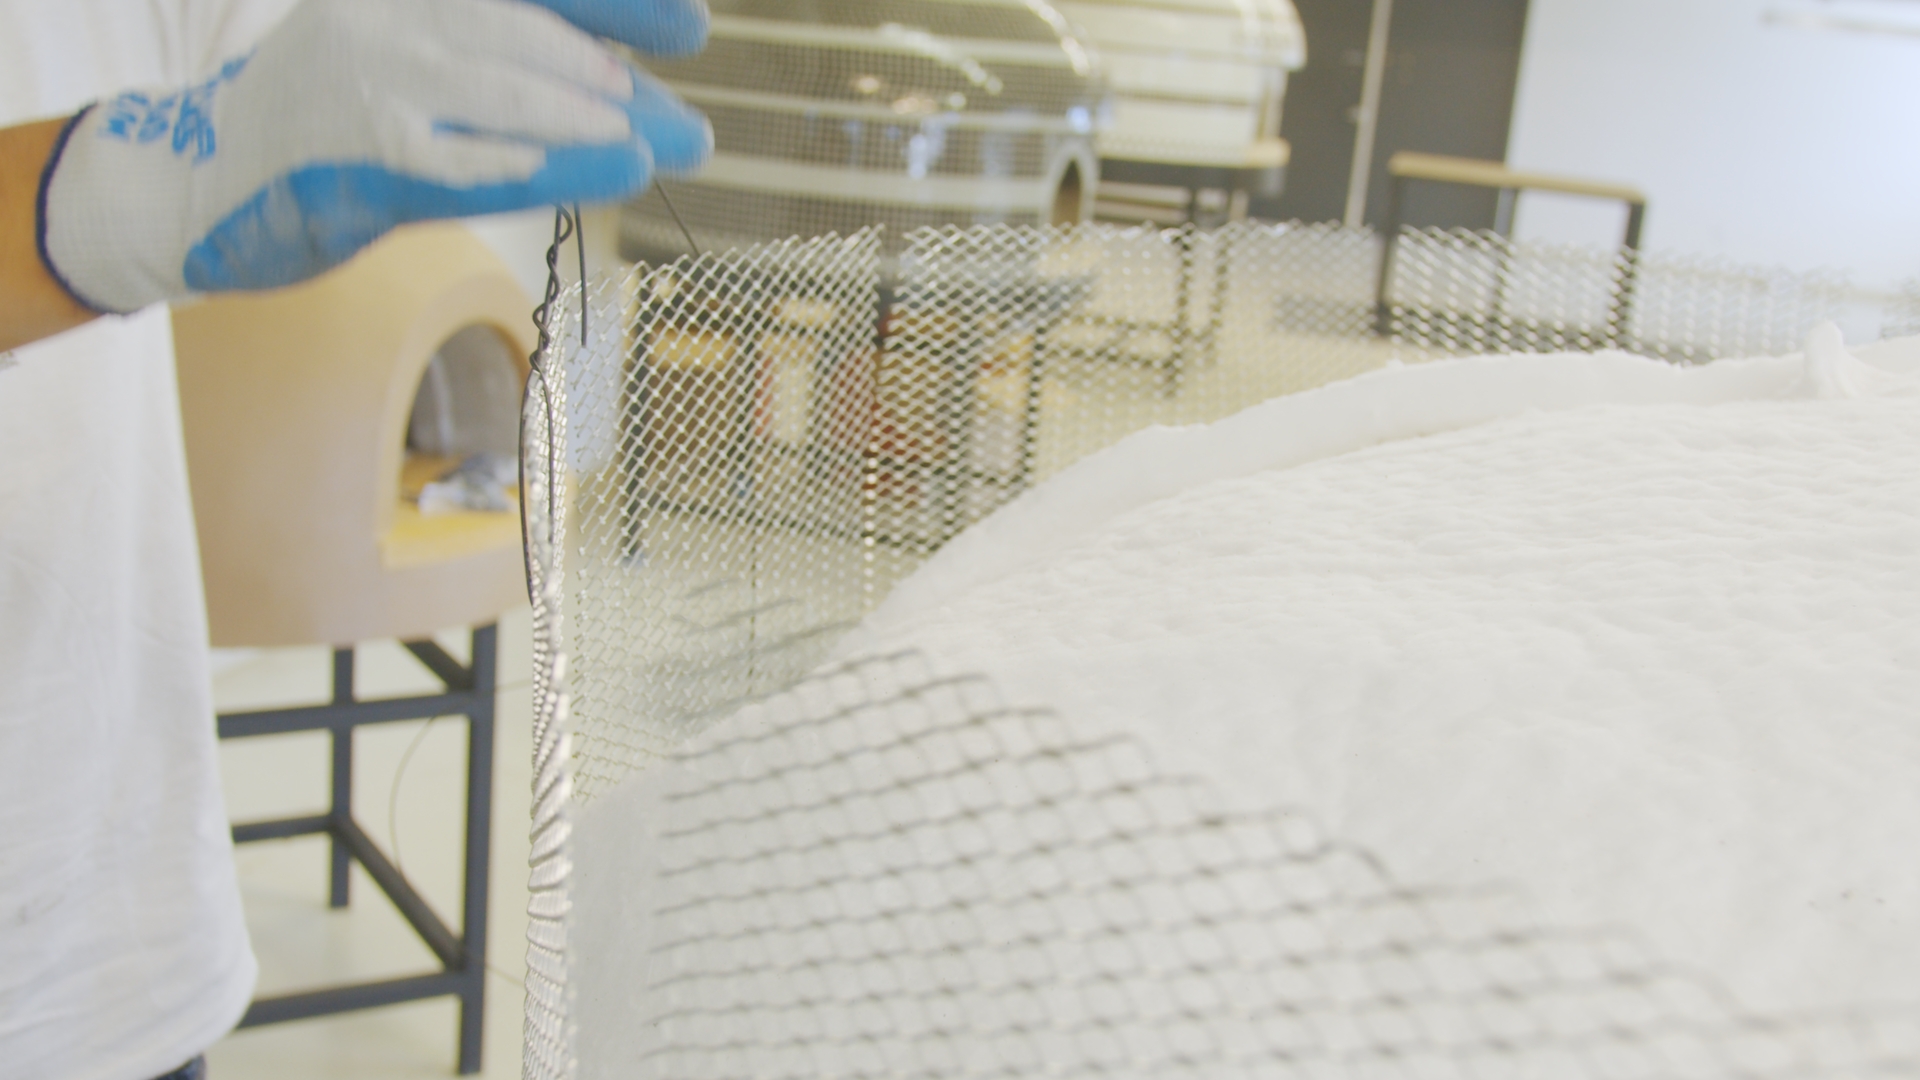
- Wrap the first insulation blanket layer around the dome to assemble your Forno Bravo Oven Kit.
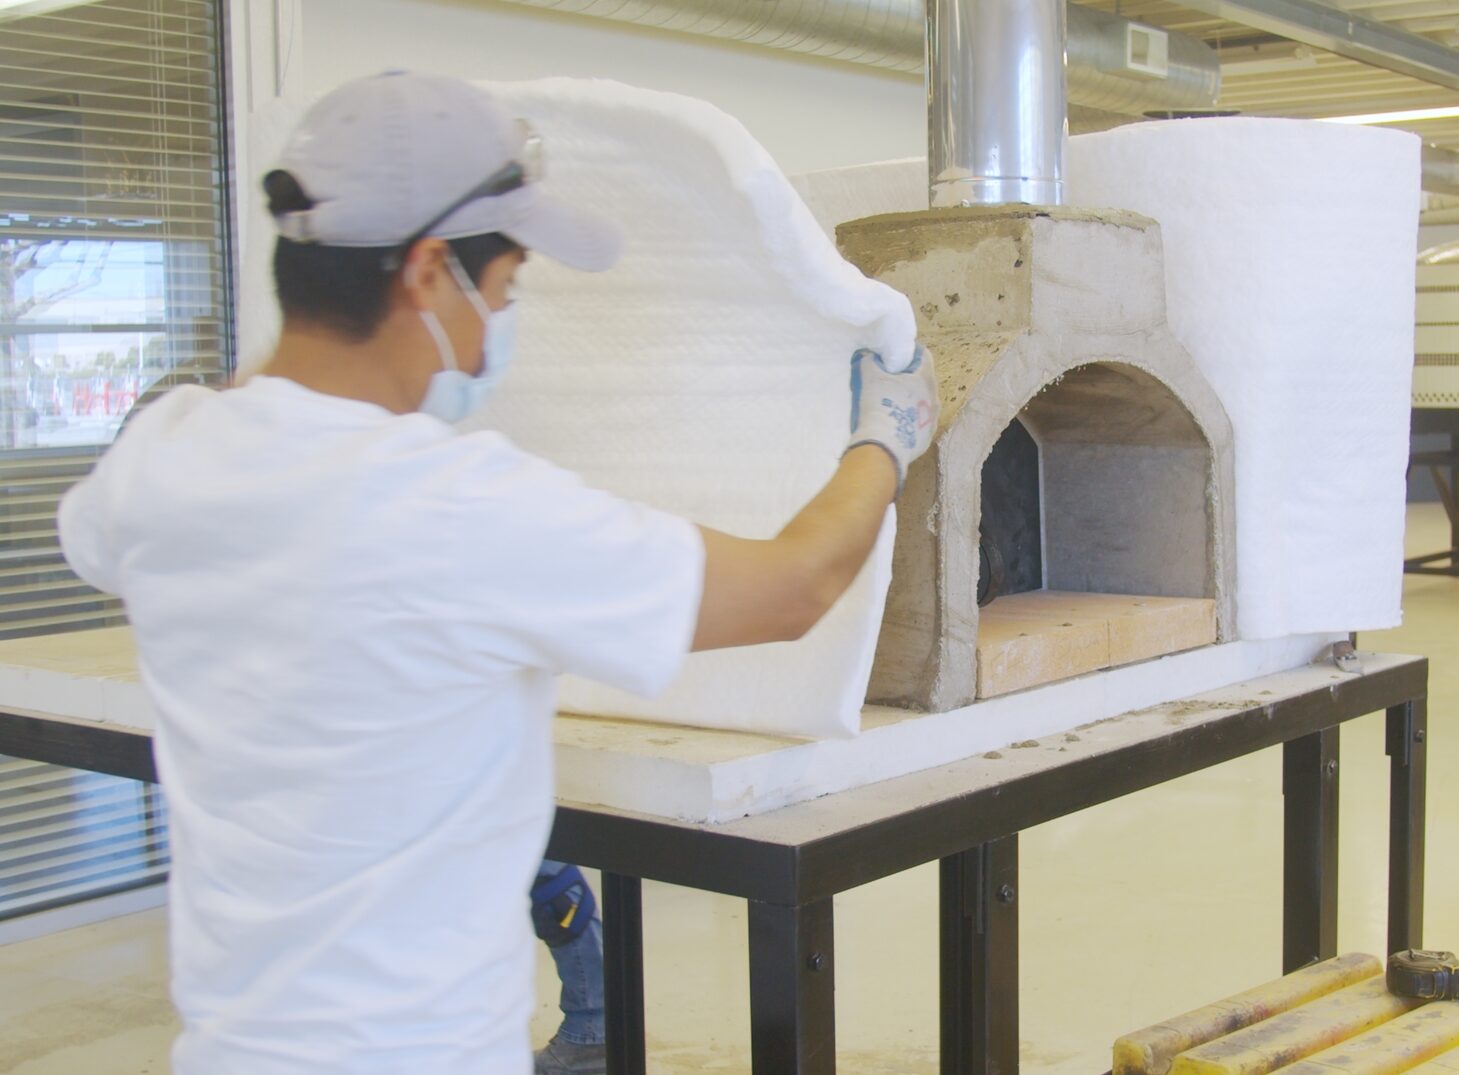
- Cut the blanket two feet across and lay it on the top of the first layer on one side of the dome.
- Repeat this process until you have a minimum of three inches of insulation evenly on both sides of the dome. Please refer to your owner’s manual for your specific oven kit style requirements. Forno Bravo supplies three layers for Giardino and Casa ovens but more insulation for additional layers for the Premio and commercial oven kits. Request more blankets when you order your kit if you want to make a larger shape, or a rounded dome, like would be found on the Toscana or Vesuvio models.
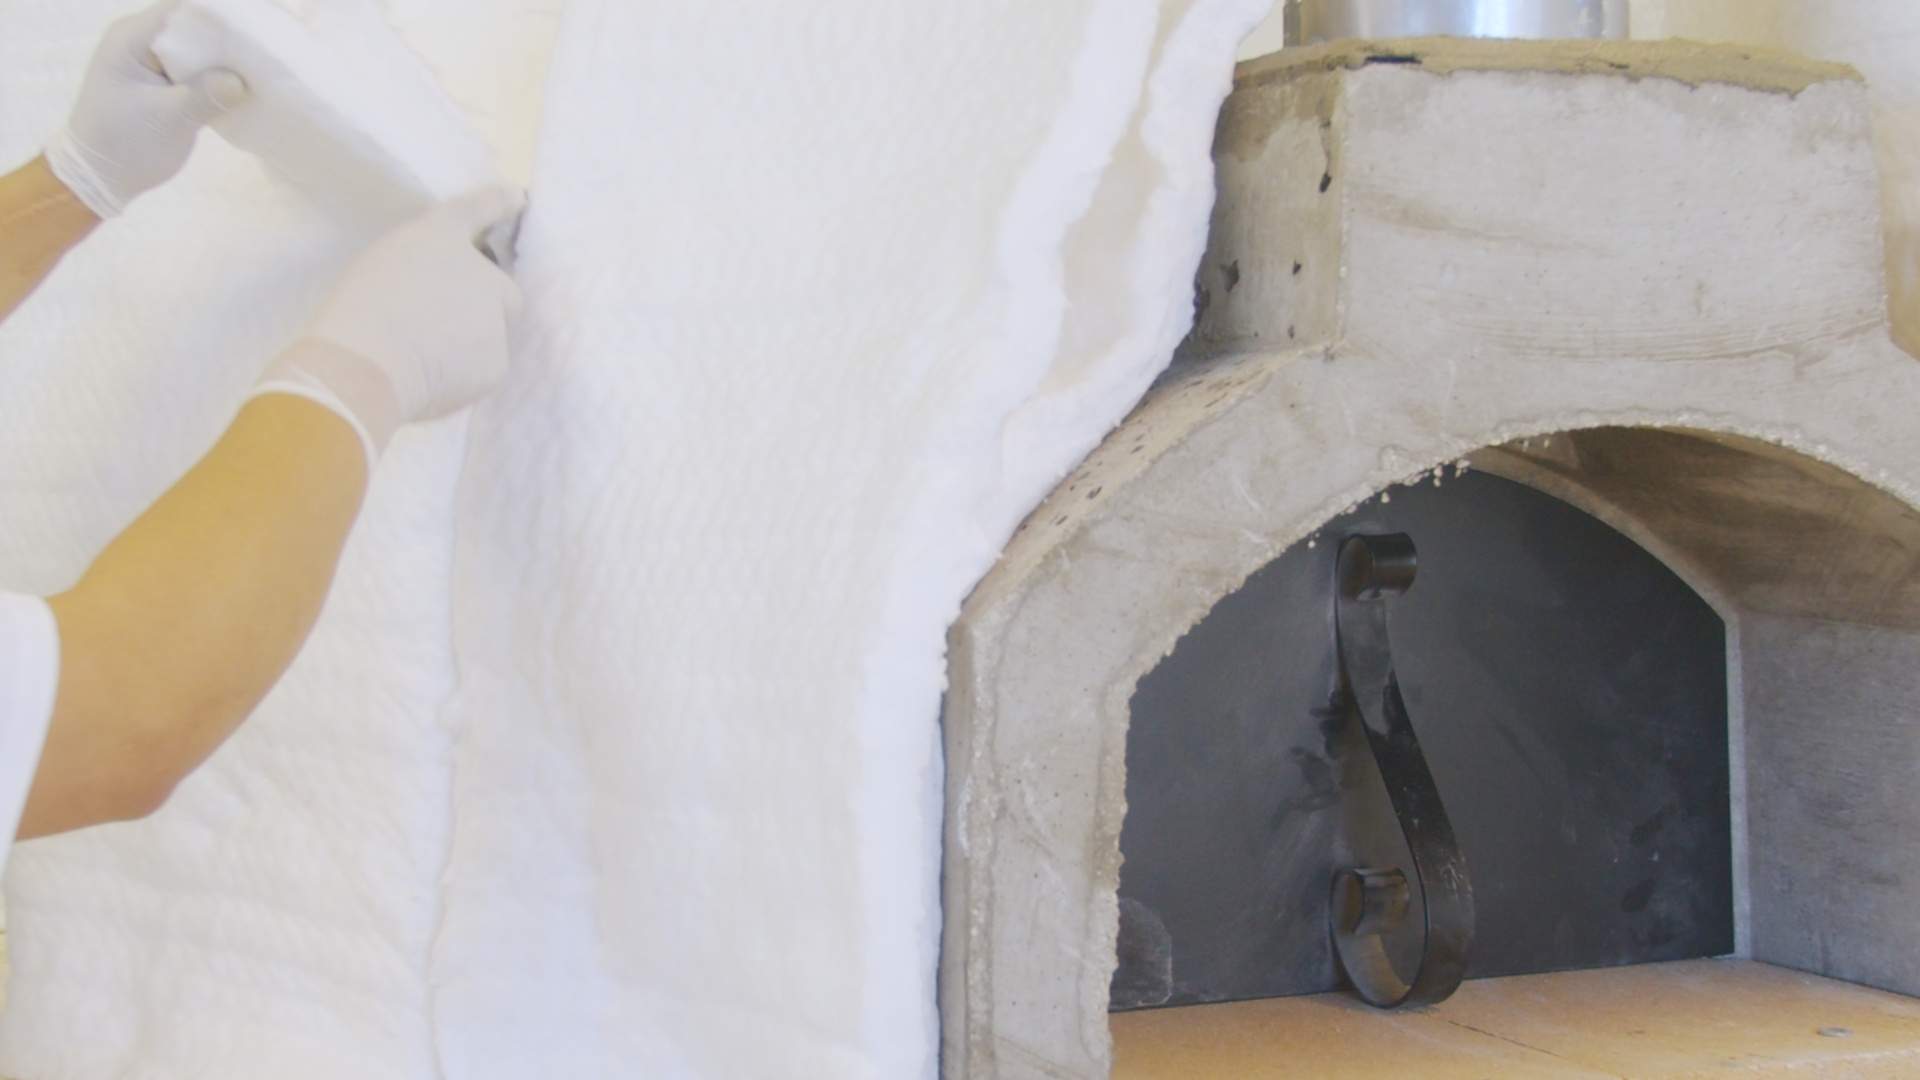
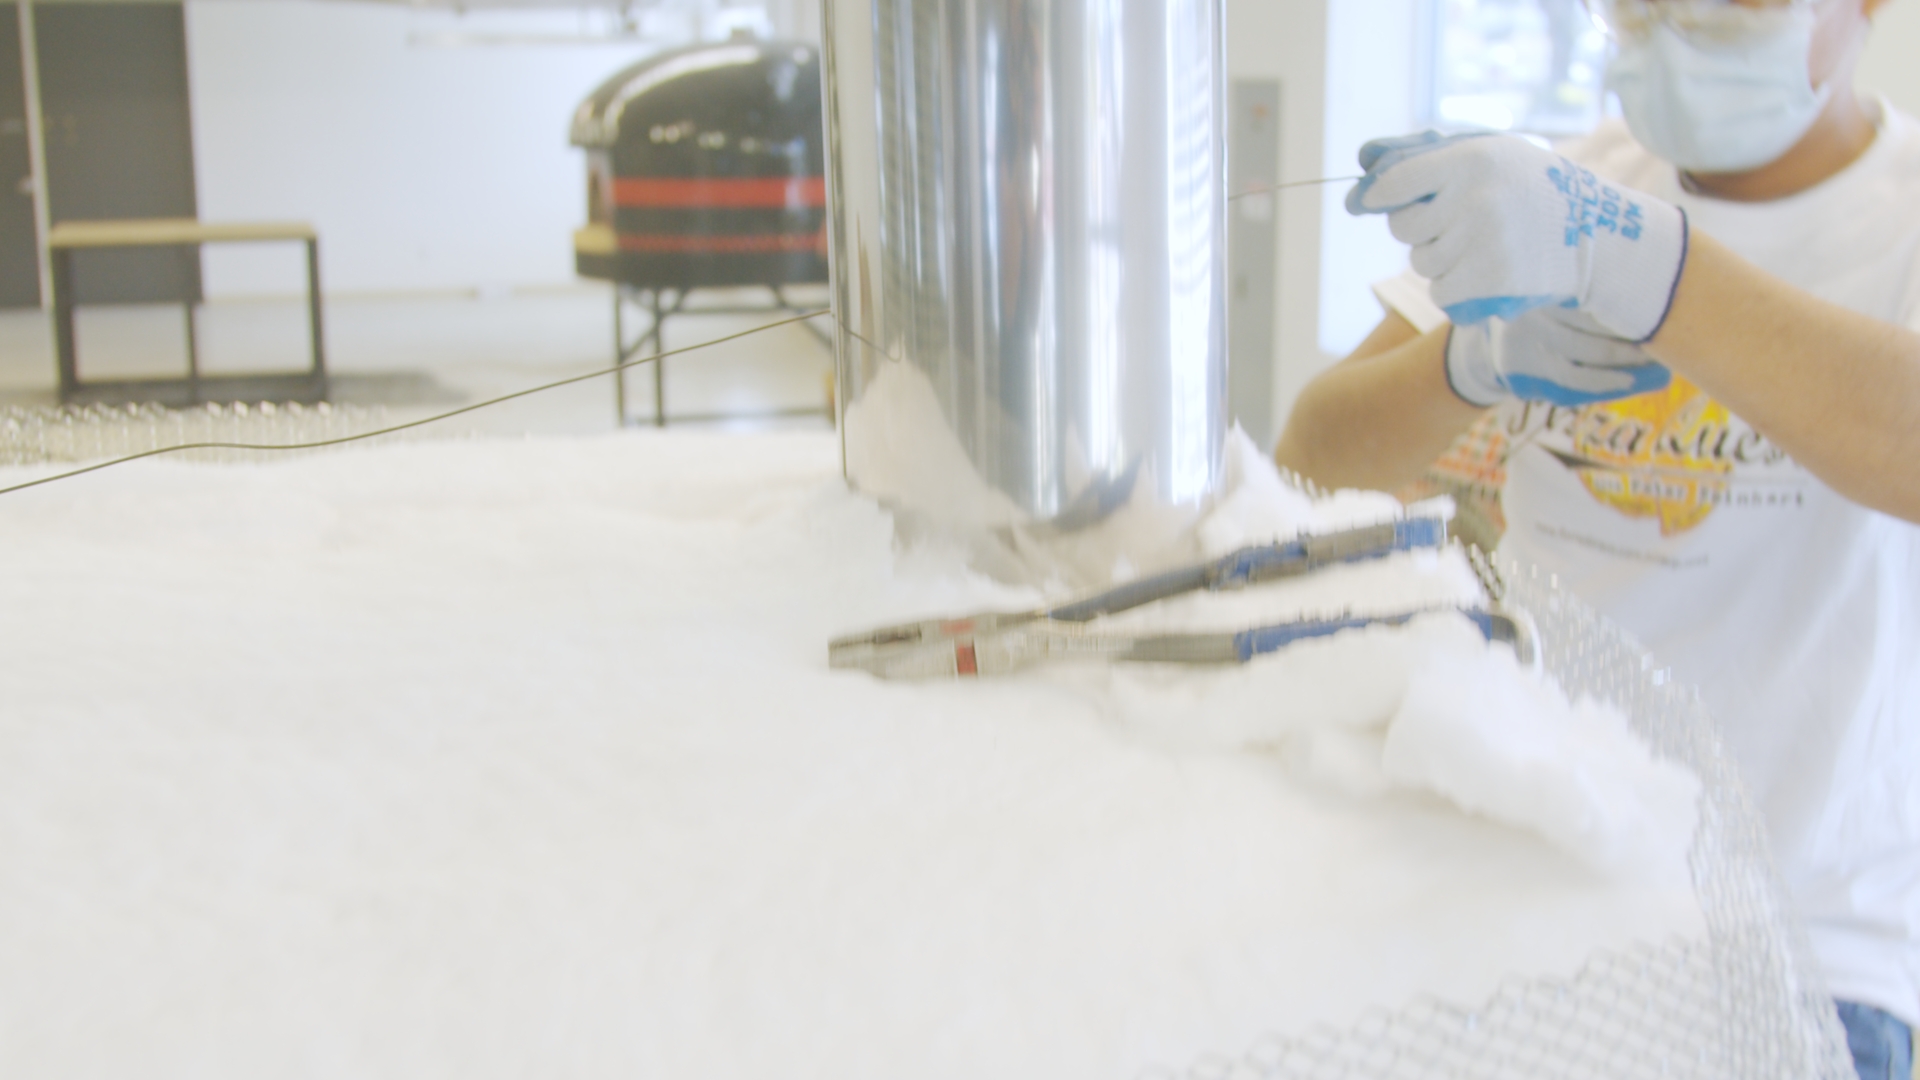
- Next cut triangular pieces – like a pizza slice – to shape your blanket.
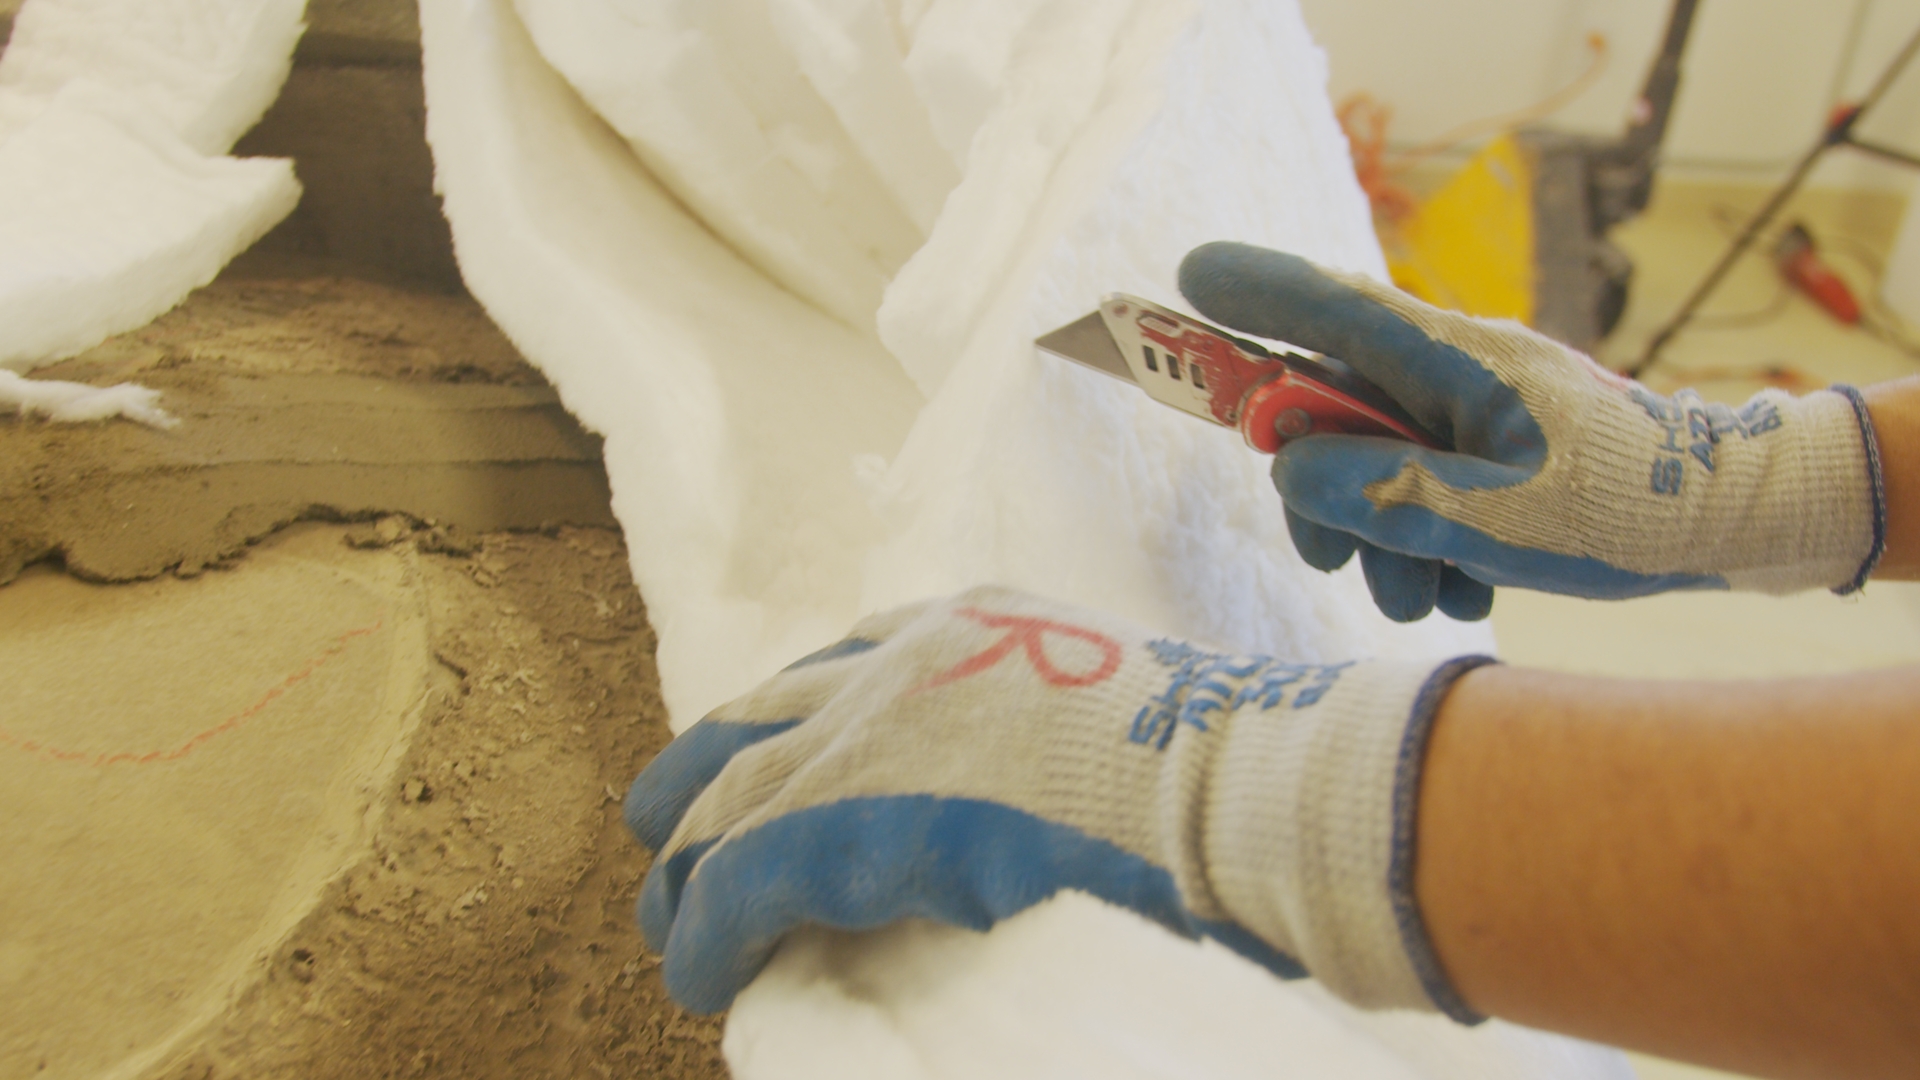
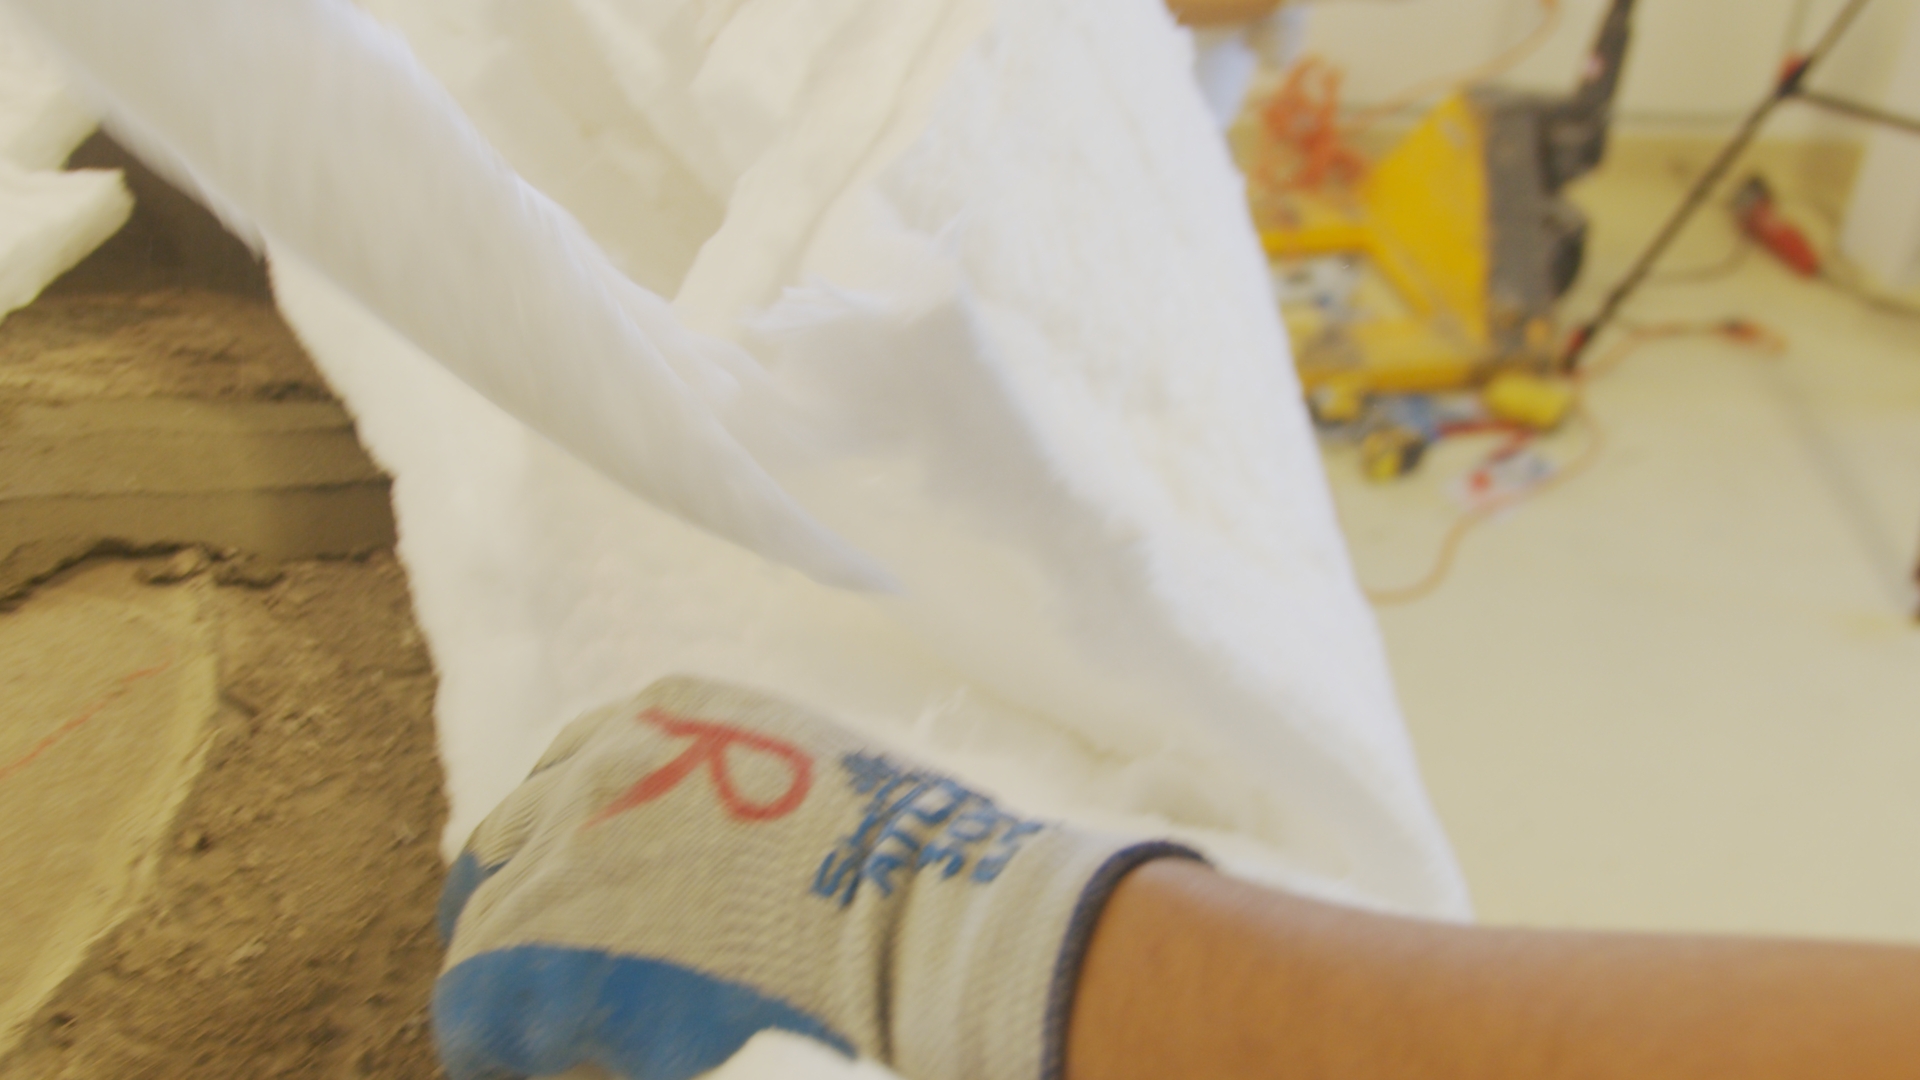
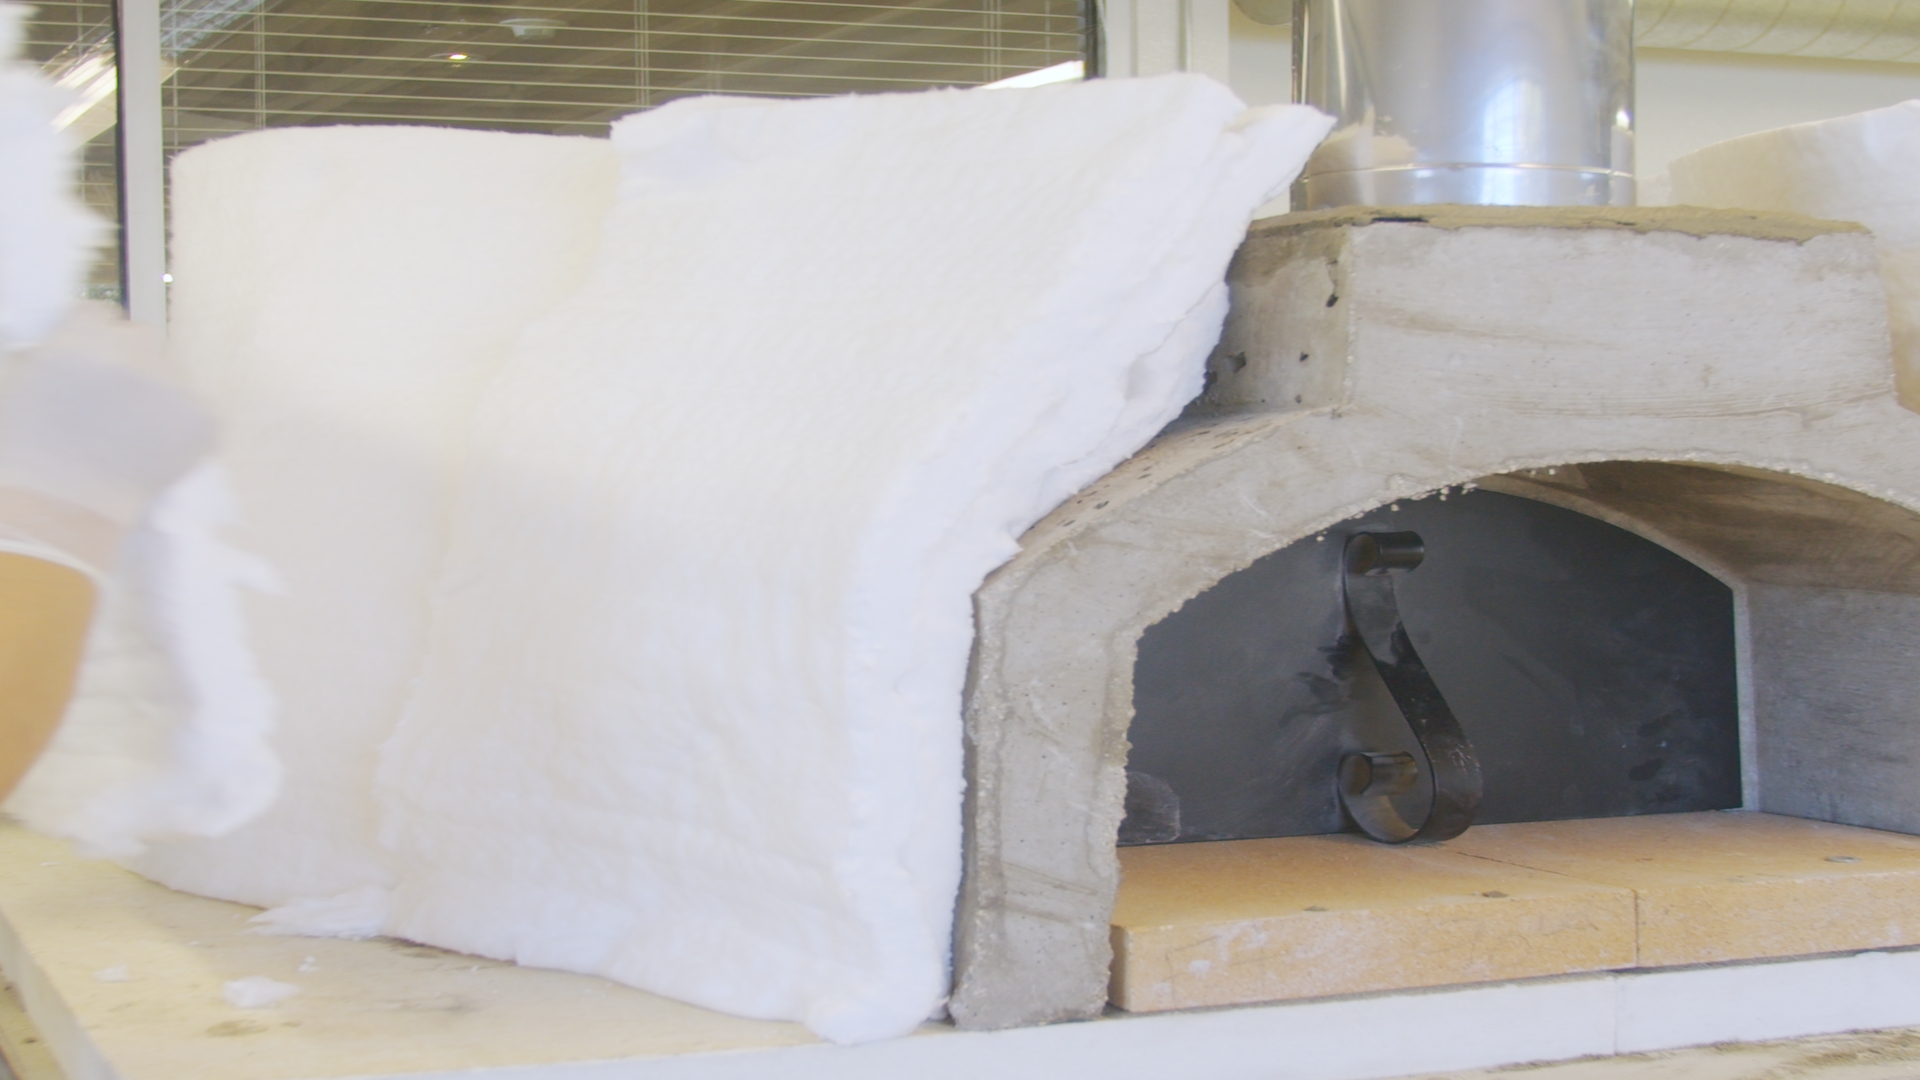
- Don’t waste scraps, as you can put them on the top of the oven for extra padding and heat retention. Repeat this process around the dome to create a tight fit.

- Cover the top of the oven for full coverage.
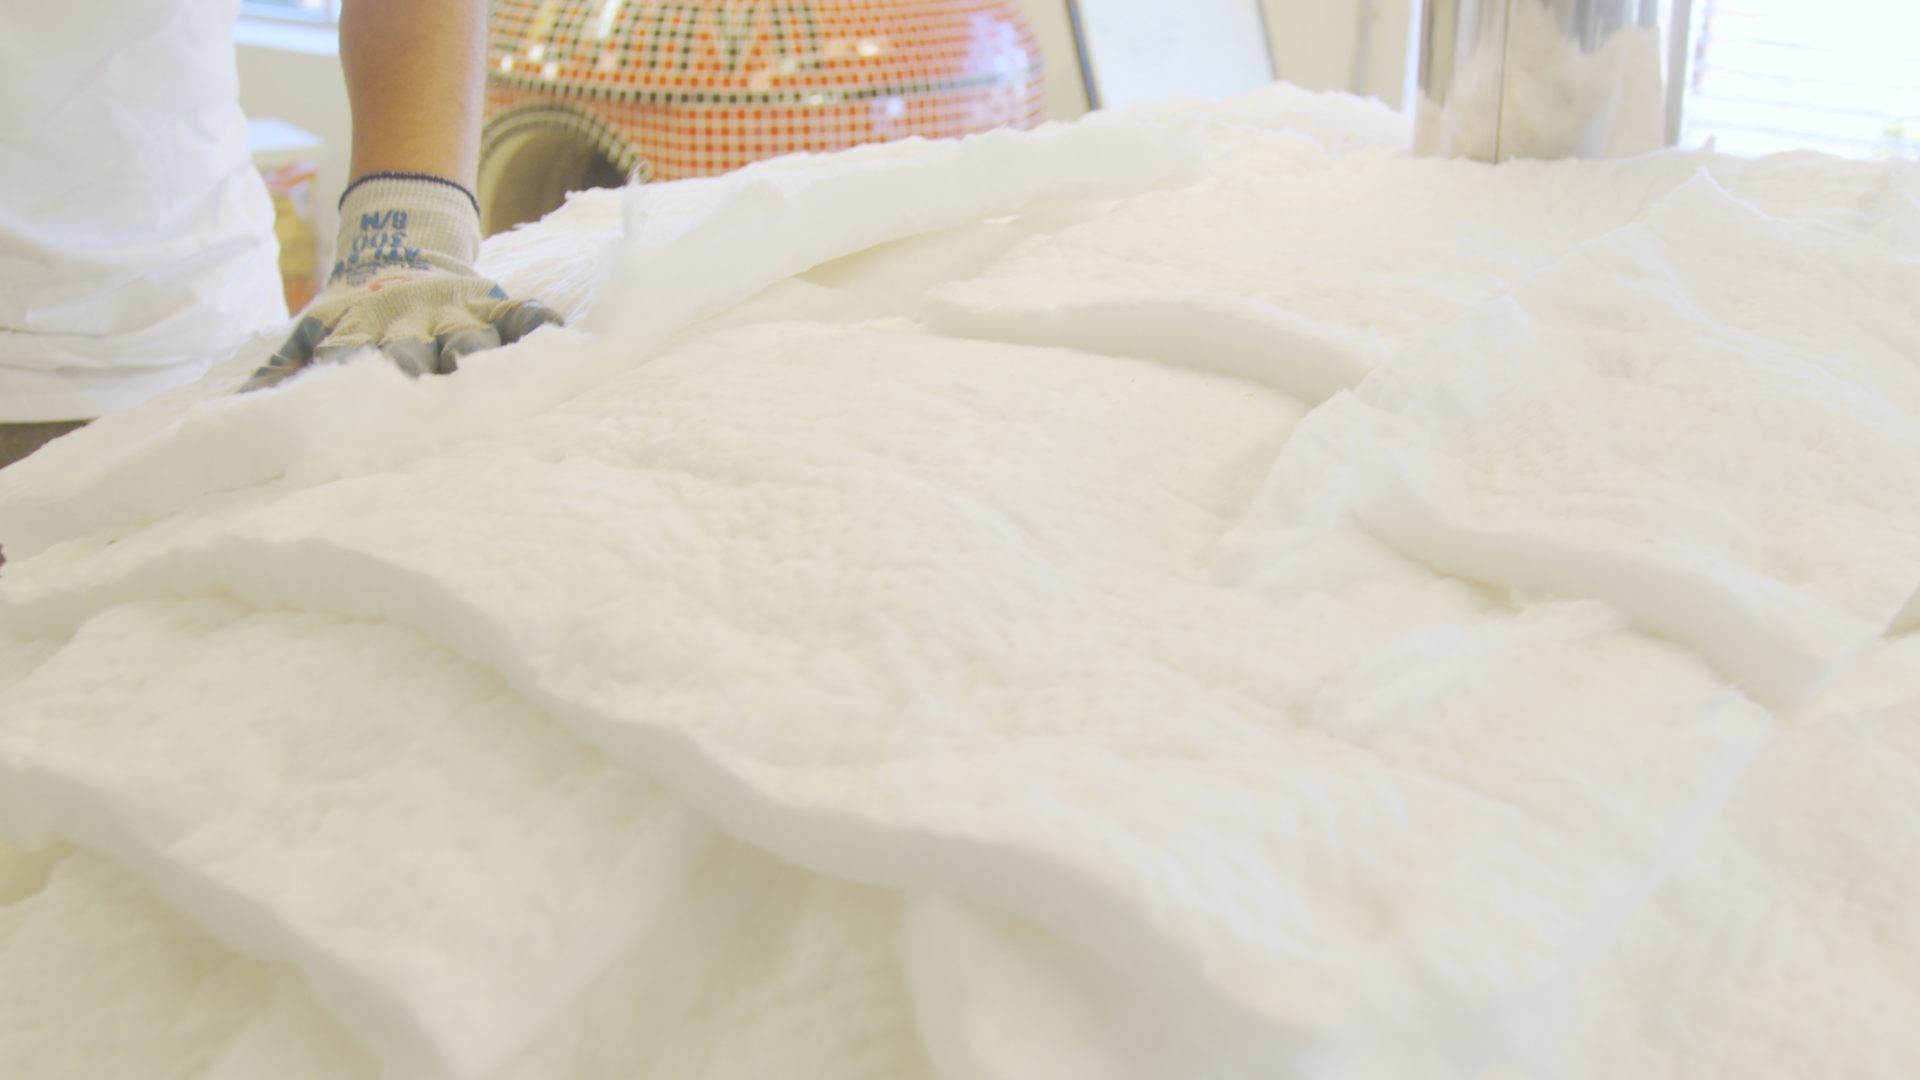
- Add insulation in front of the flue.
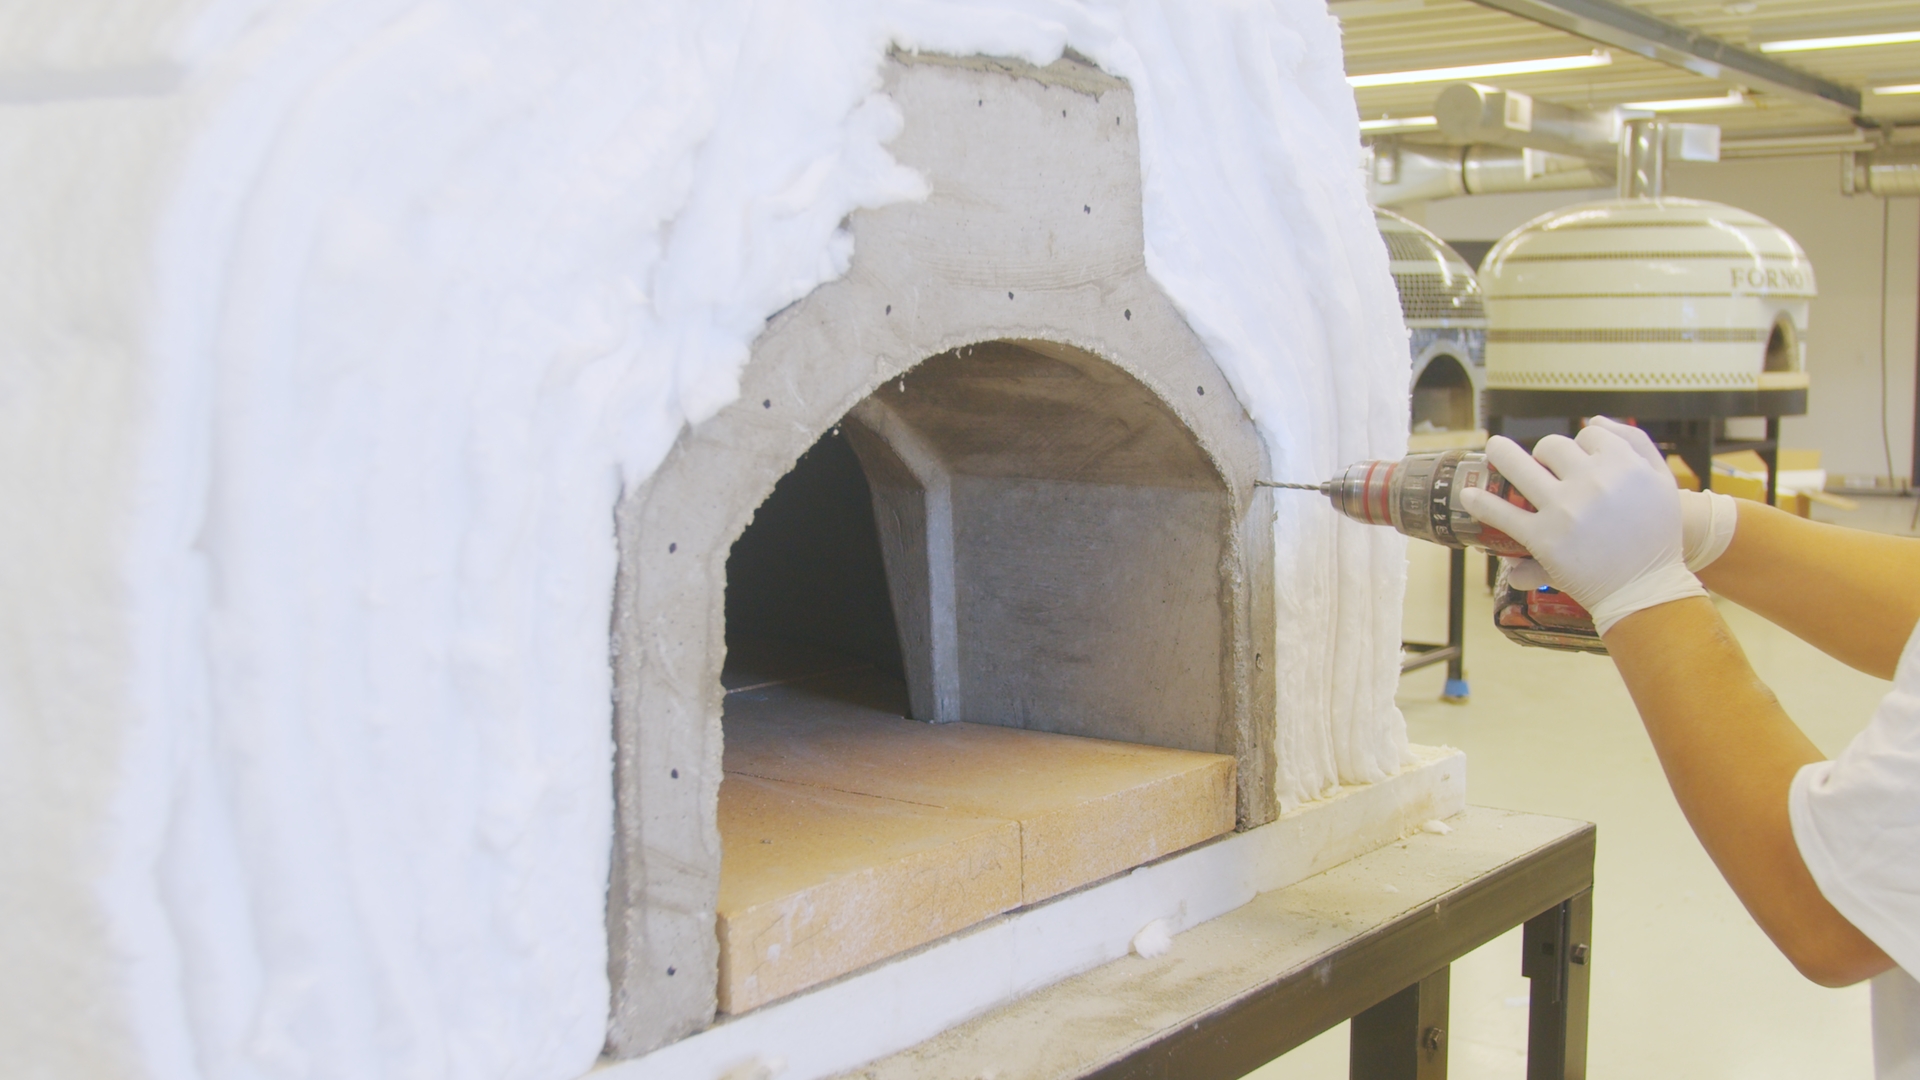
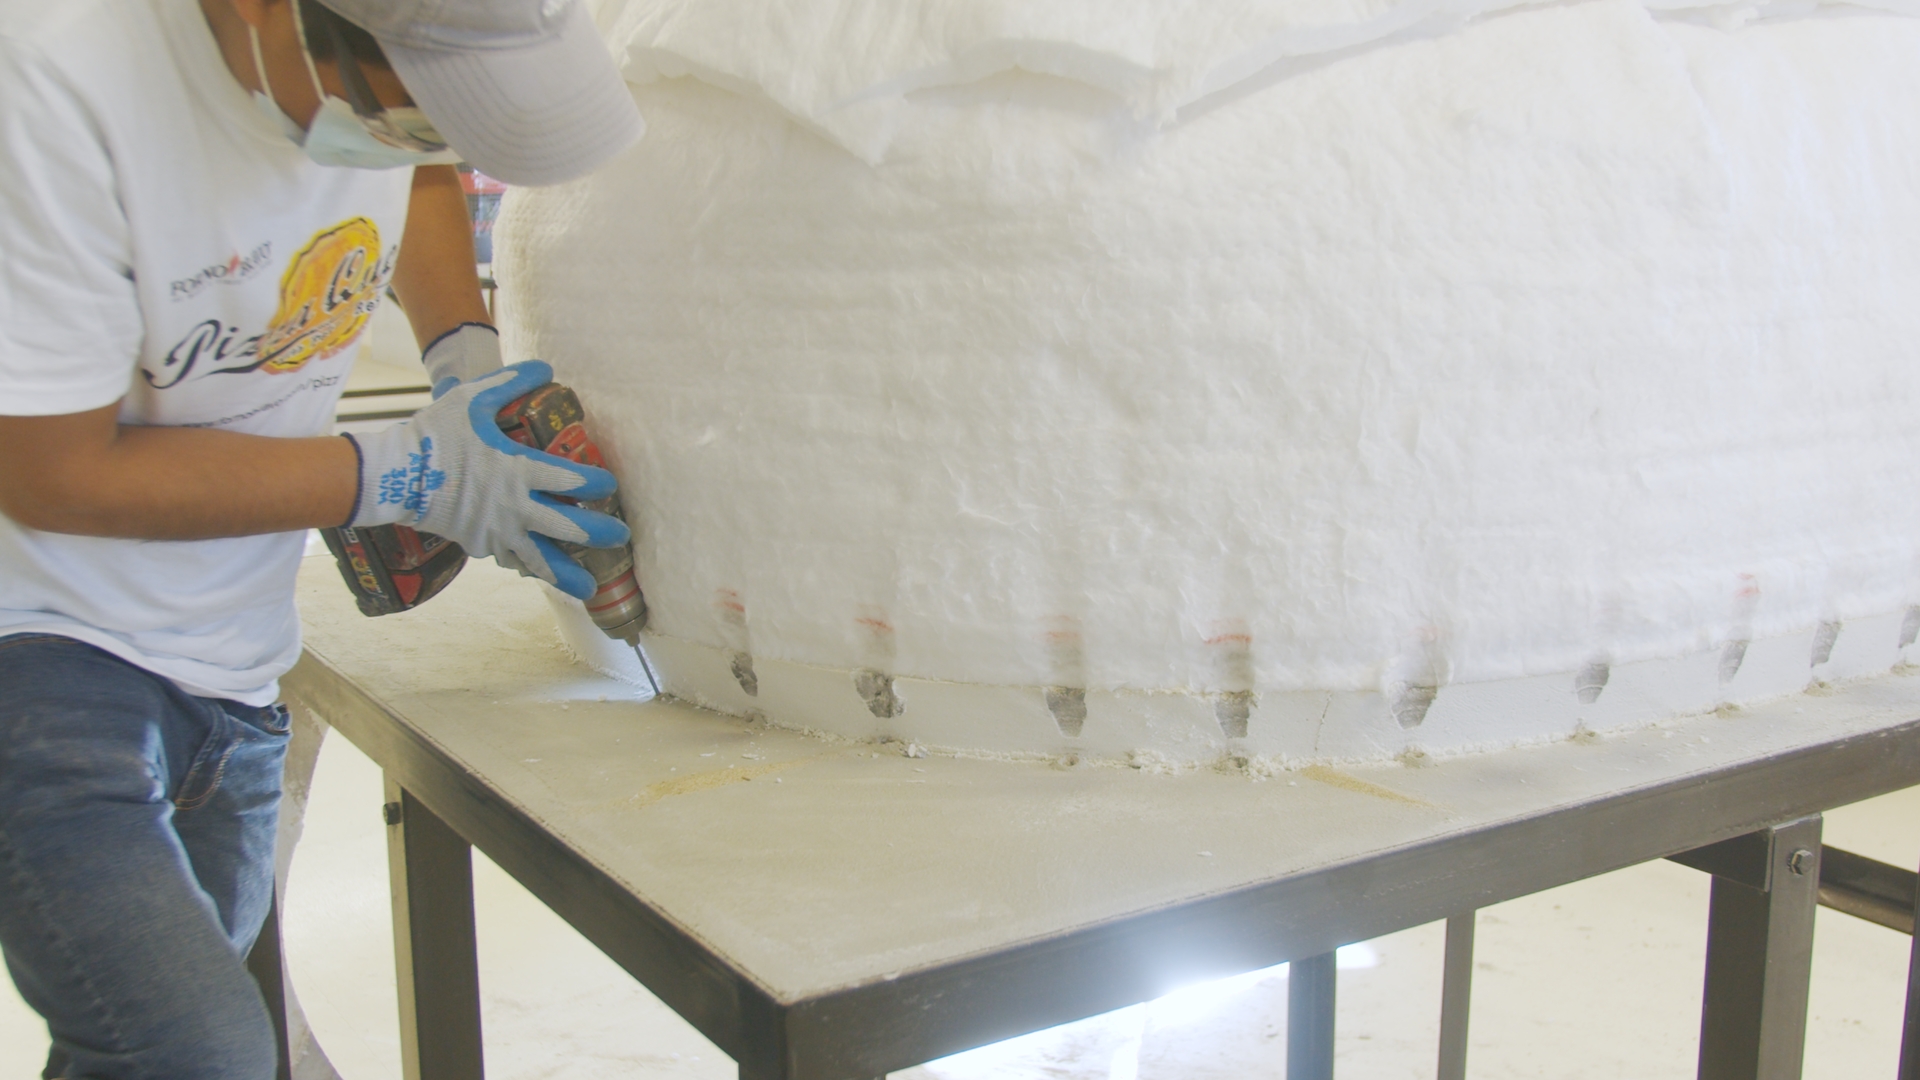
- Mark the front of the oven where the concrete screws will go with a marker. They will hold the steel lath or chicken wire in place and should be about three to four inches apart.
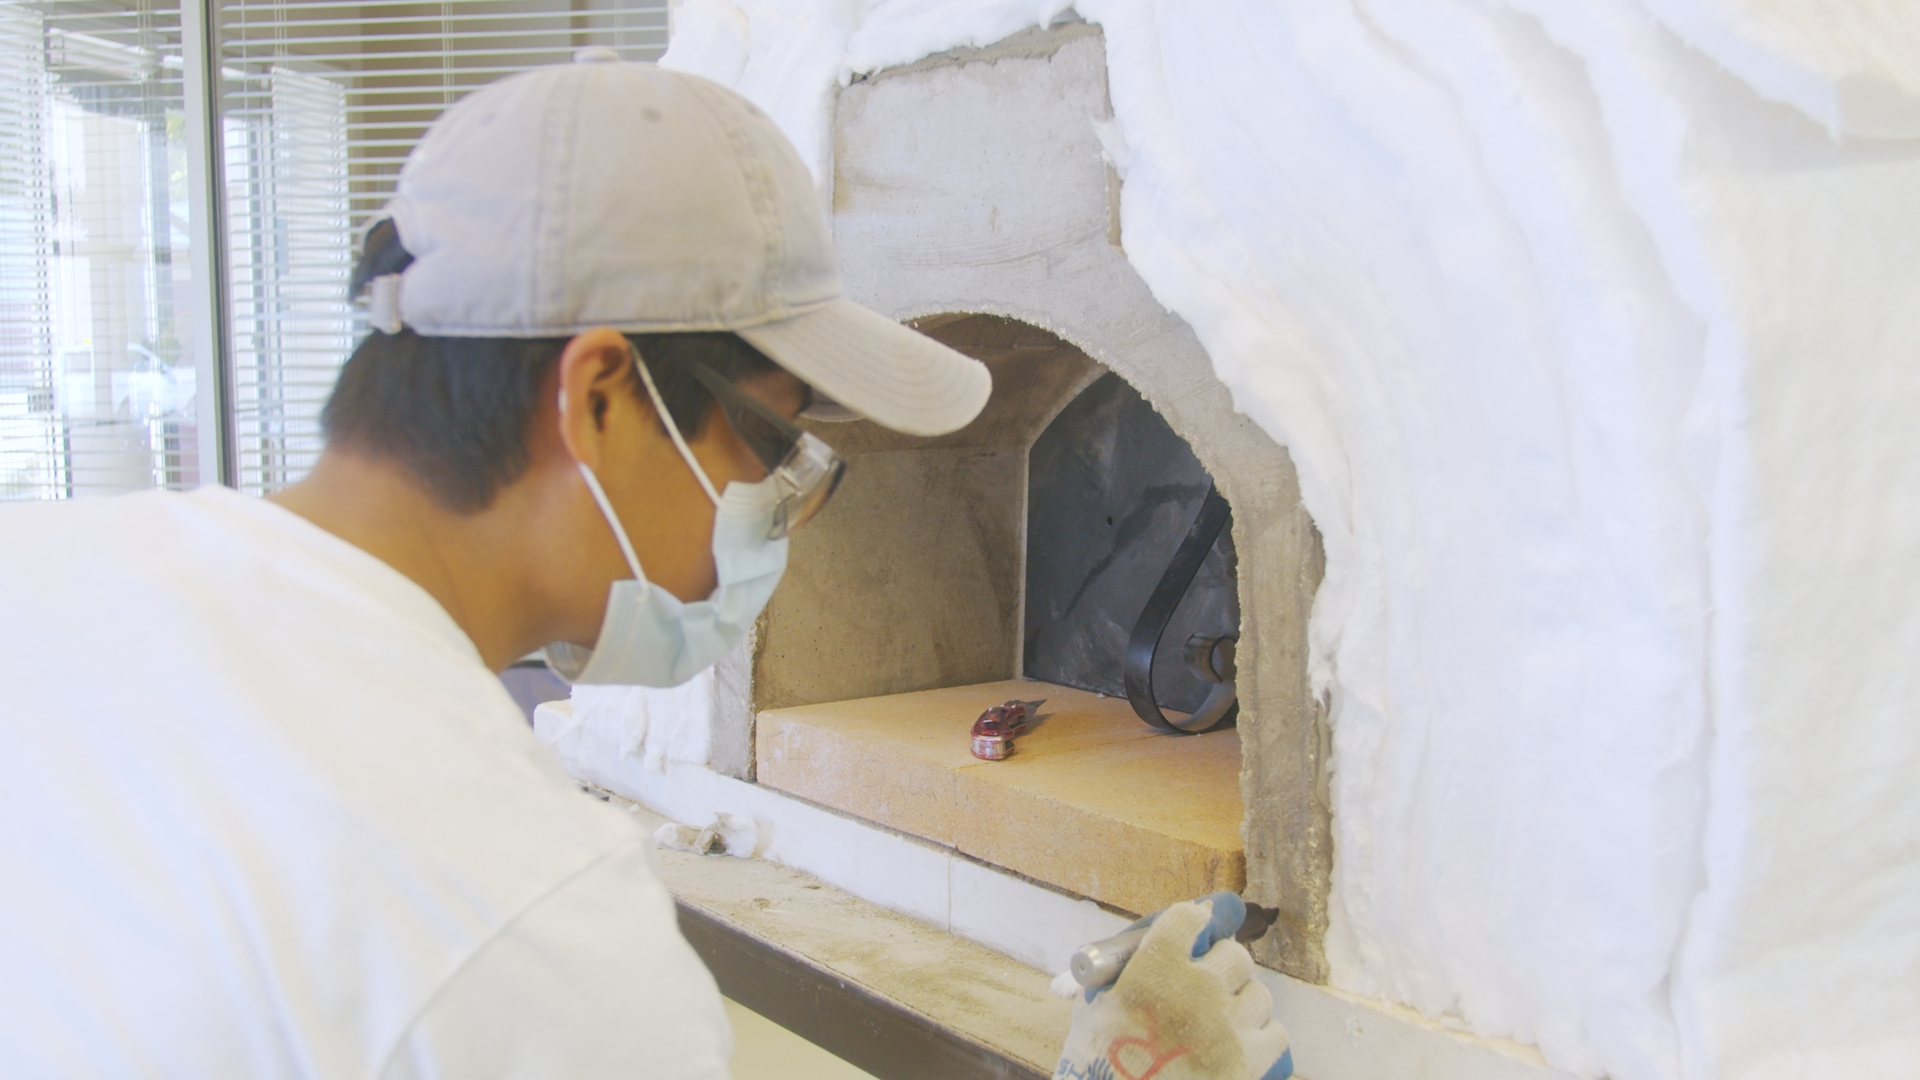
- Pre-drill holes on the marked spots into the center of the refractory material. Do not drill too close to the edge because the concrete may spall and damage the dome.
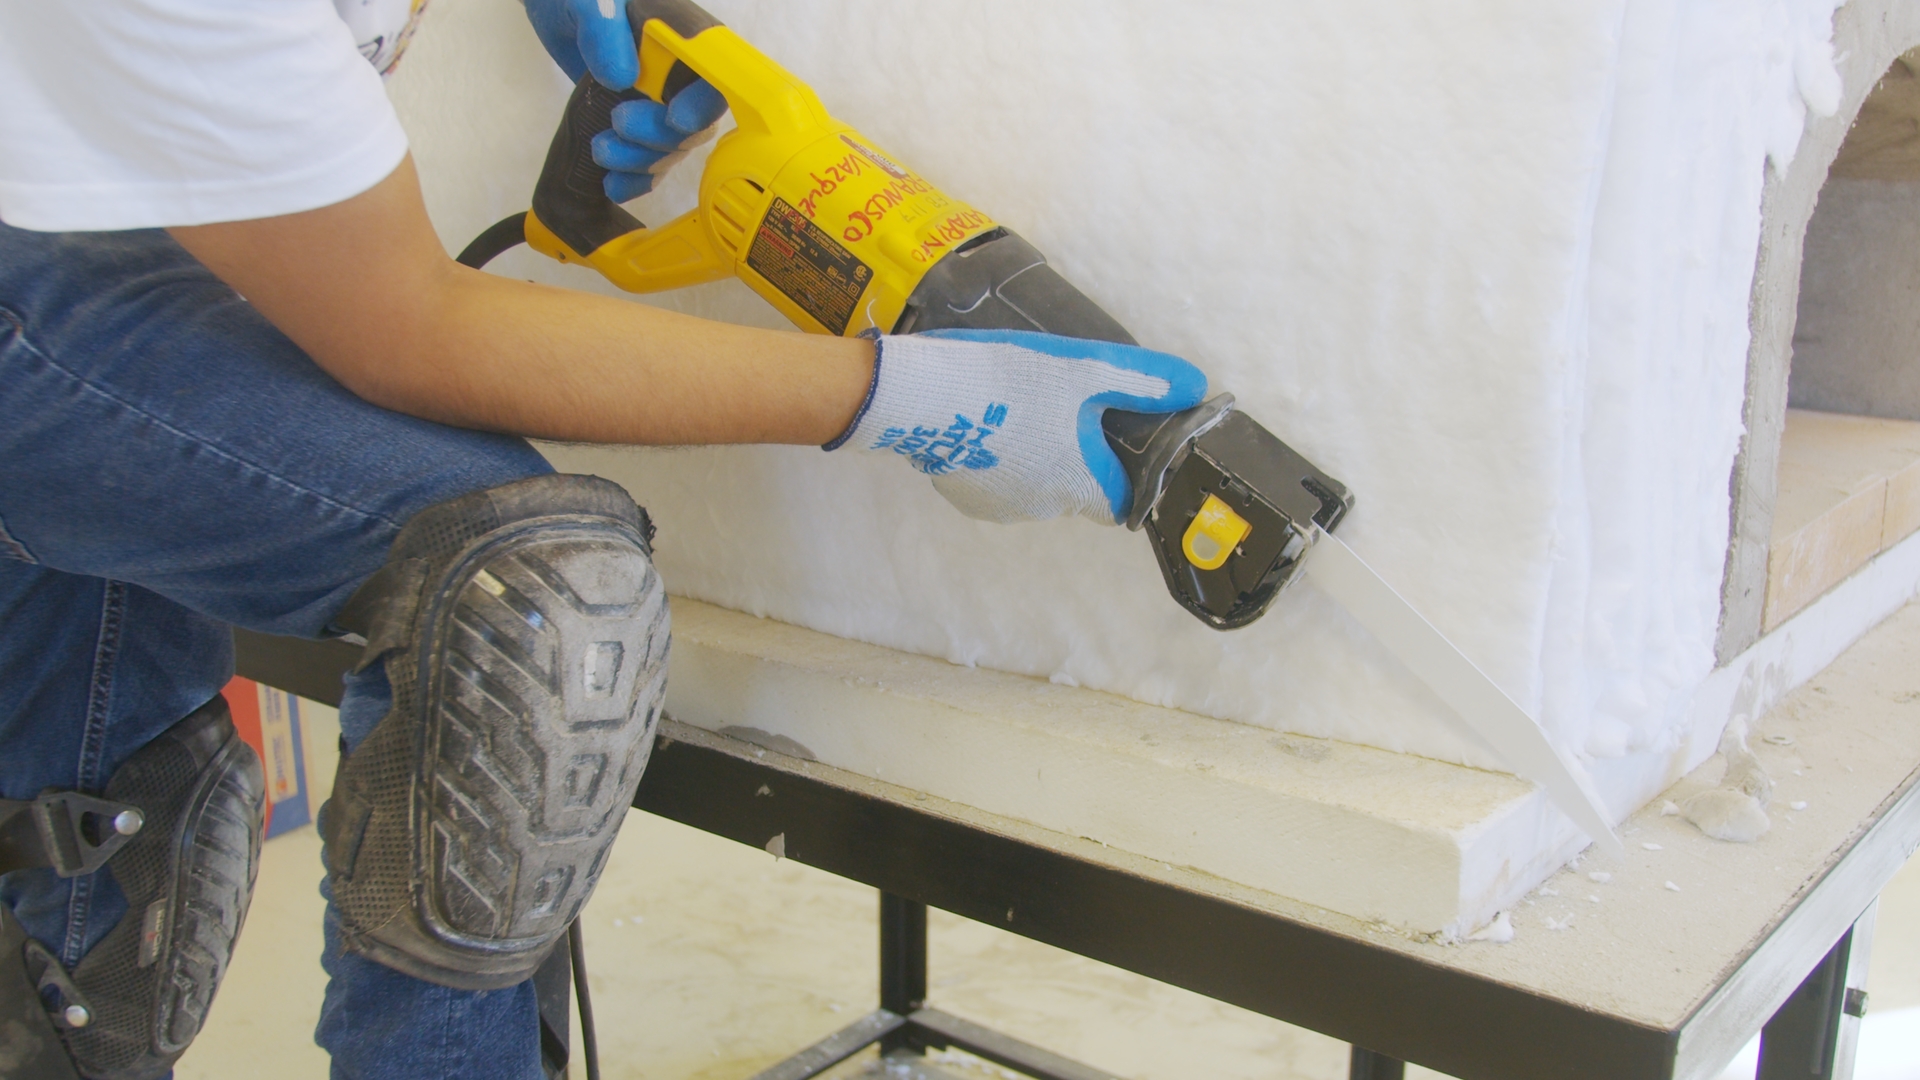
- Cut and remove the extra floorboard insulation around the shape of the dome using a Sawzall.
- Drill holes into the cement stand below the ceramic board insulation. The screws that go in these holes will secure the wire netting.
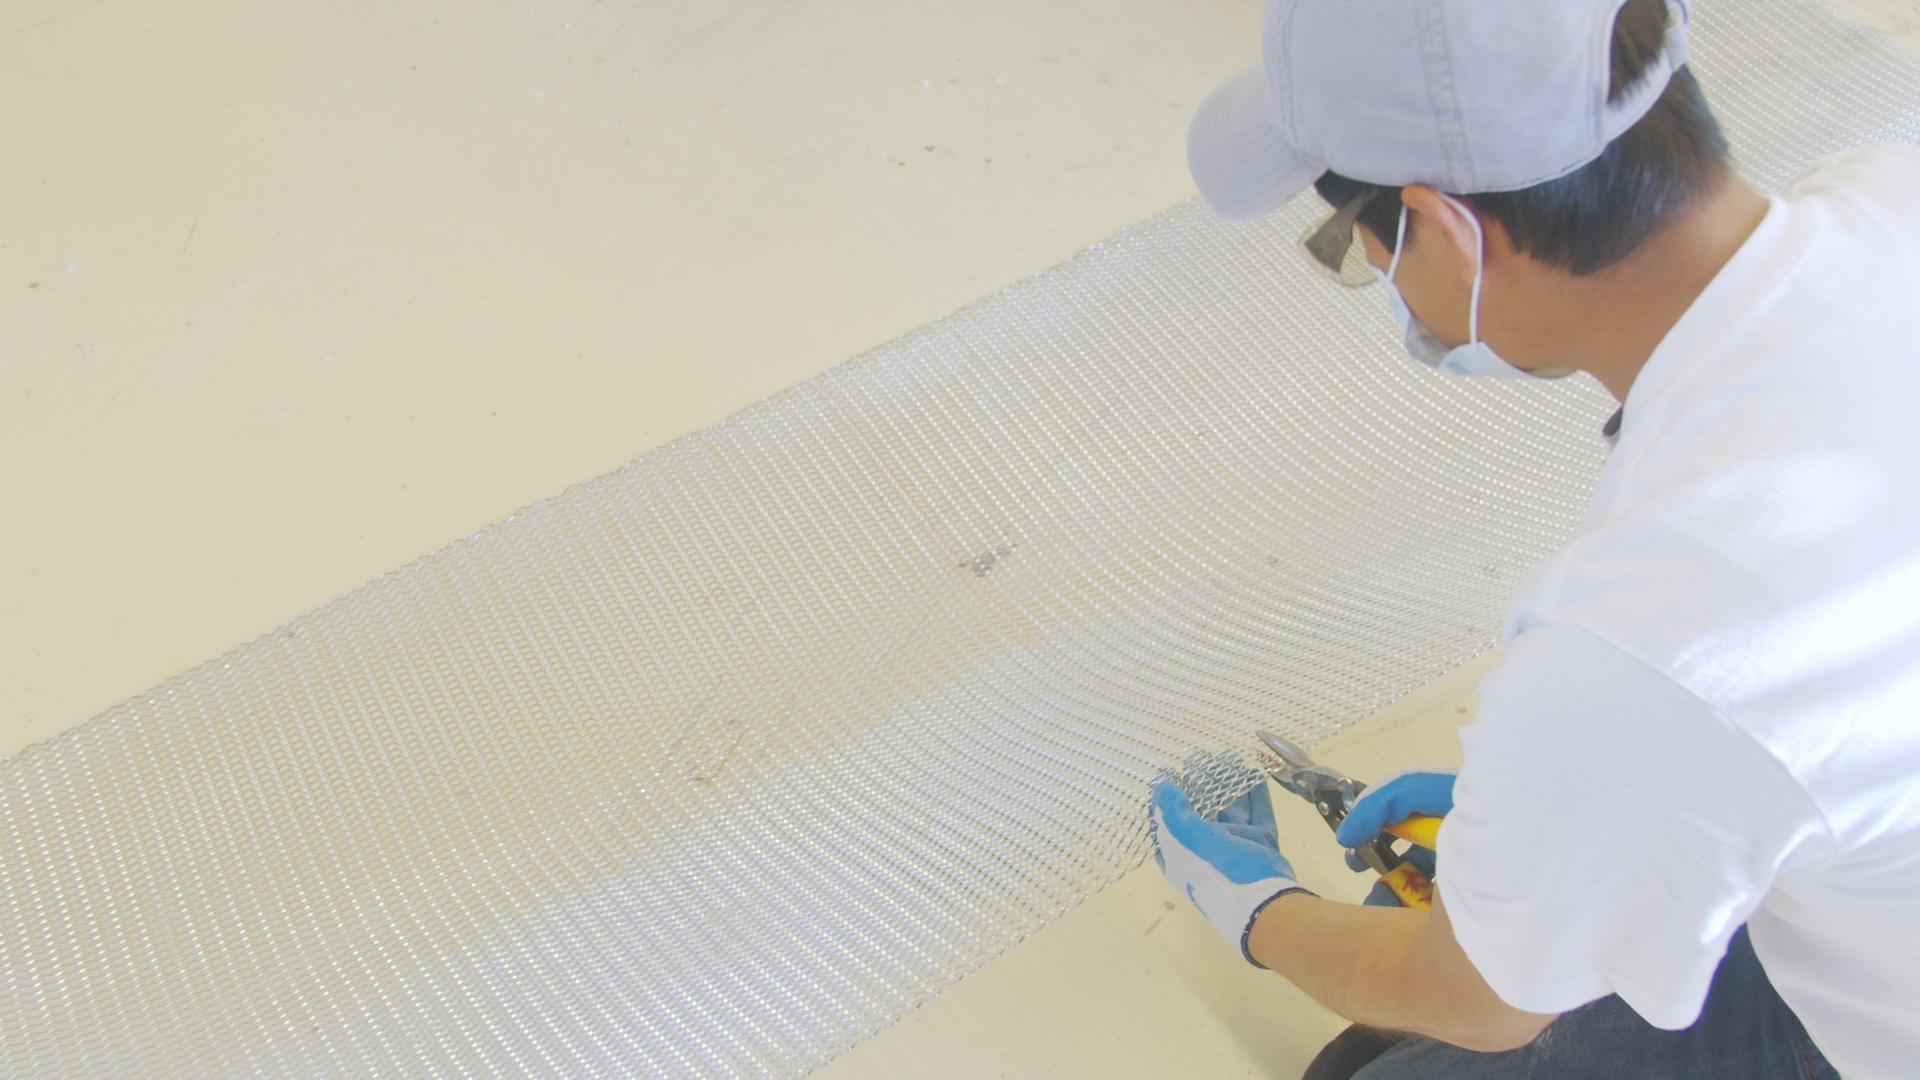
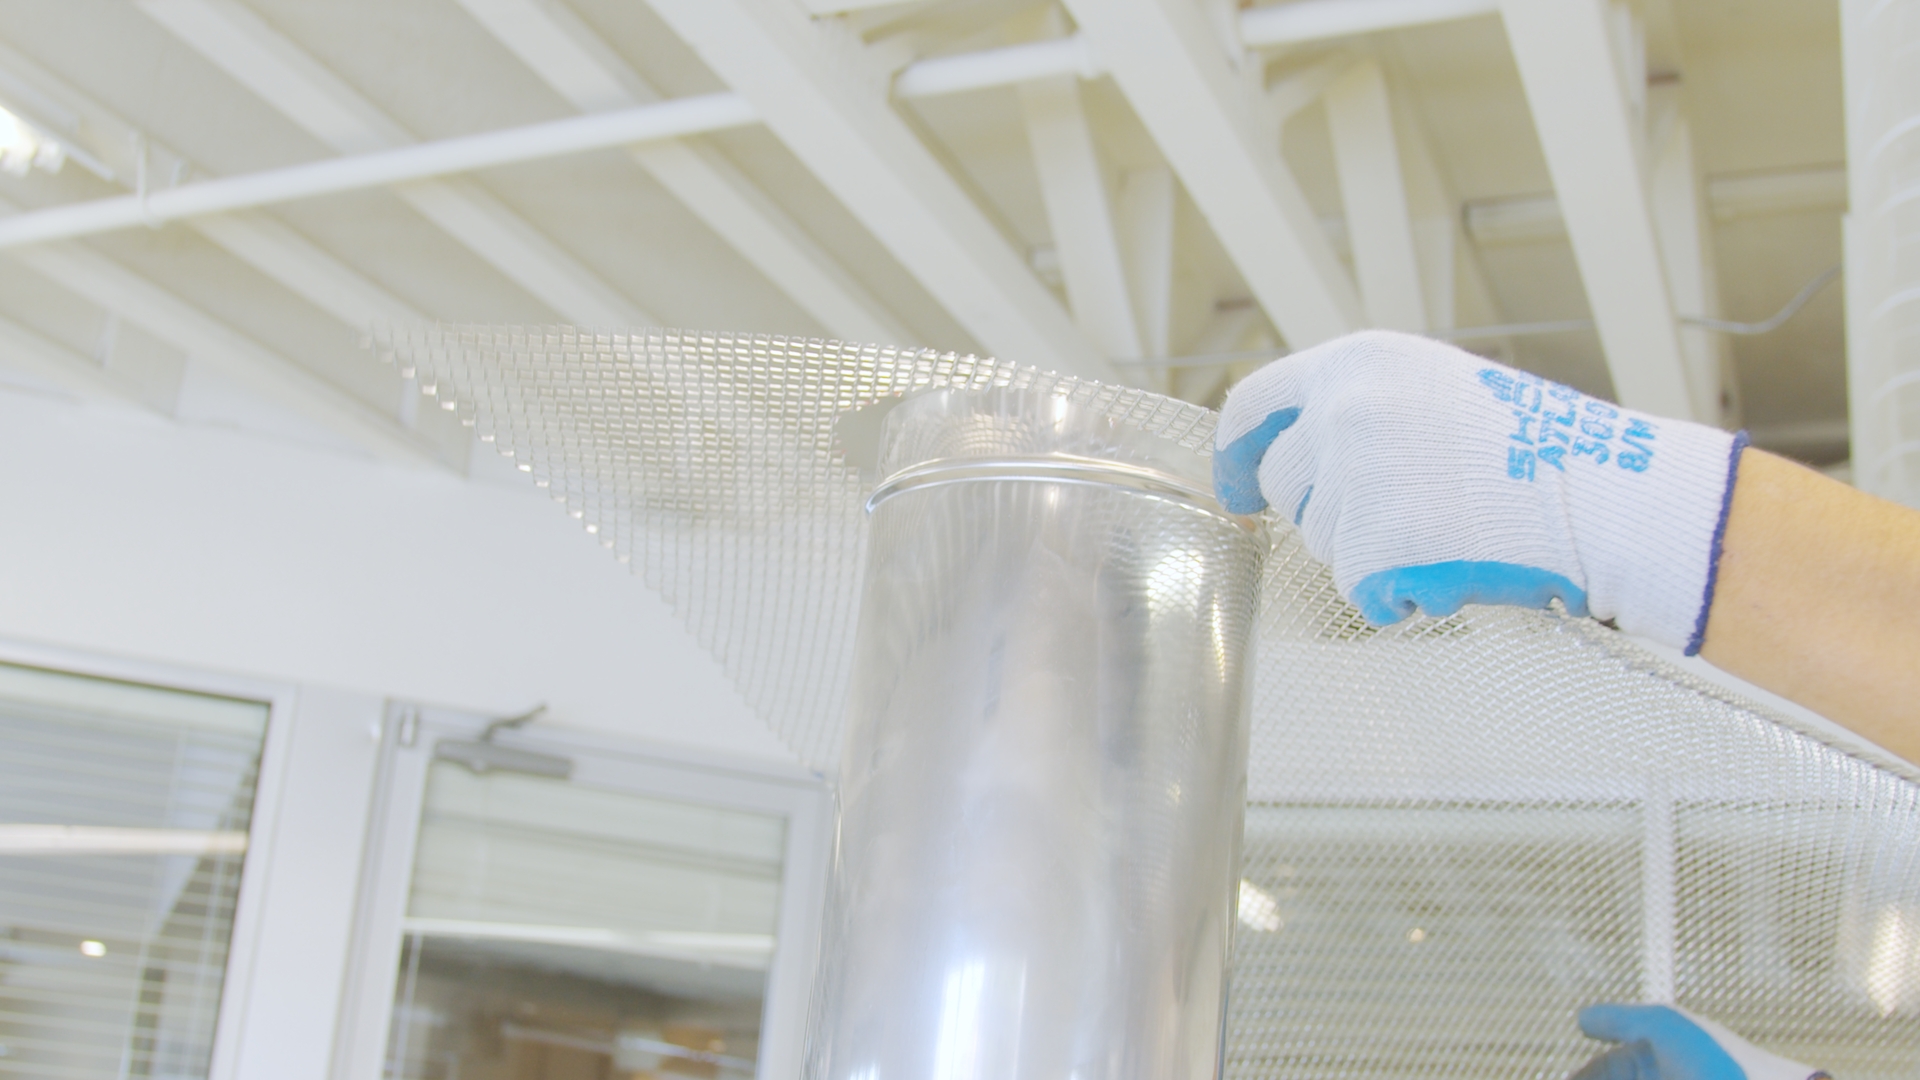
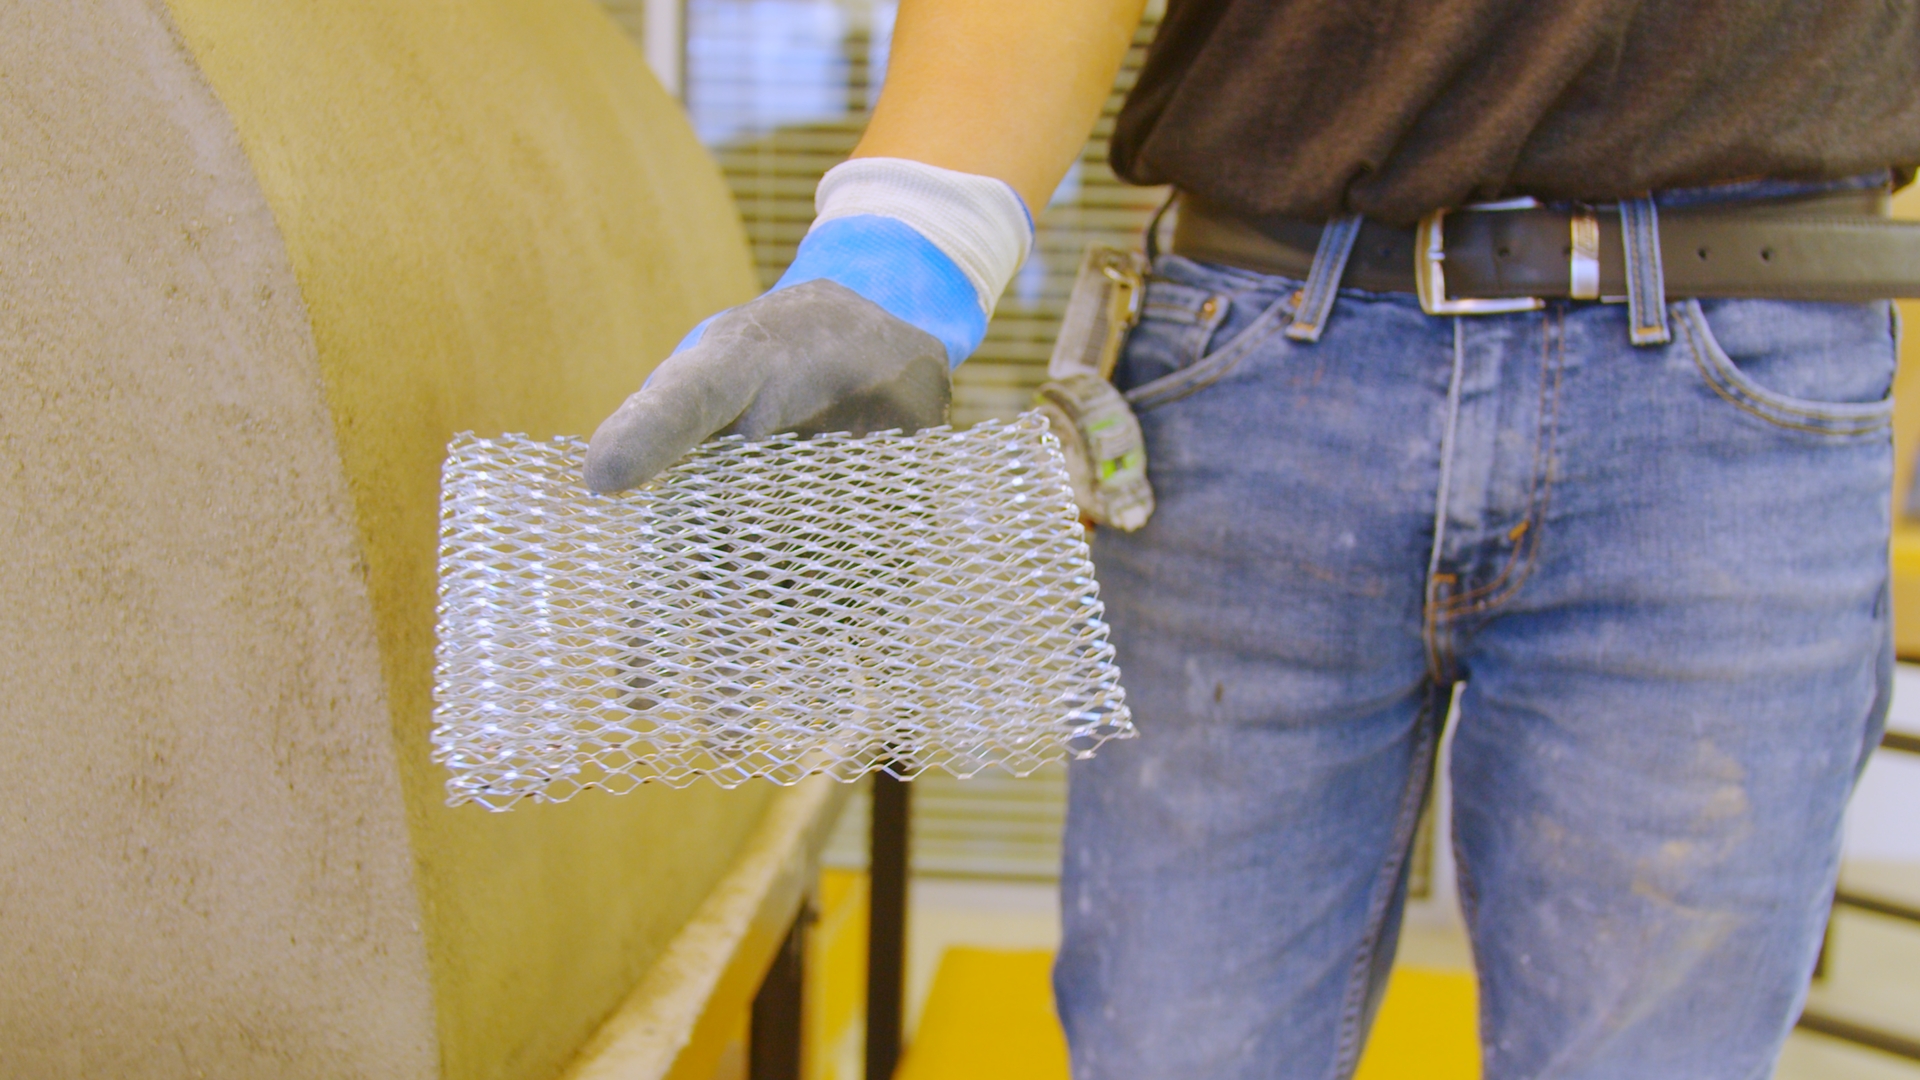
- Chicken wire: A 27-inch x 8-inch, 17-gauge woven-wire steel lath works best for stucco finishes. Alternatively, you can use a 20-gauge galvanized chicken wire if you do a framed finish.
Tip: Because of the variety of build options, you must purchase these items separately:
- Wire mesh
- Concrete screws
- Wire tie material
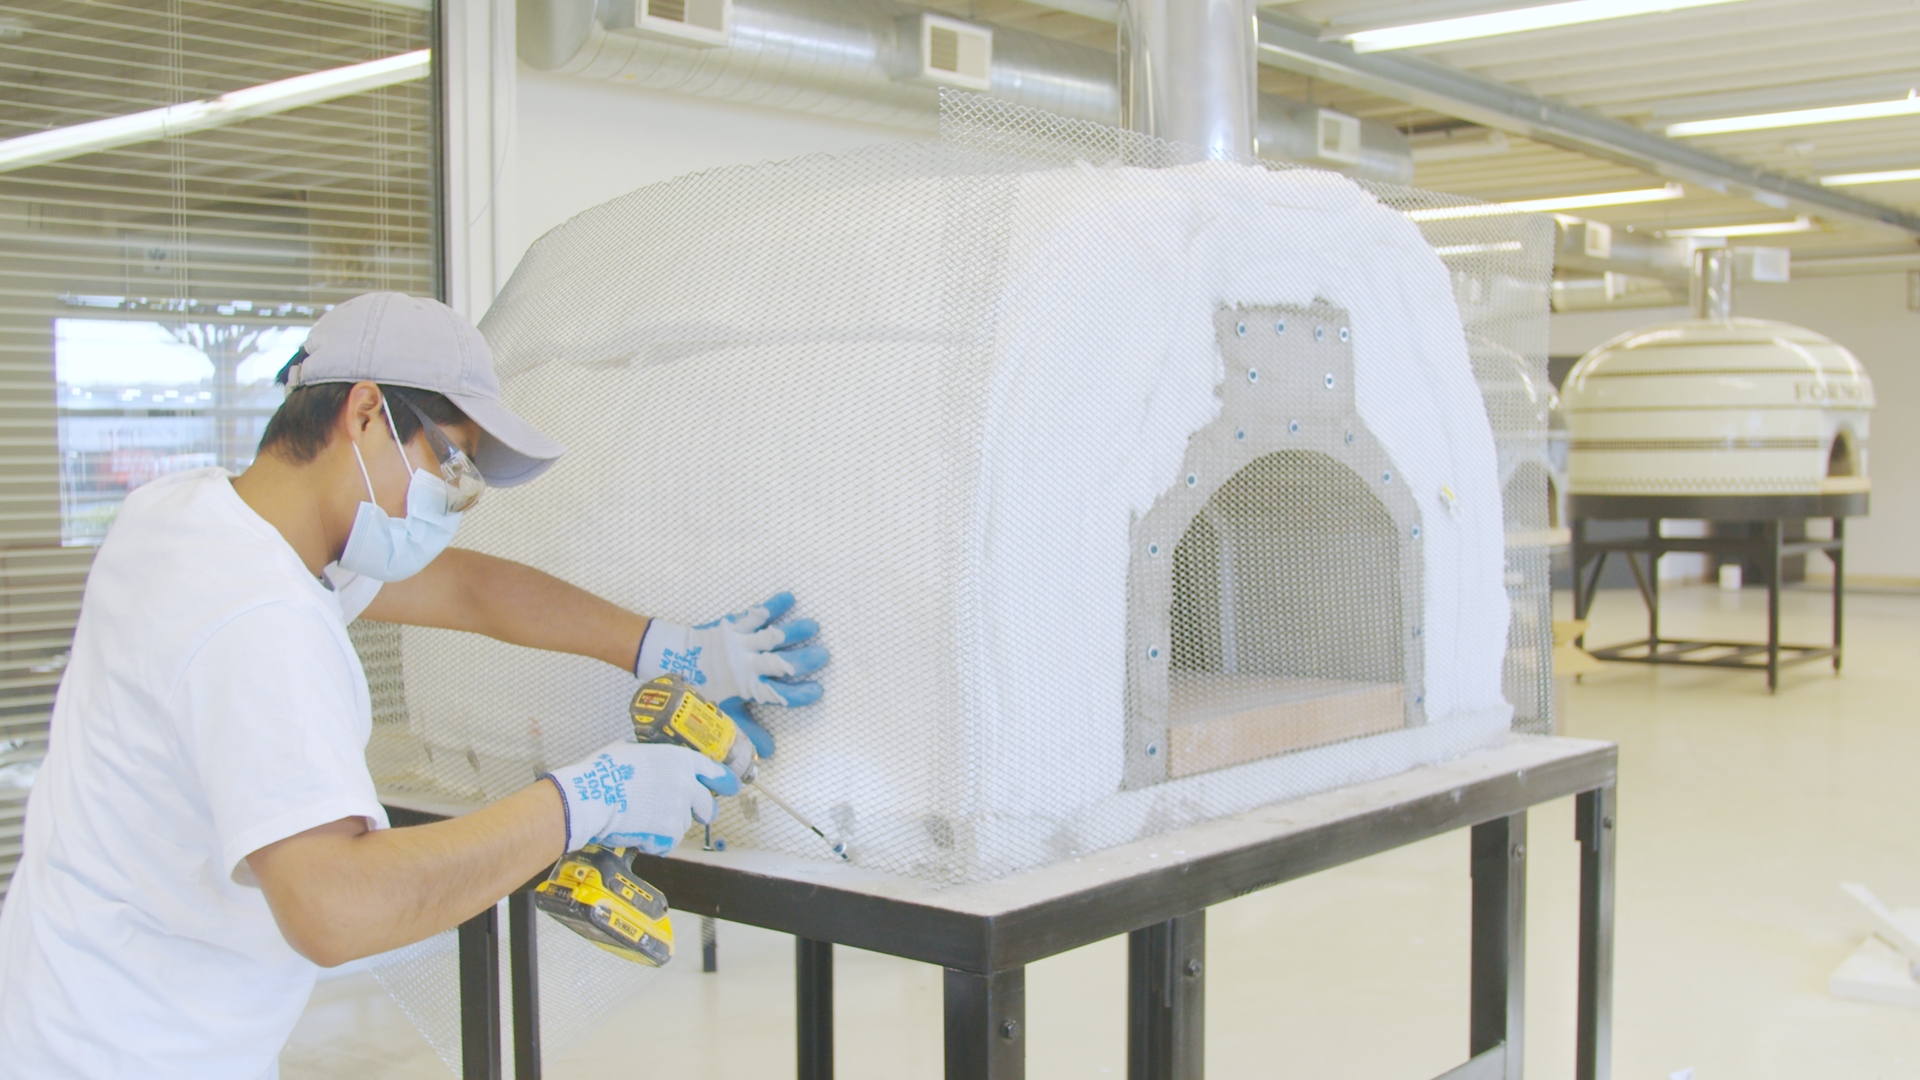
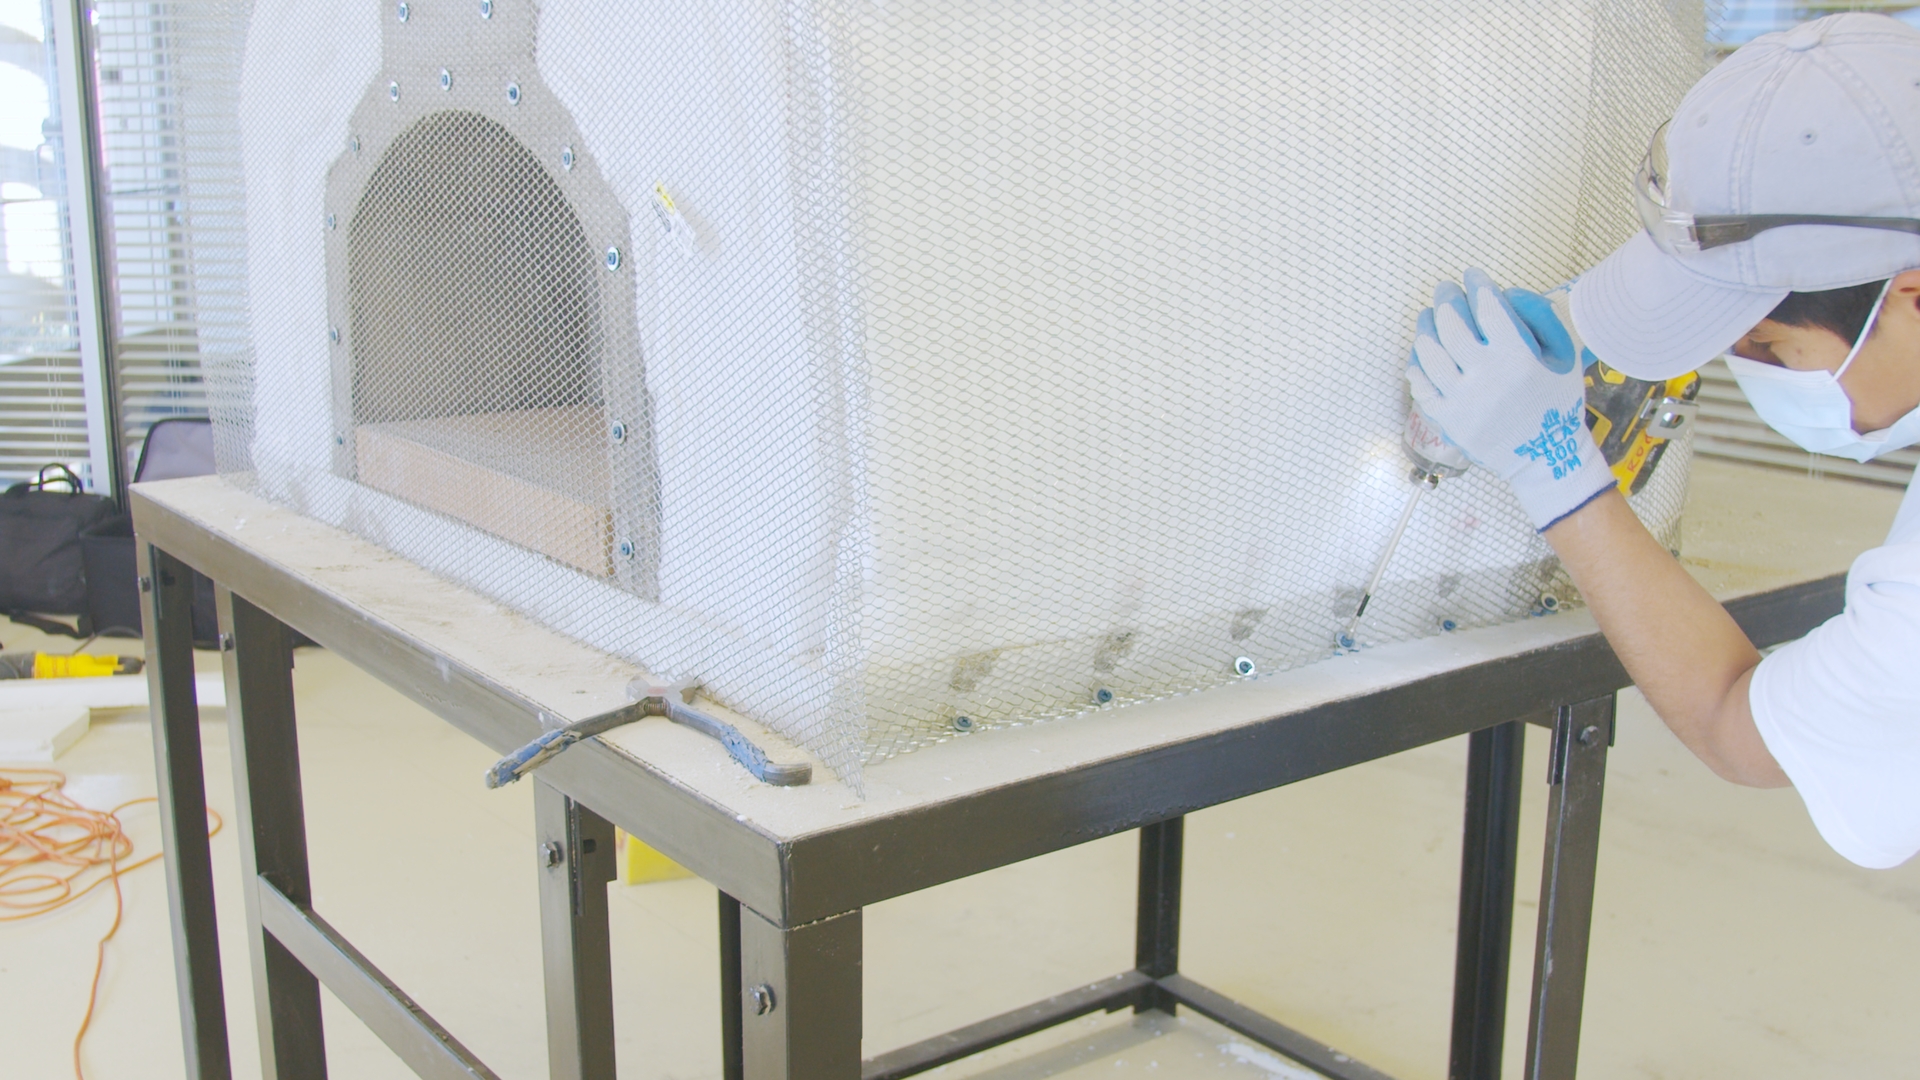
- Place a piece of the wire net against the front of the dome.
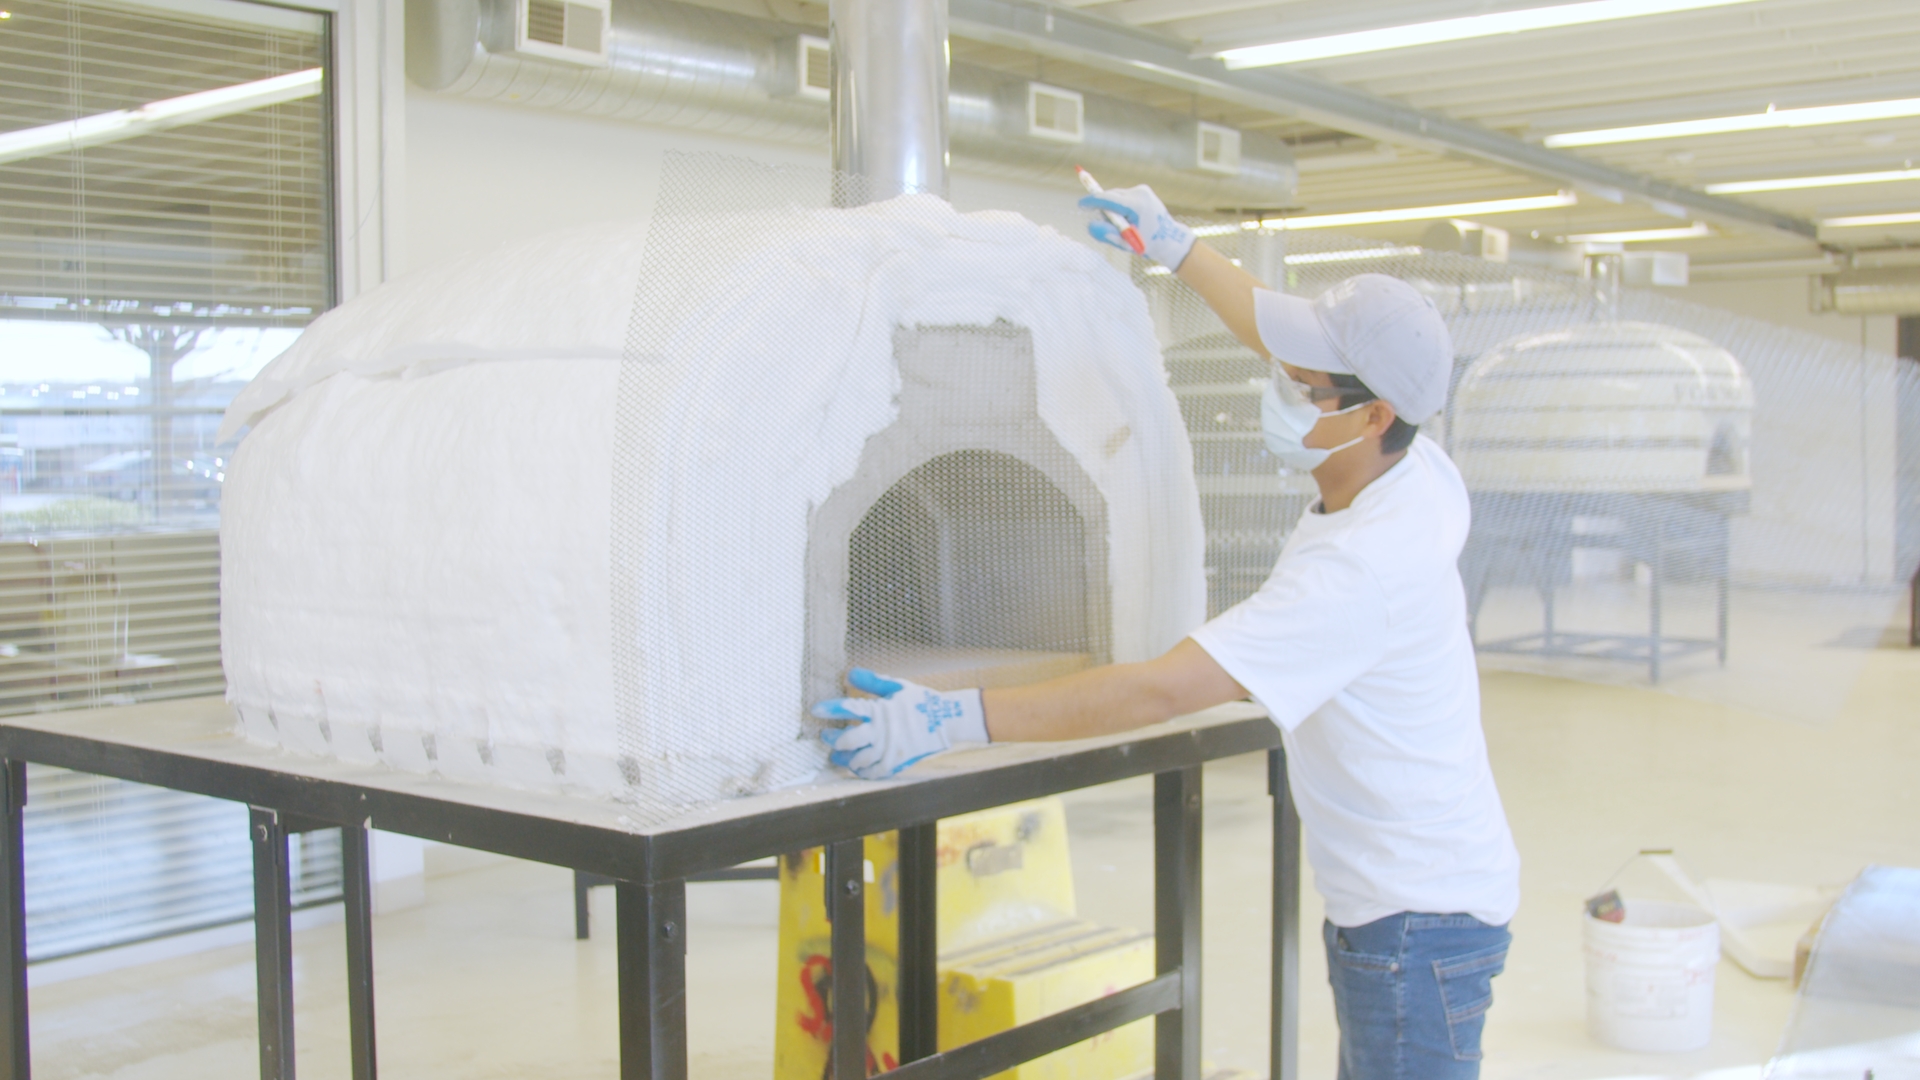
- The side should have about five inches of excess past the dome — mark the other side with the same length.
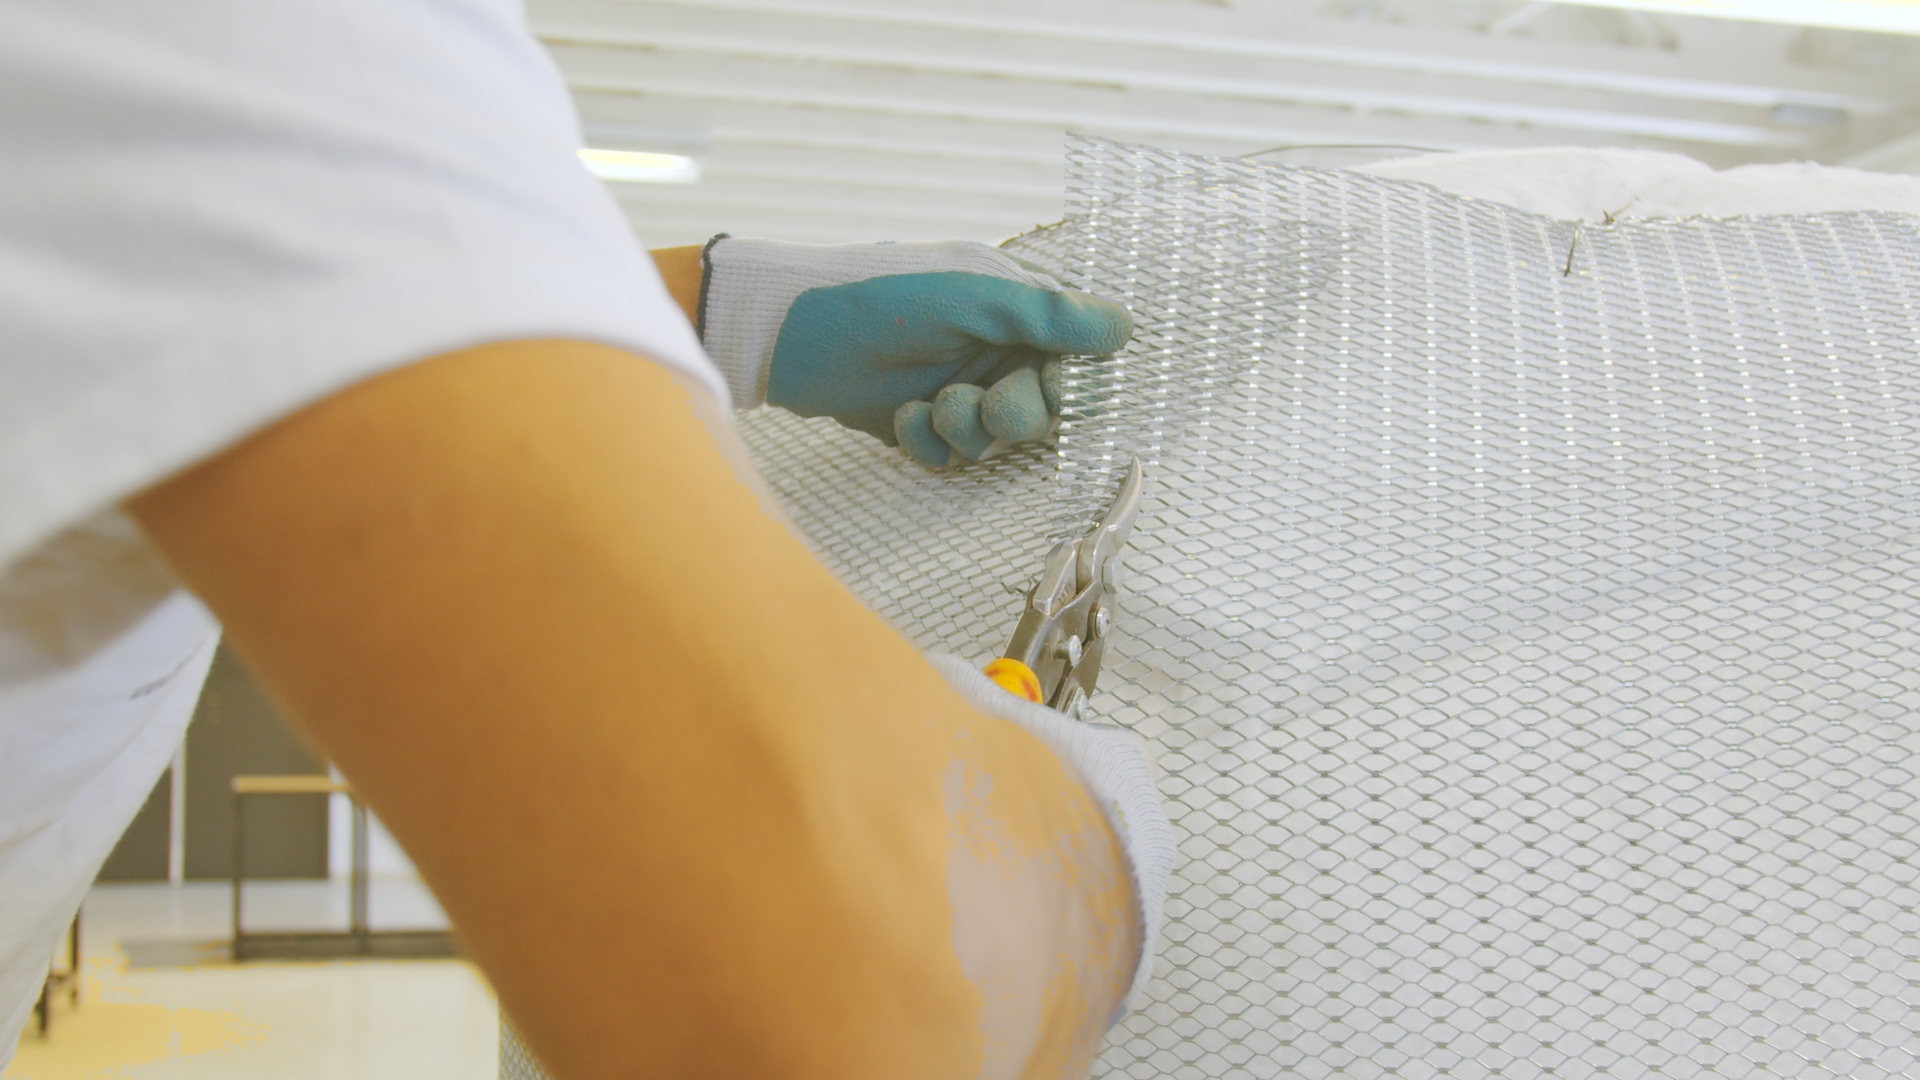
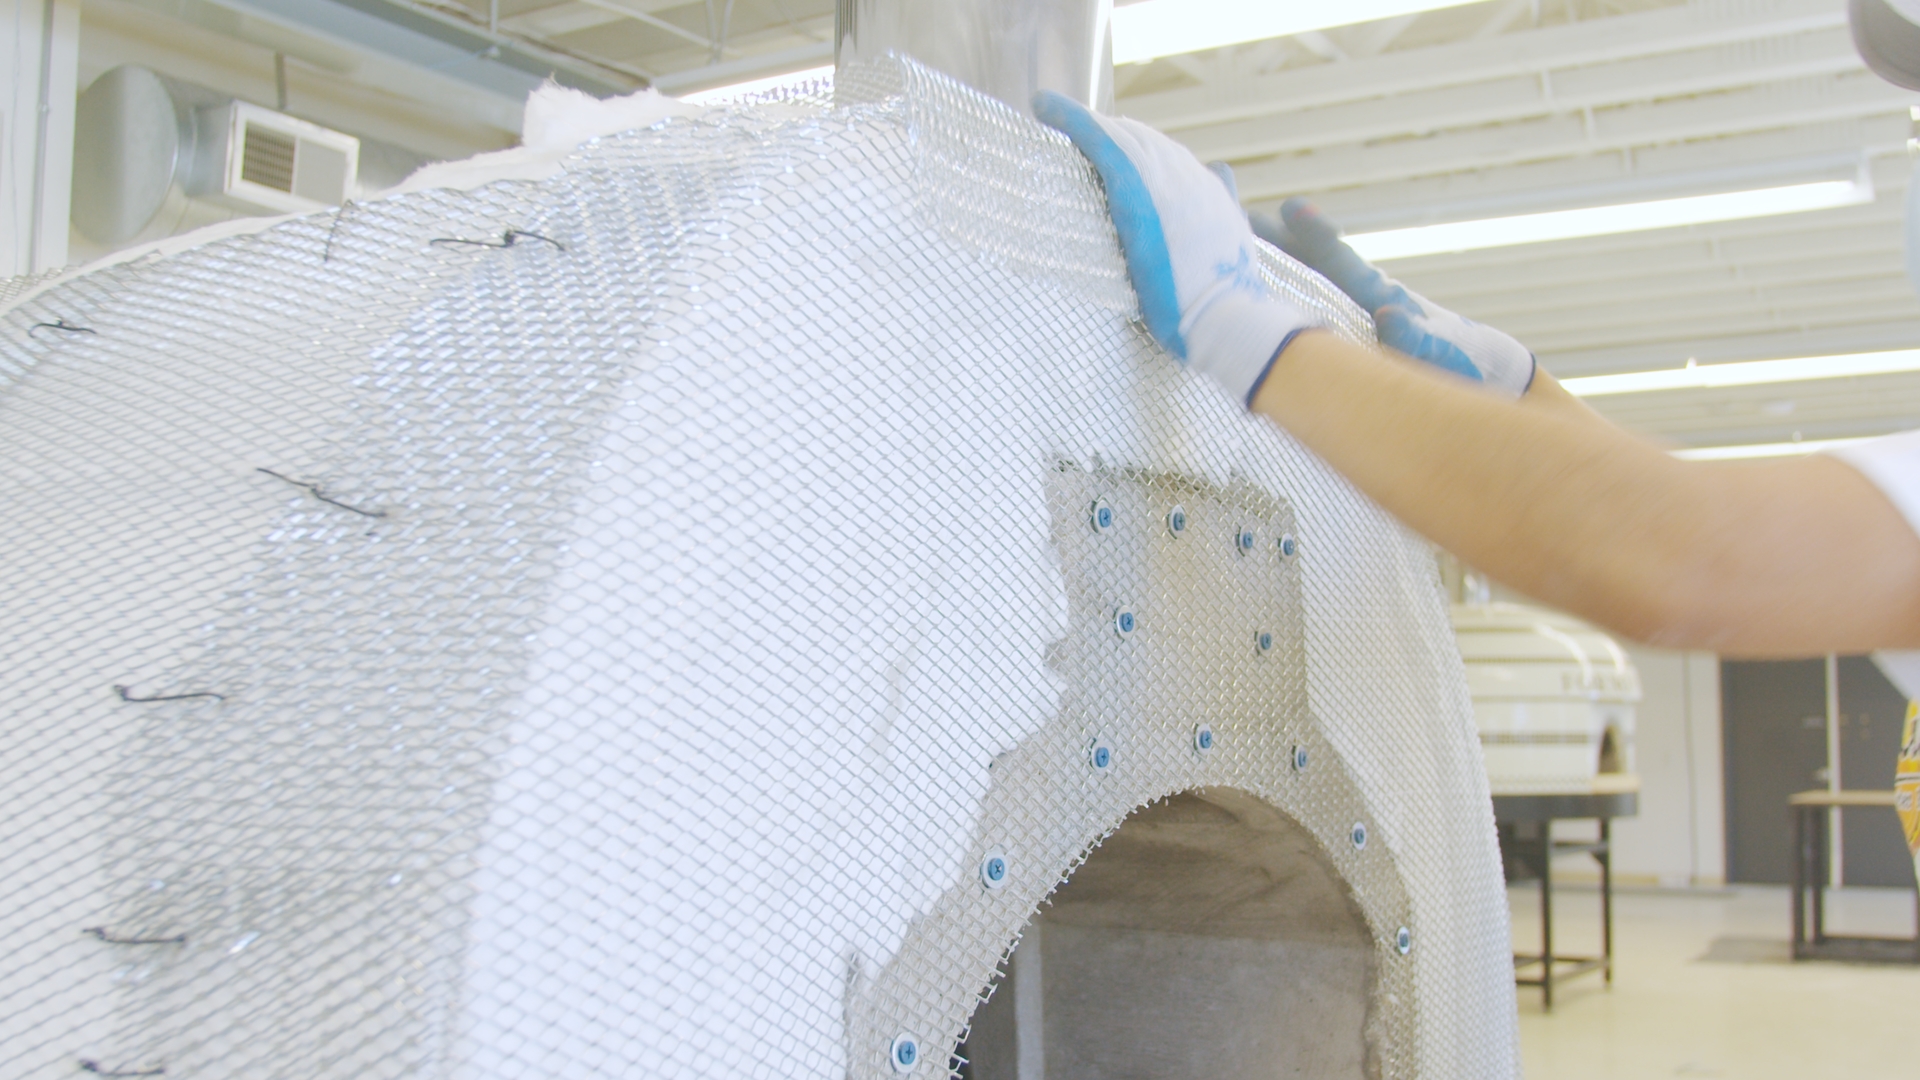
- Cut the steel lath to size and secure the lath or chicken wire with the screws and washers.
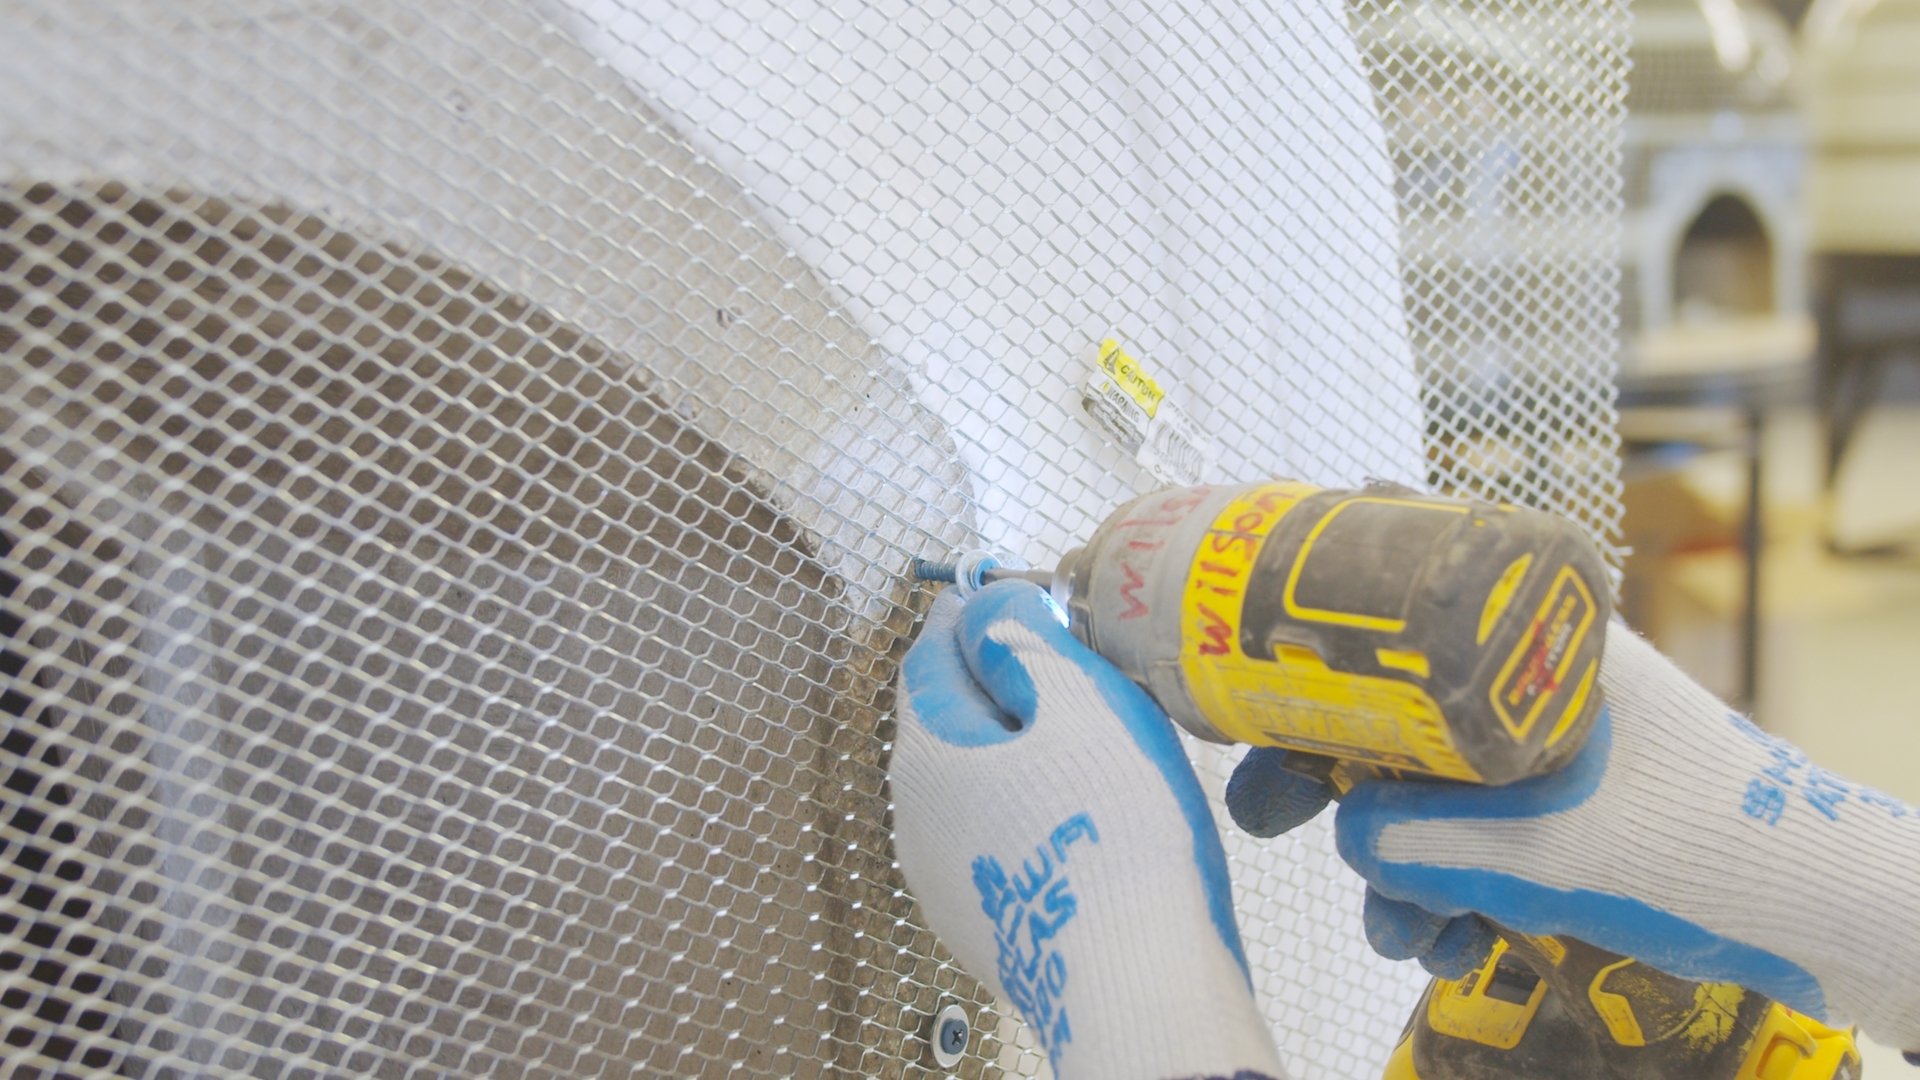
- Repeat this process around the dome and screw it in place at the bottom.
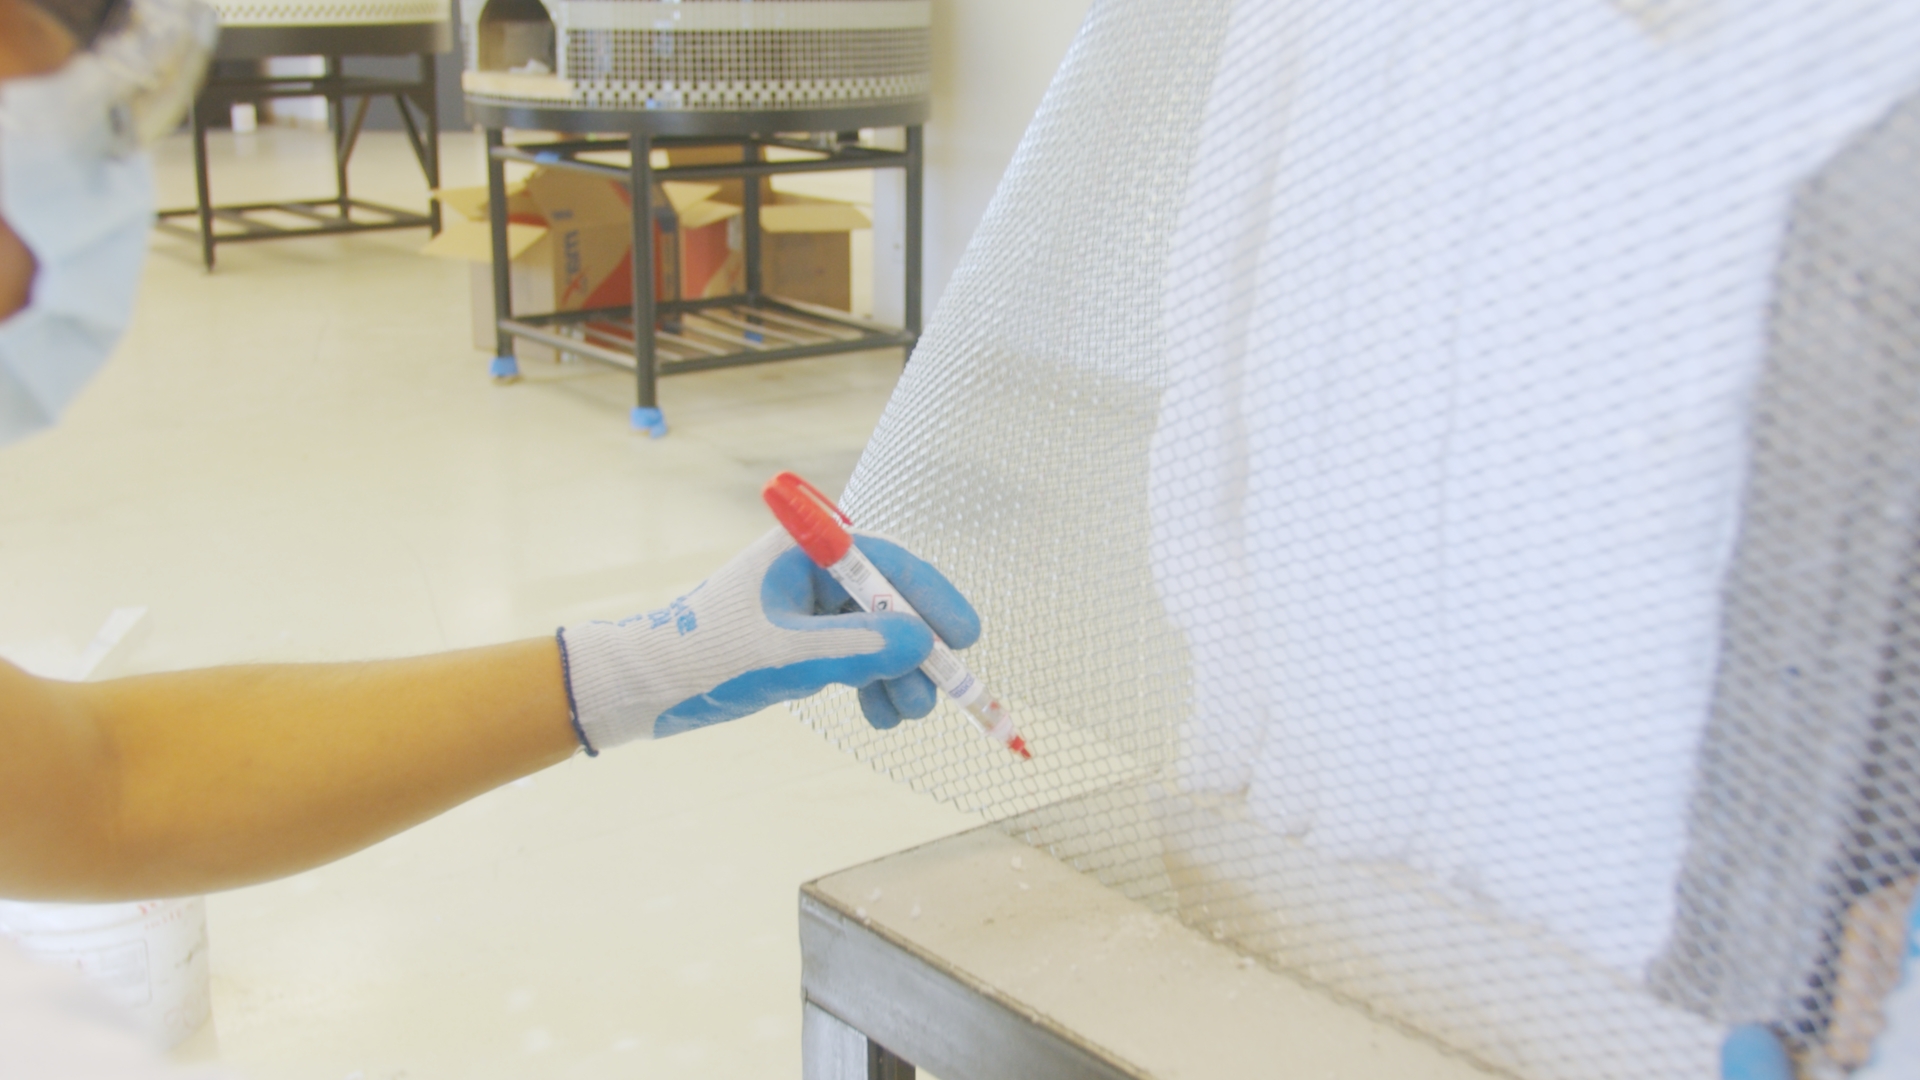
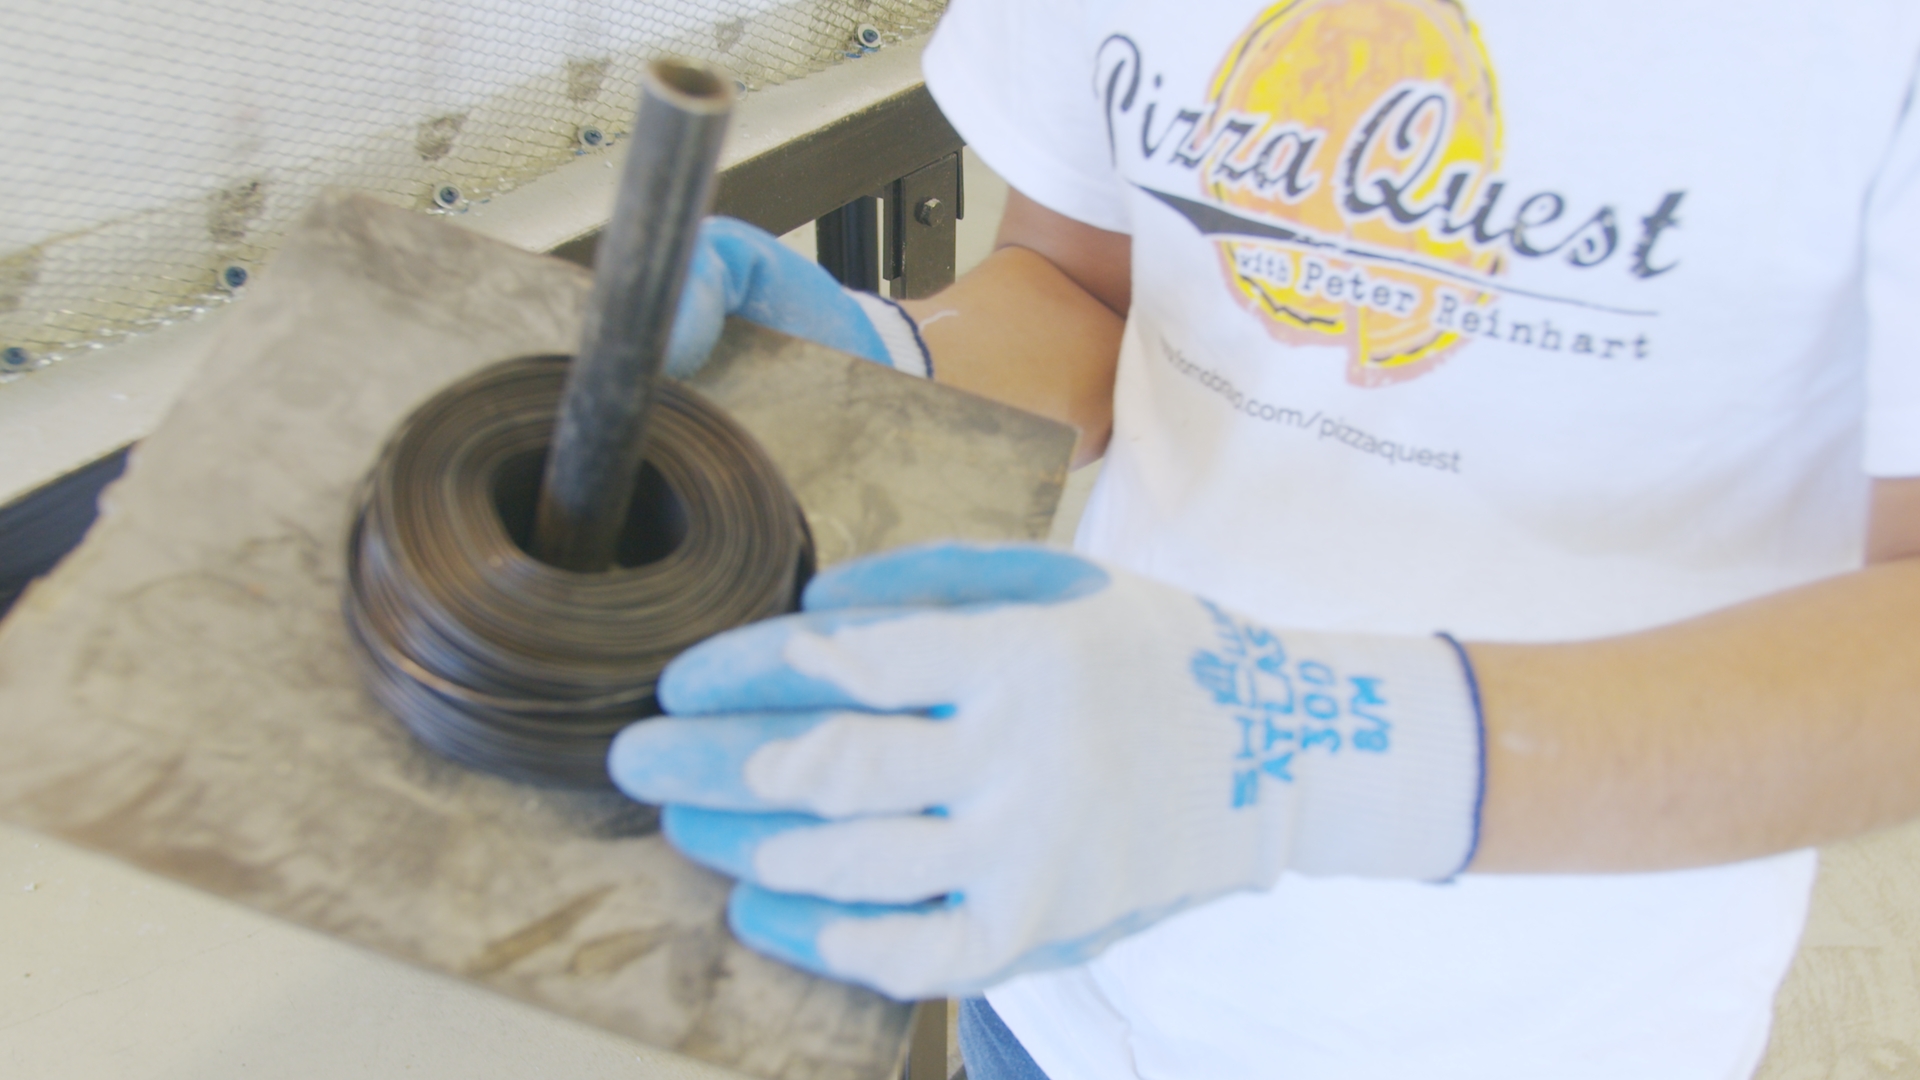
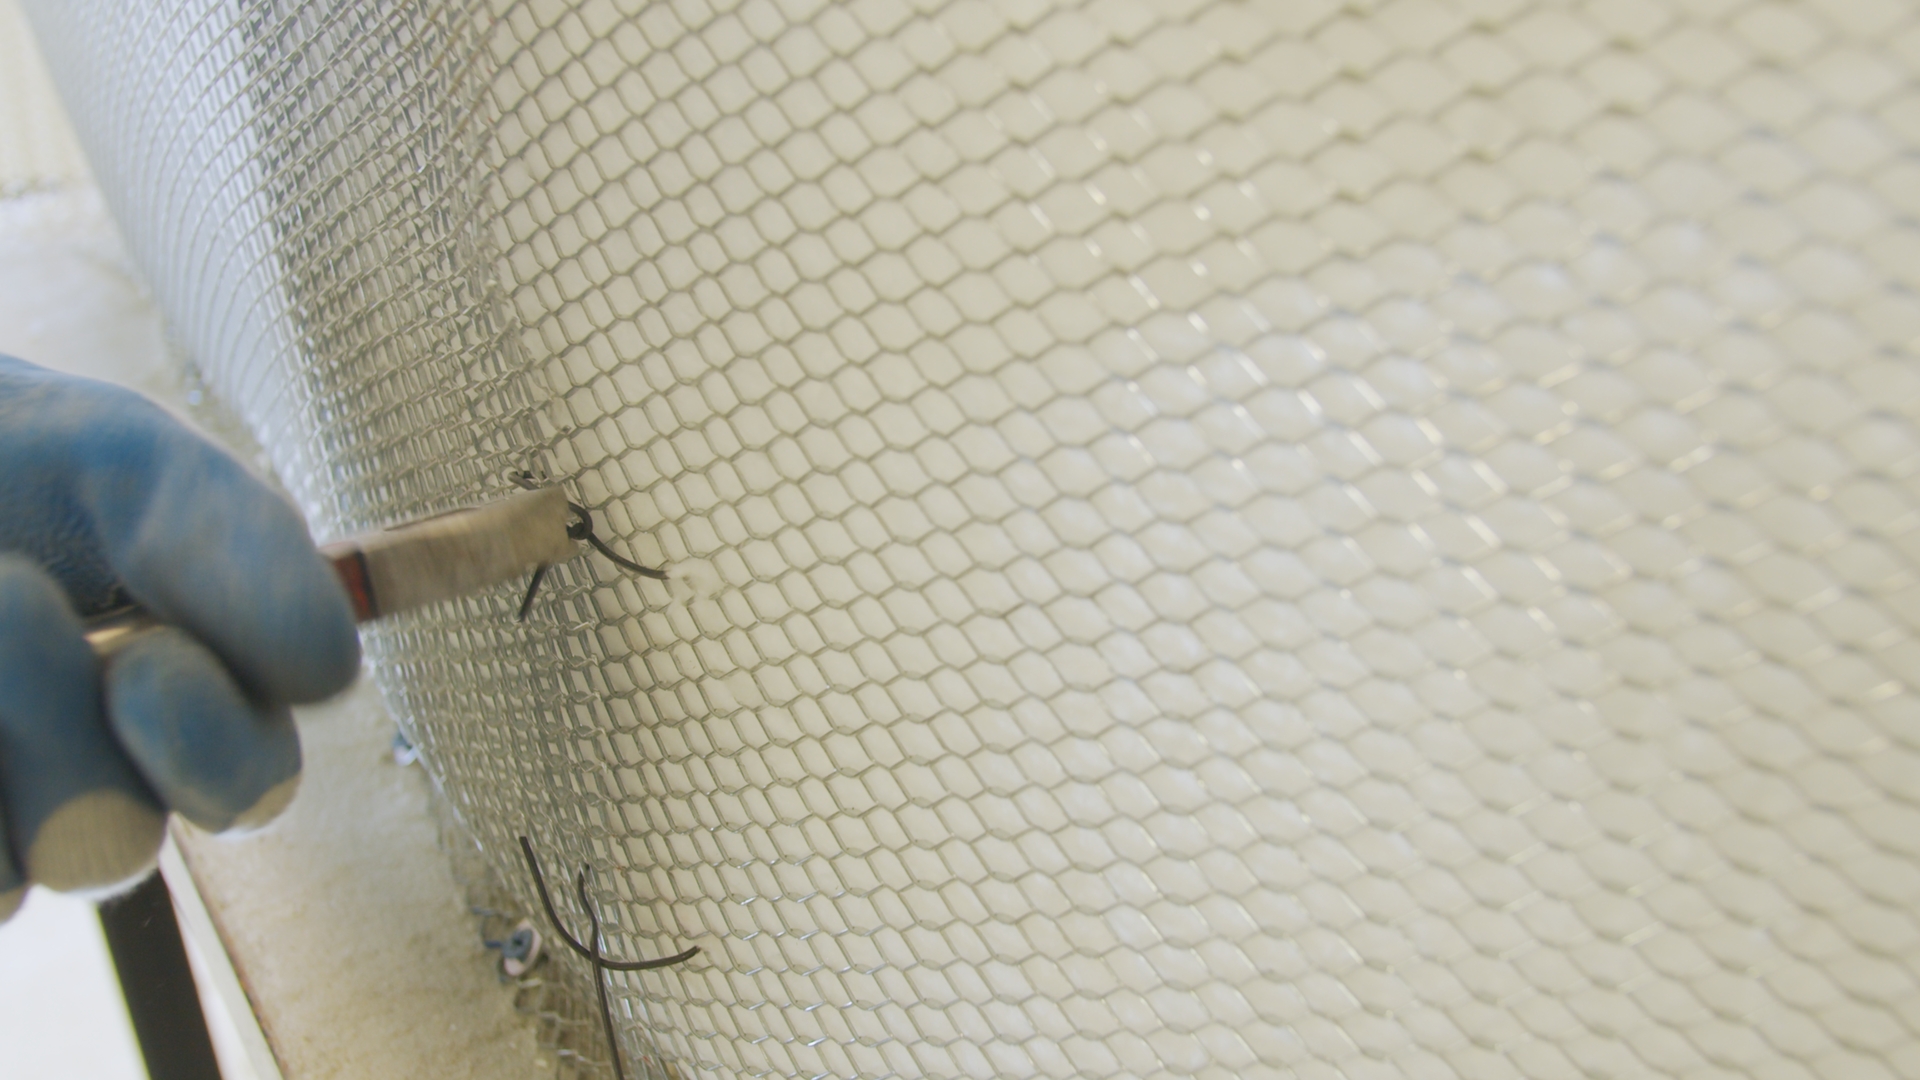
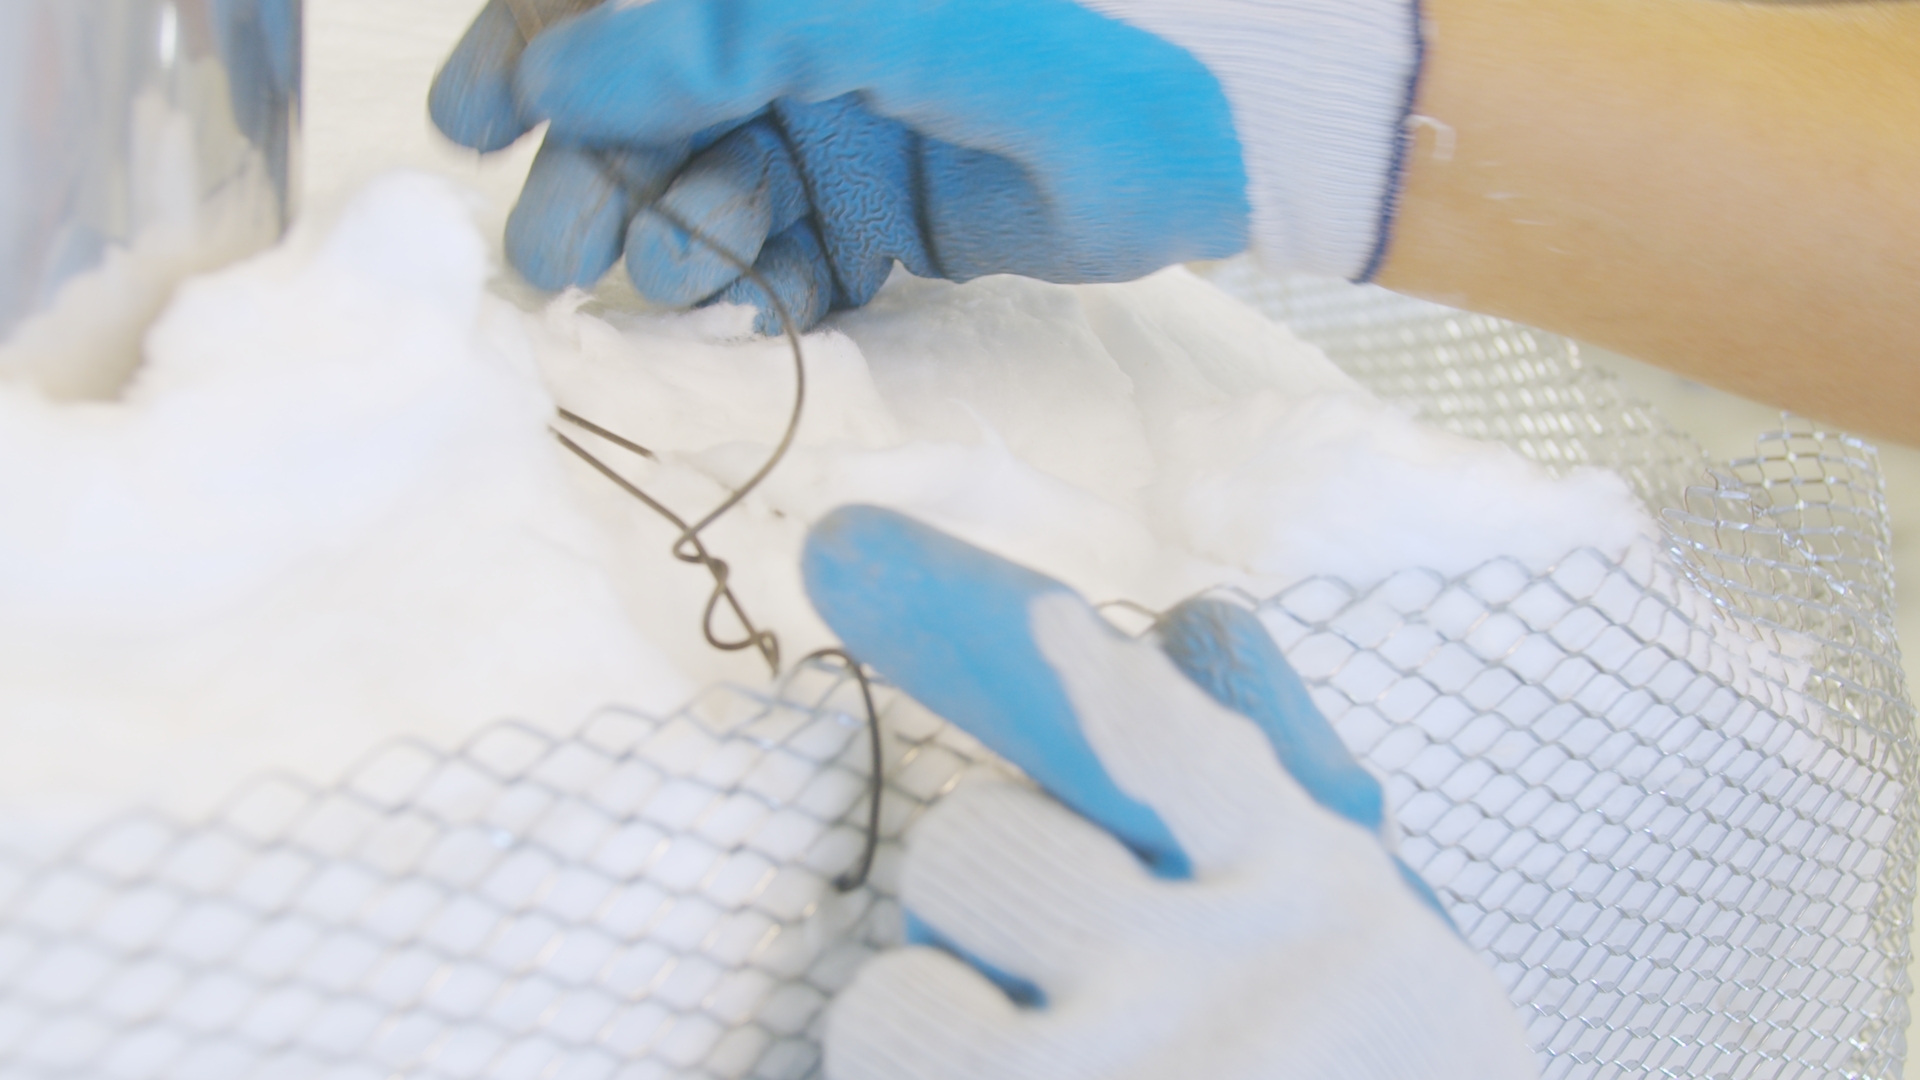
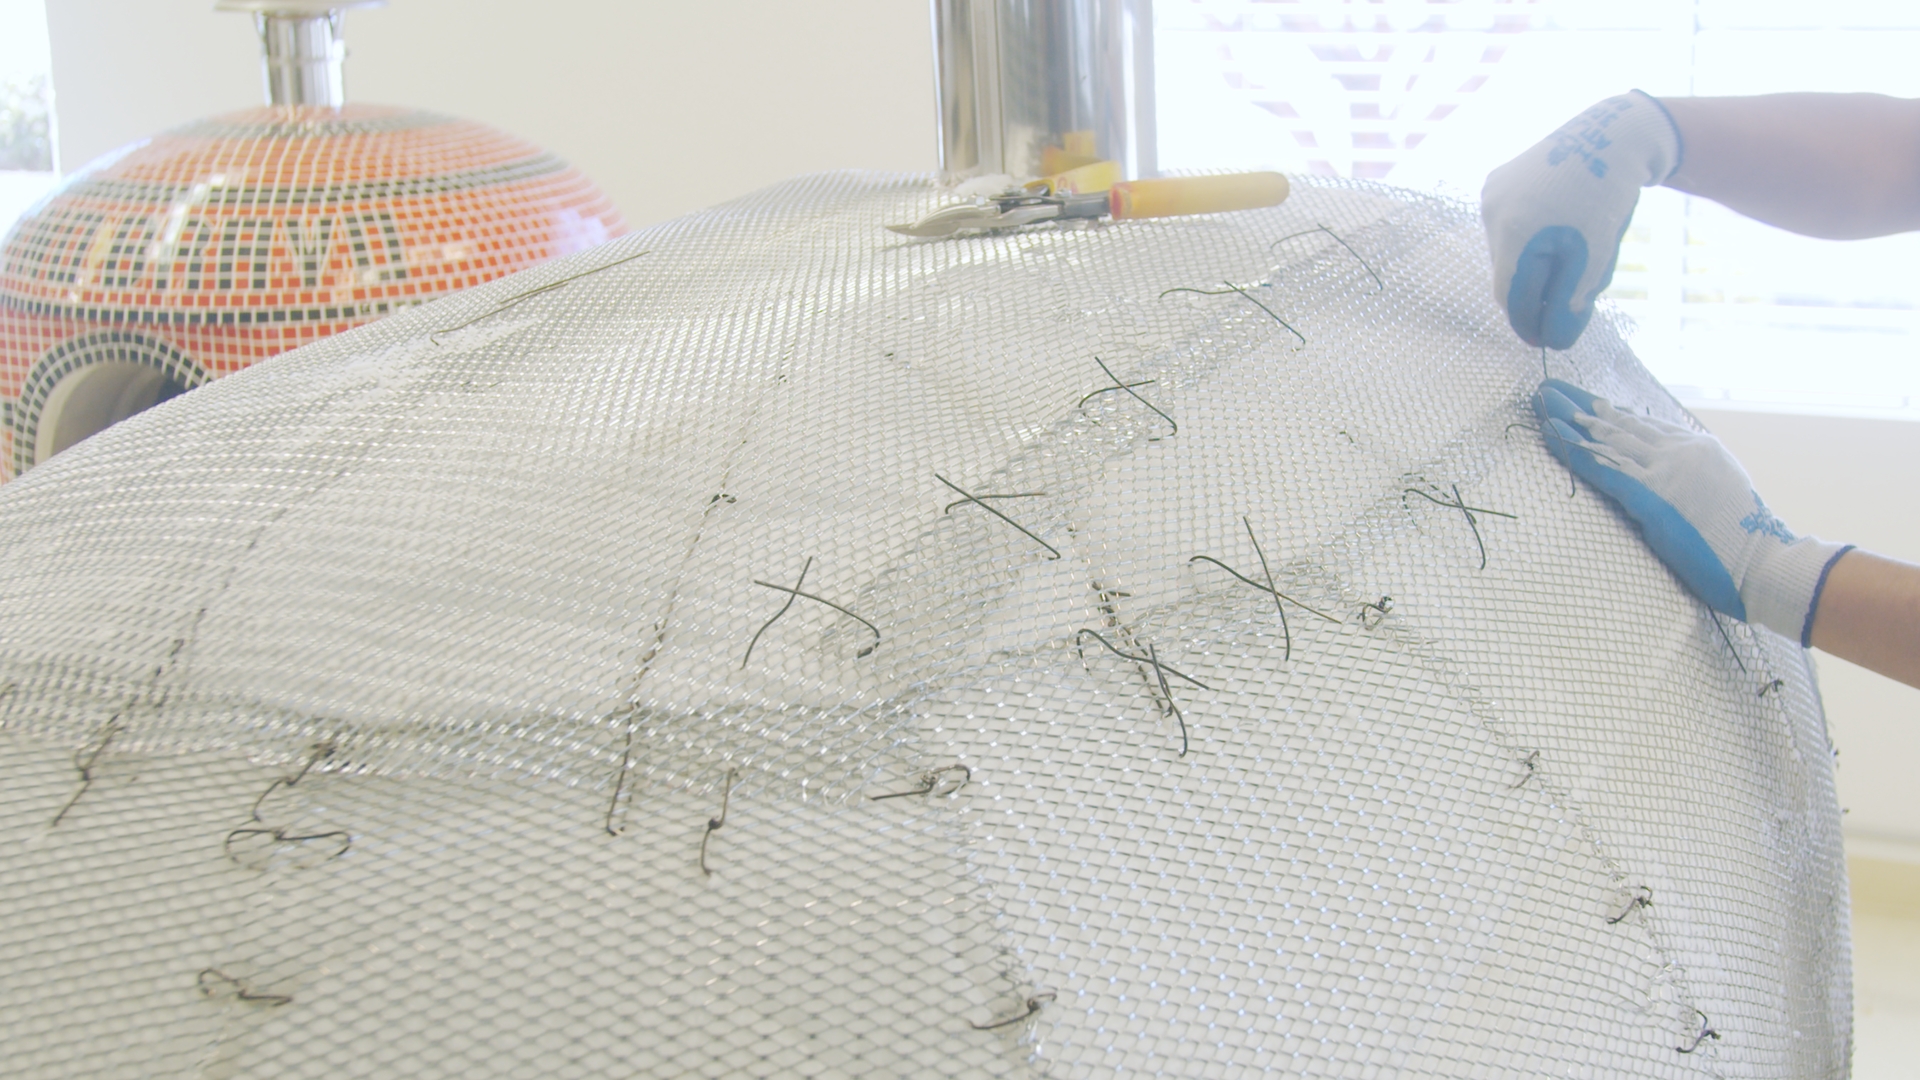
- Use 16-gauge, 3.5-inch wire ties to attach the chicken wire at the seams.
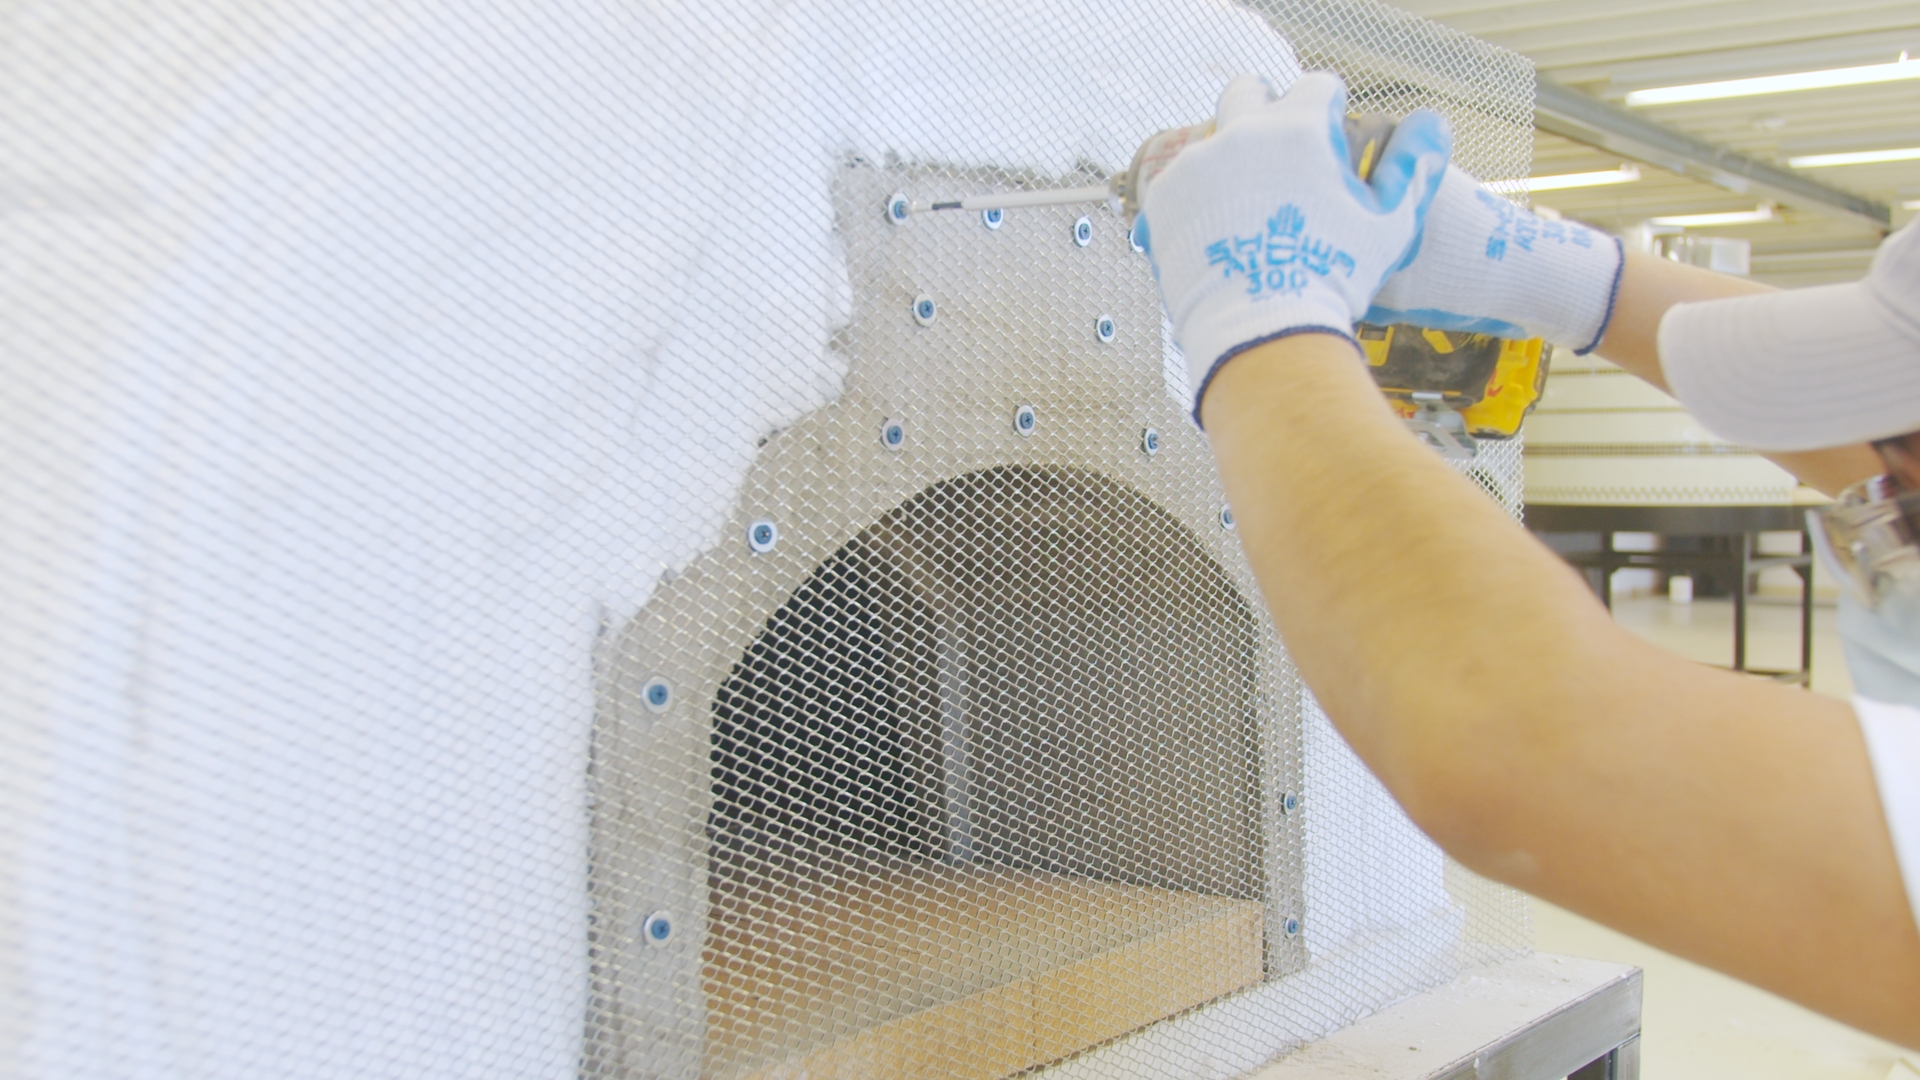
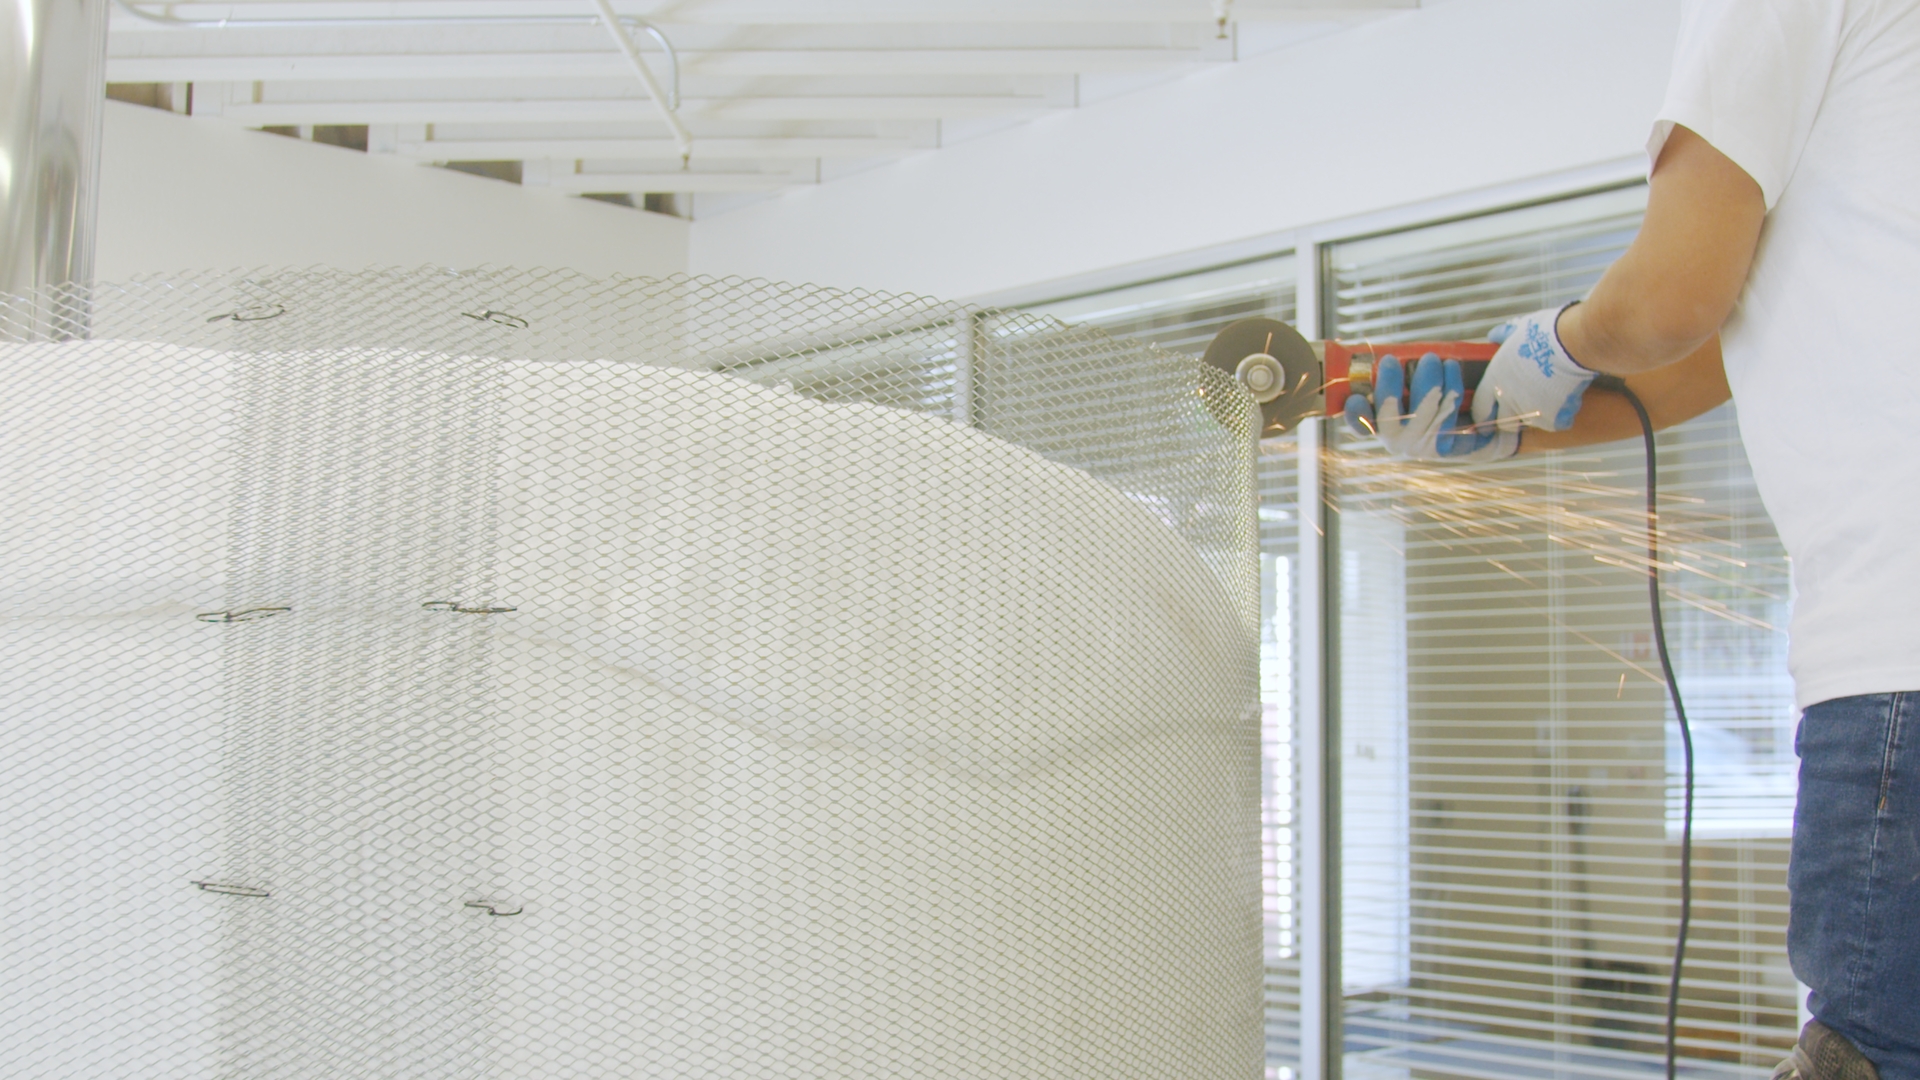
- Make several vertical cuts on the chicken wire 1 1/2 feet long and spaced the same distance between cuts. You can use clippers, a grinder with a four-inch diamond masonry blade, or a hand saw to make the cuts. Using that same tool, trim the extra steel lath that covers the mouth opening until the mesh is flush with the front edge.
- Attach a long piece of wire tie to a cut piece of mesh. Run it across the top of the oven to the other side. Secure the wire in place. Repeat this same process until each piece is tied down.
- Cut the excessive or overlapping mesh.
- Tighten the wires on top with a tie-wire twister.

- Measure the flue diameter and mark it accordingly.
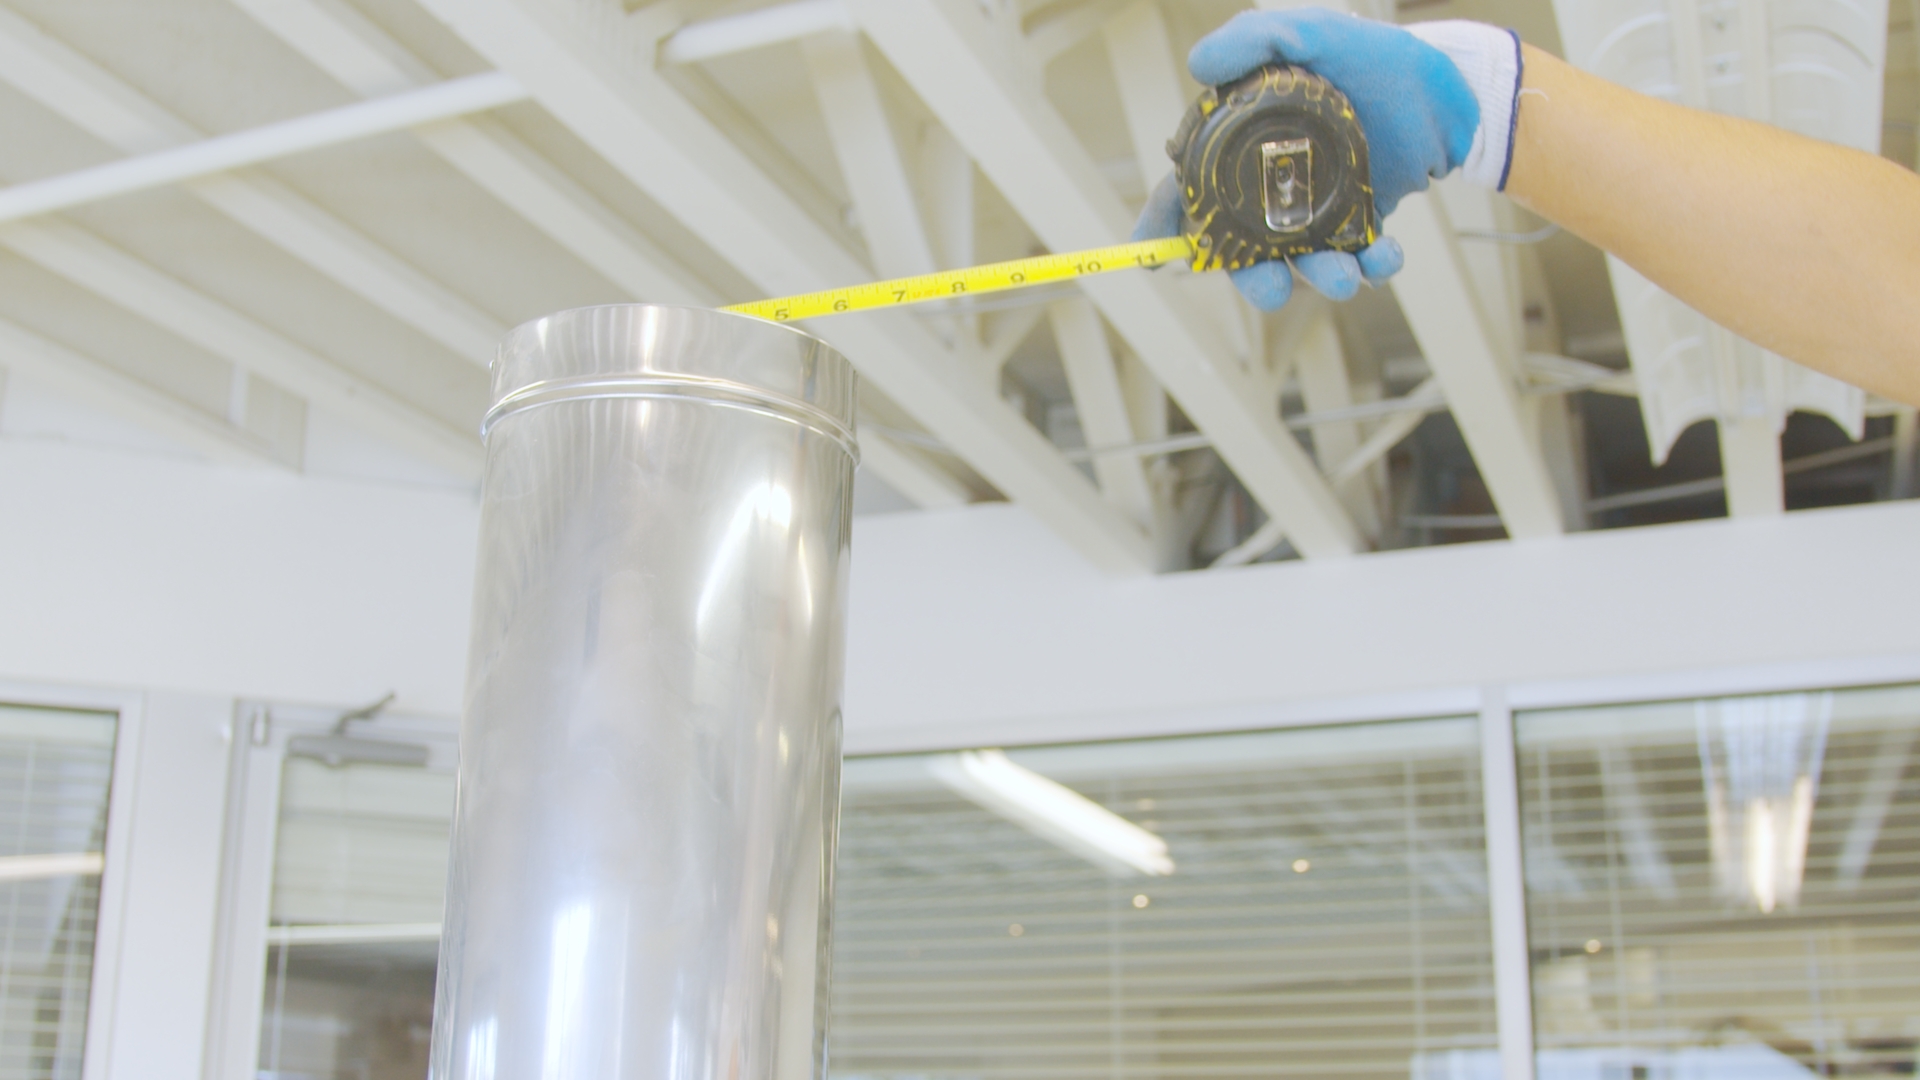
- Cut out a circle on the mesh for the oven flue before placing it.

- Leave five inches of excess mesh in the front of the flue to secure the front oven.
- Again, remove any excess at the back and secure the mesh with 3.5-inch wire ties. Cover the oven and any exposed sections with wire mesh and secure.
1. Apply Stucco Finish – Scratch Coat
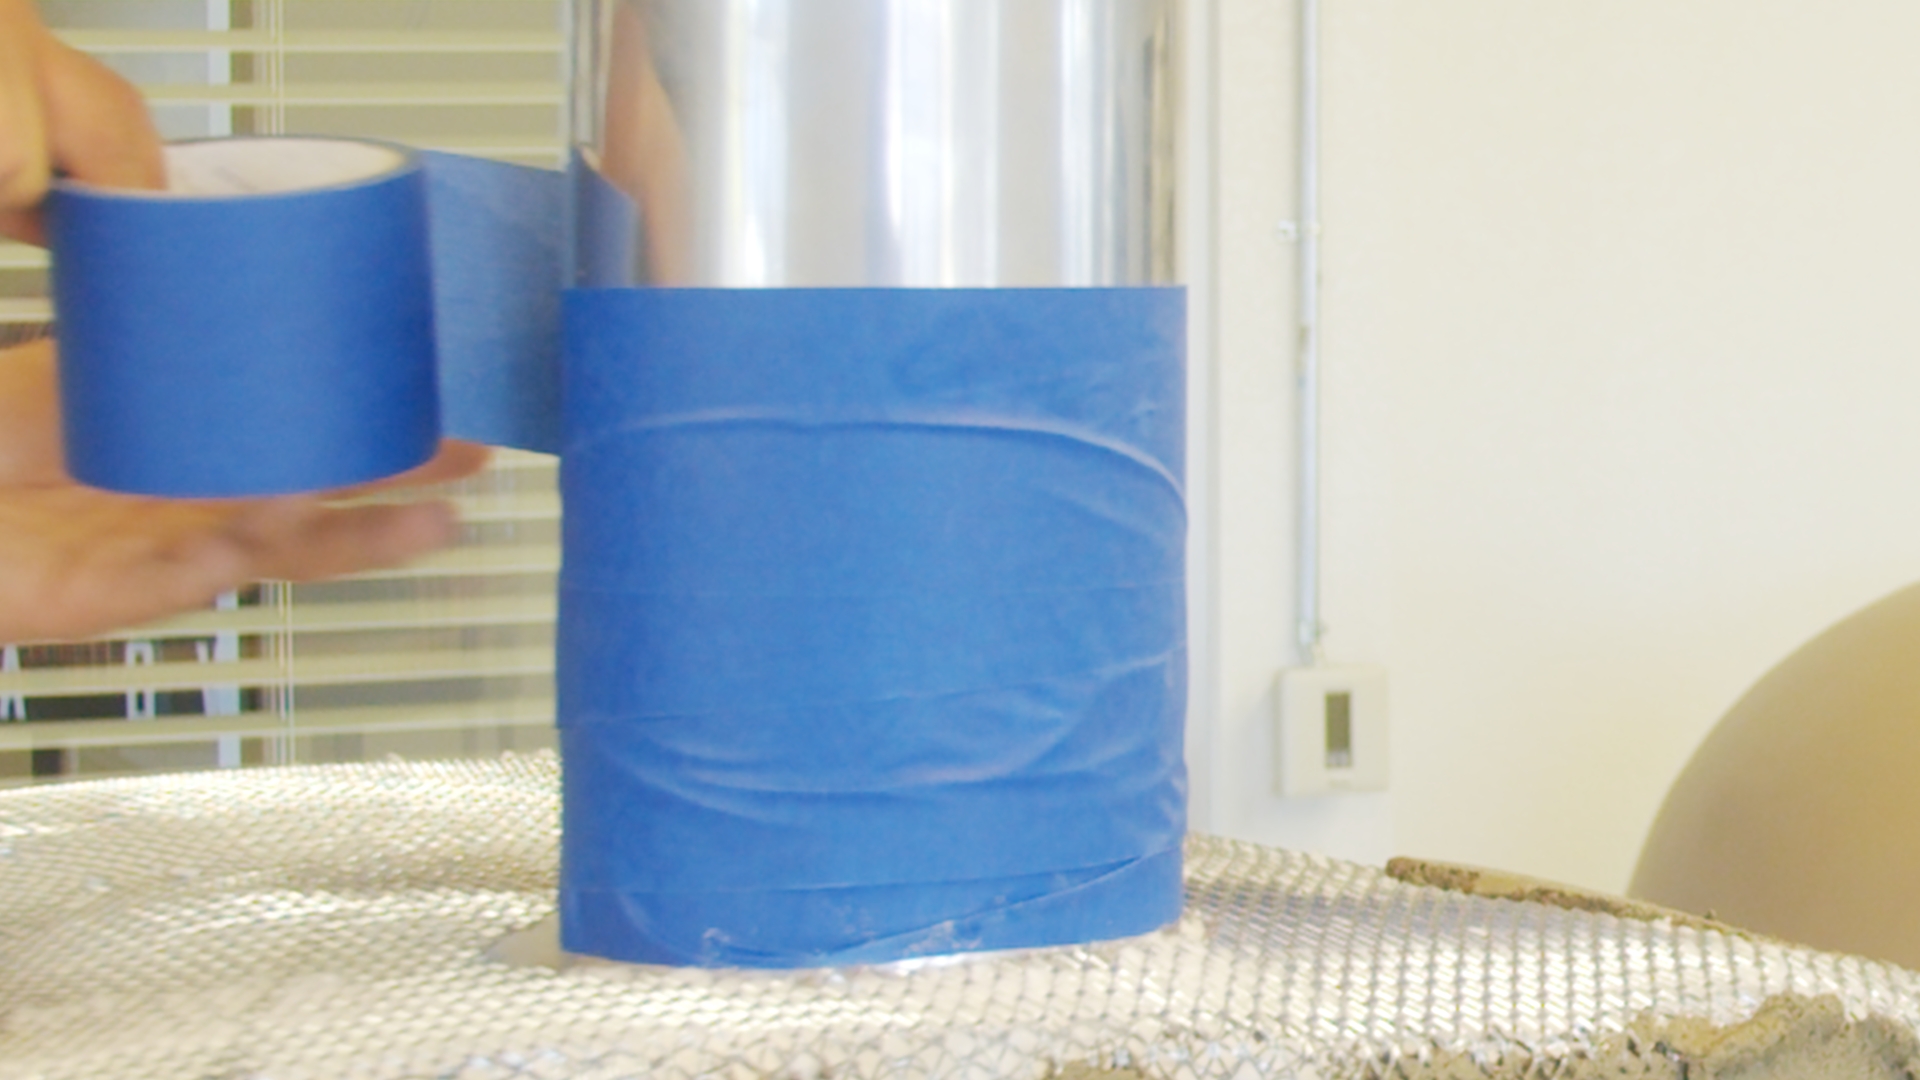
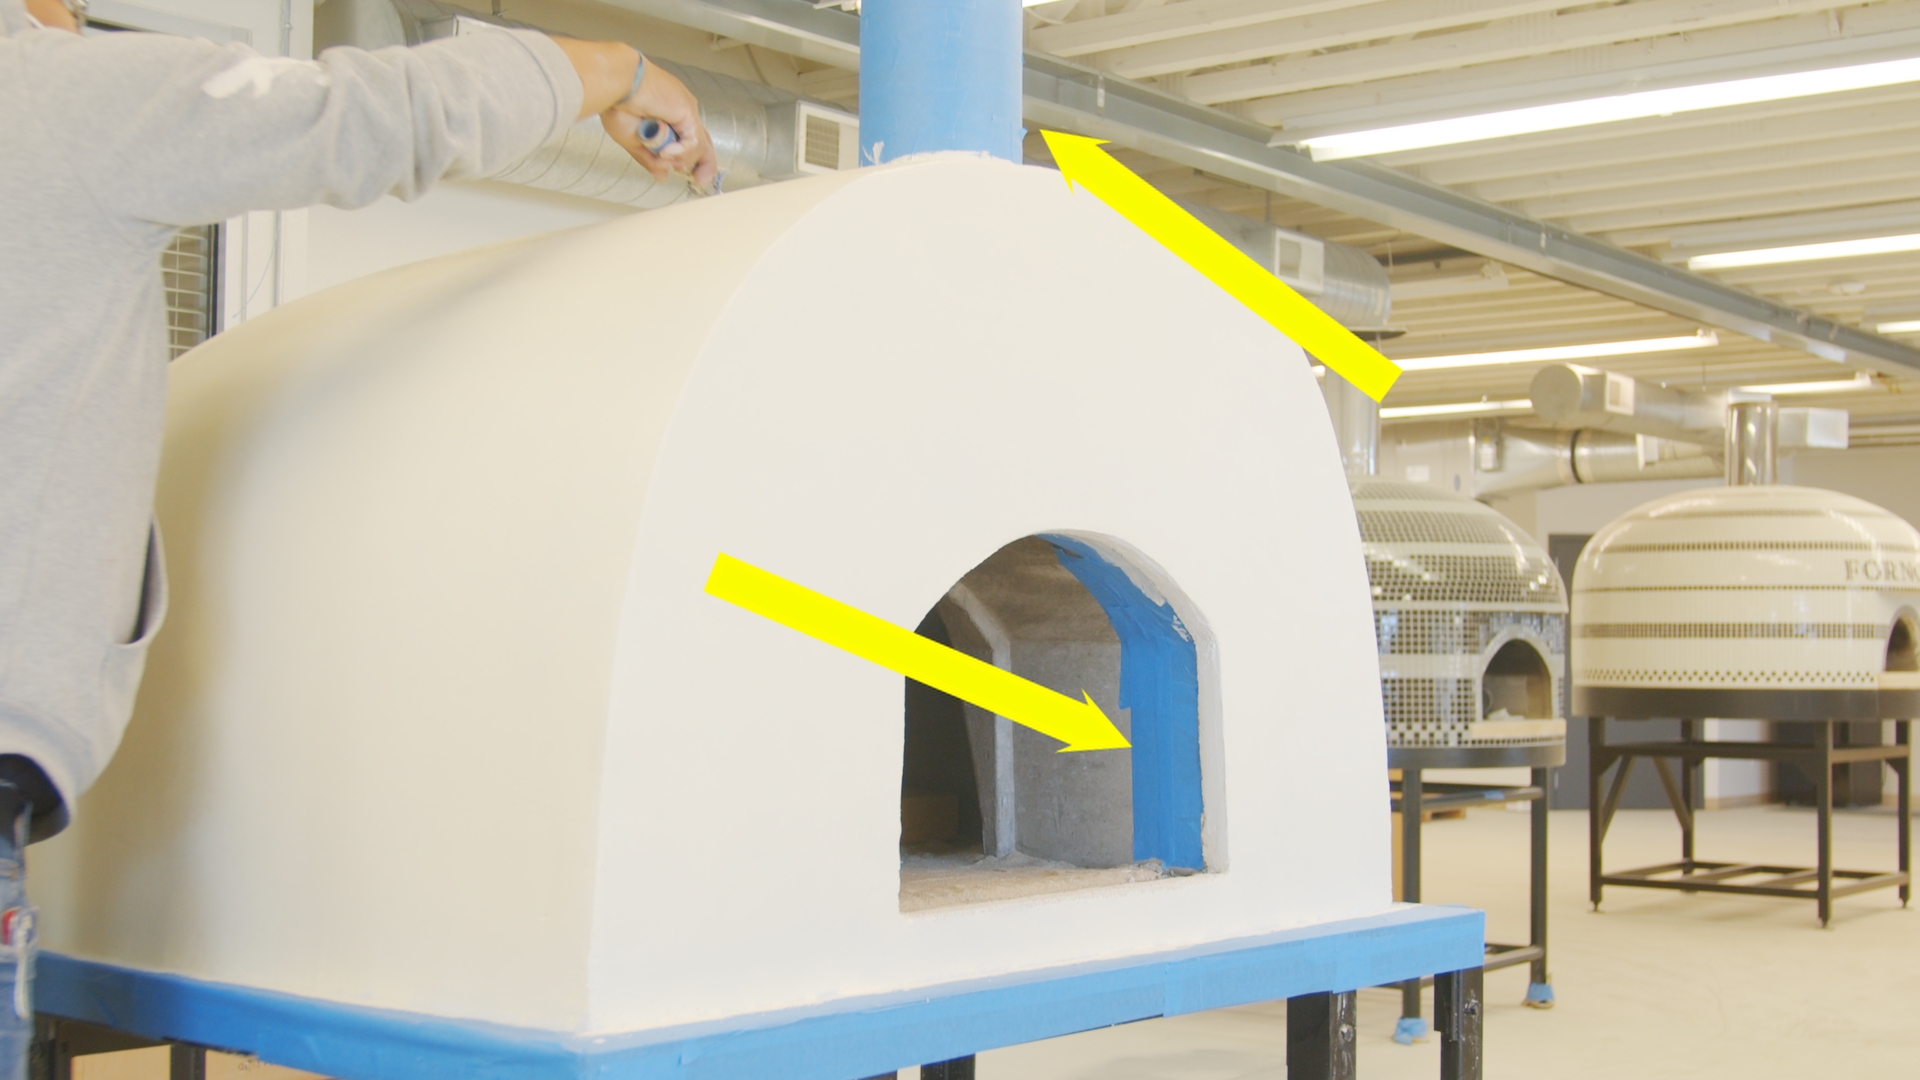
- Tape off the bottom of the chimney flue with wide painter’s tape, so the stucco doesn’t stick to the flue.
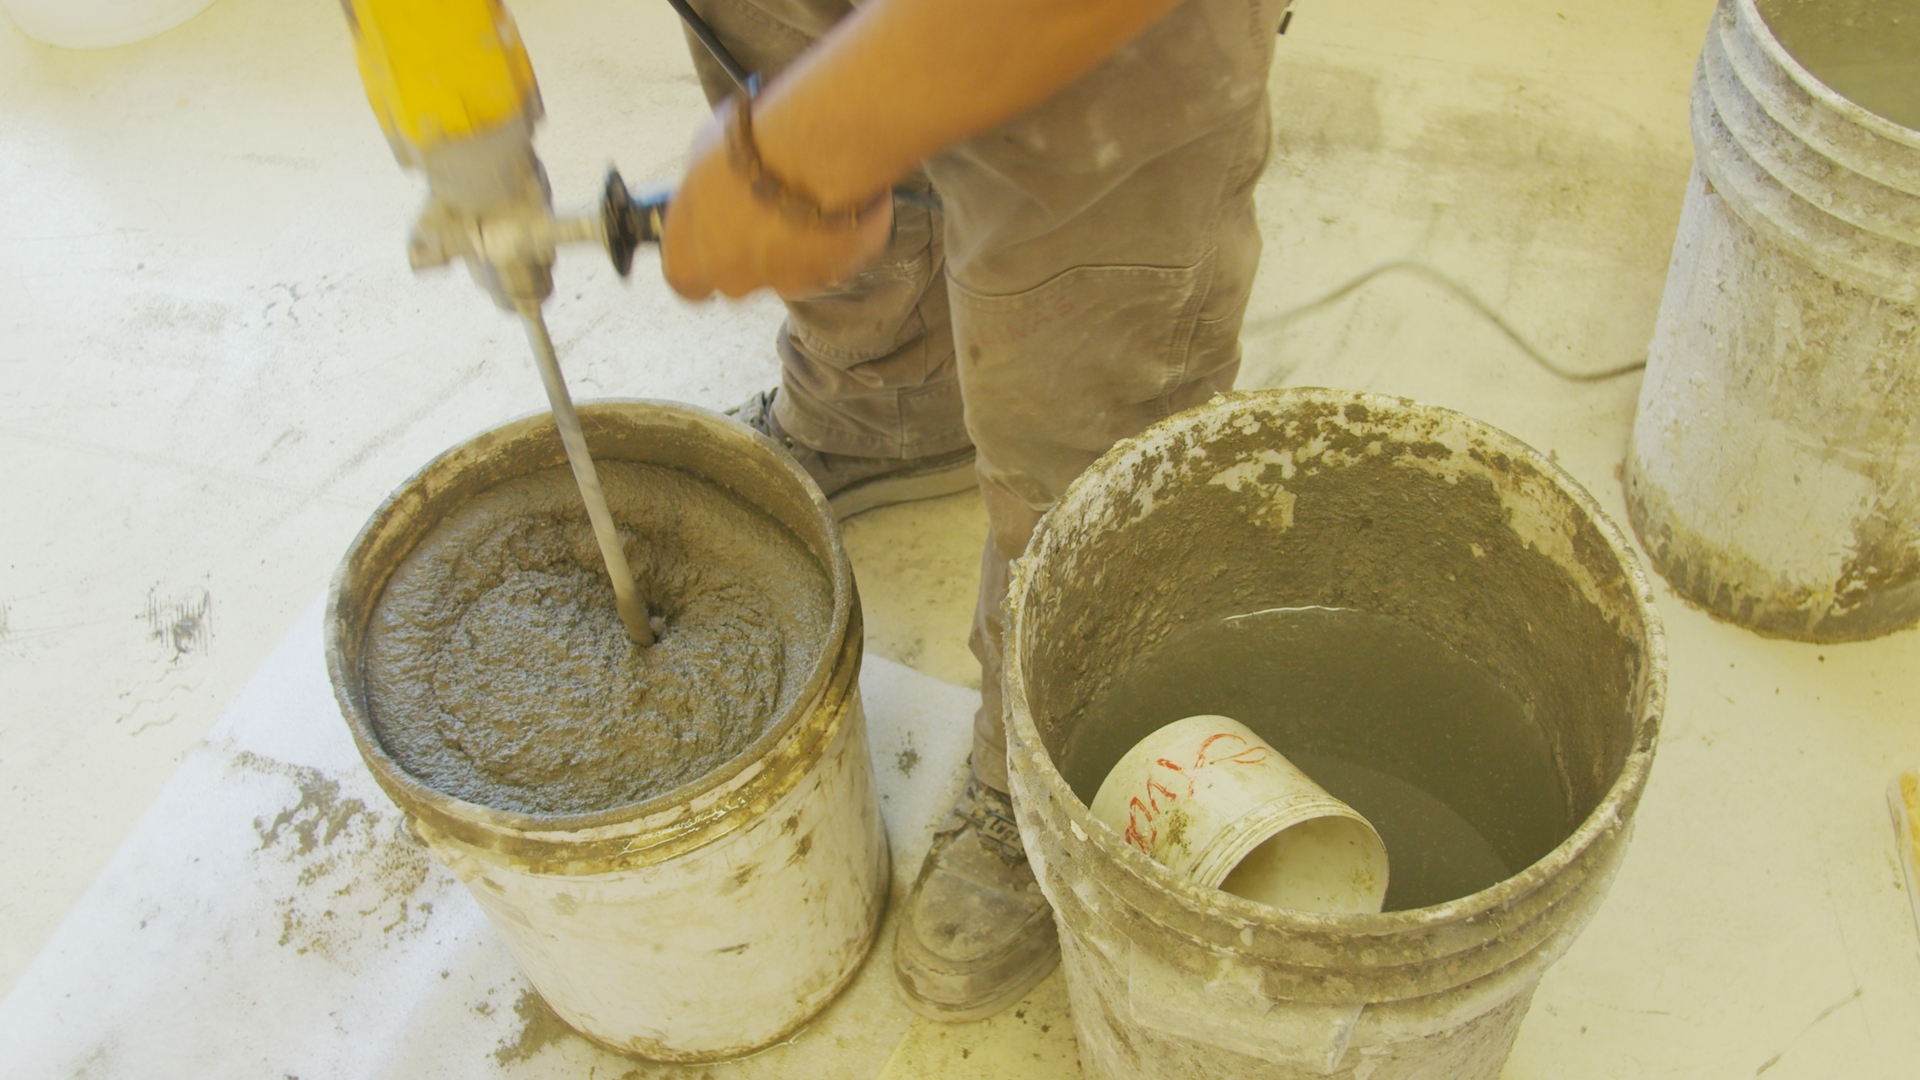
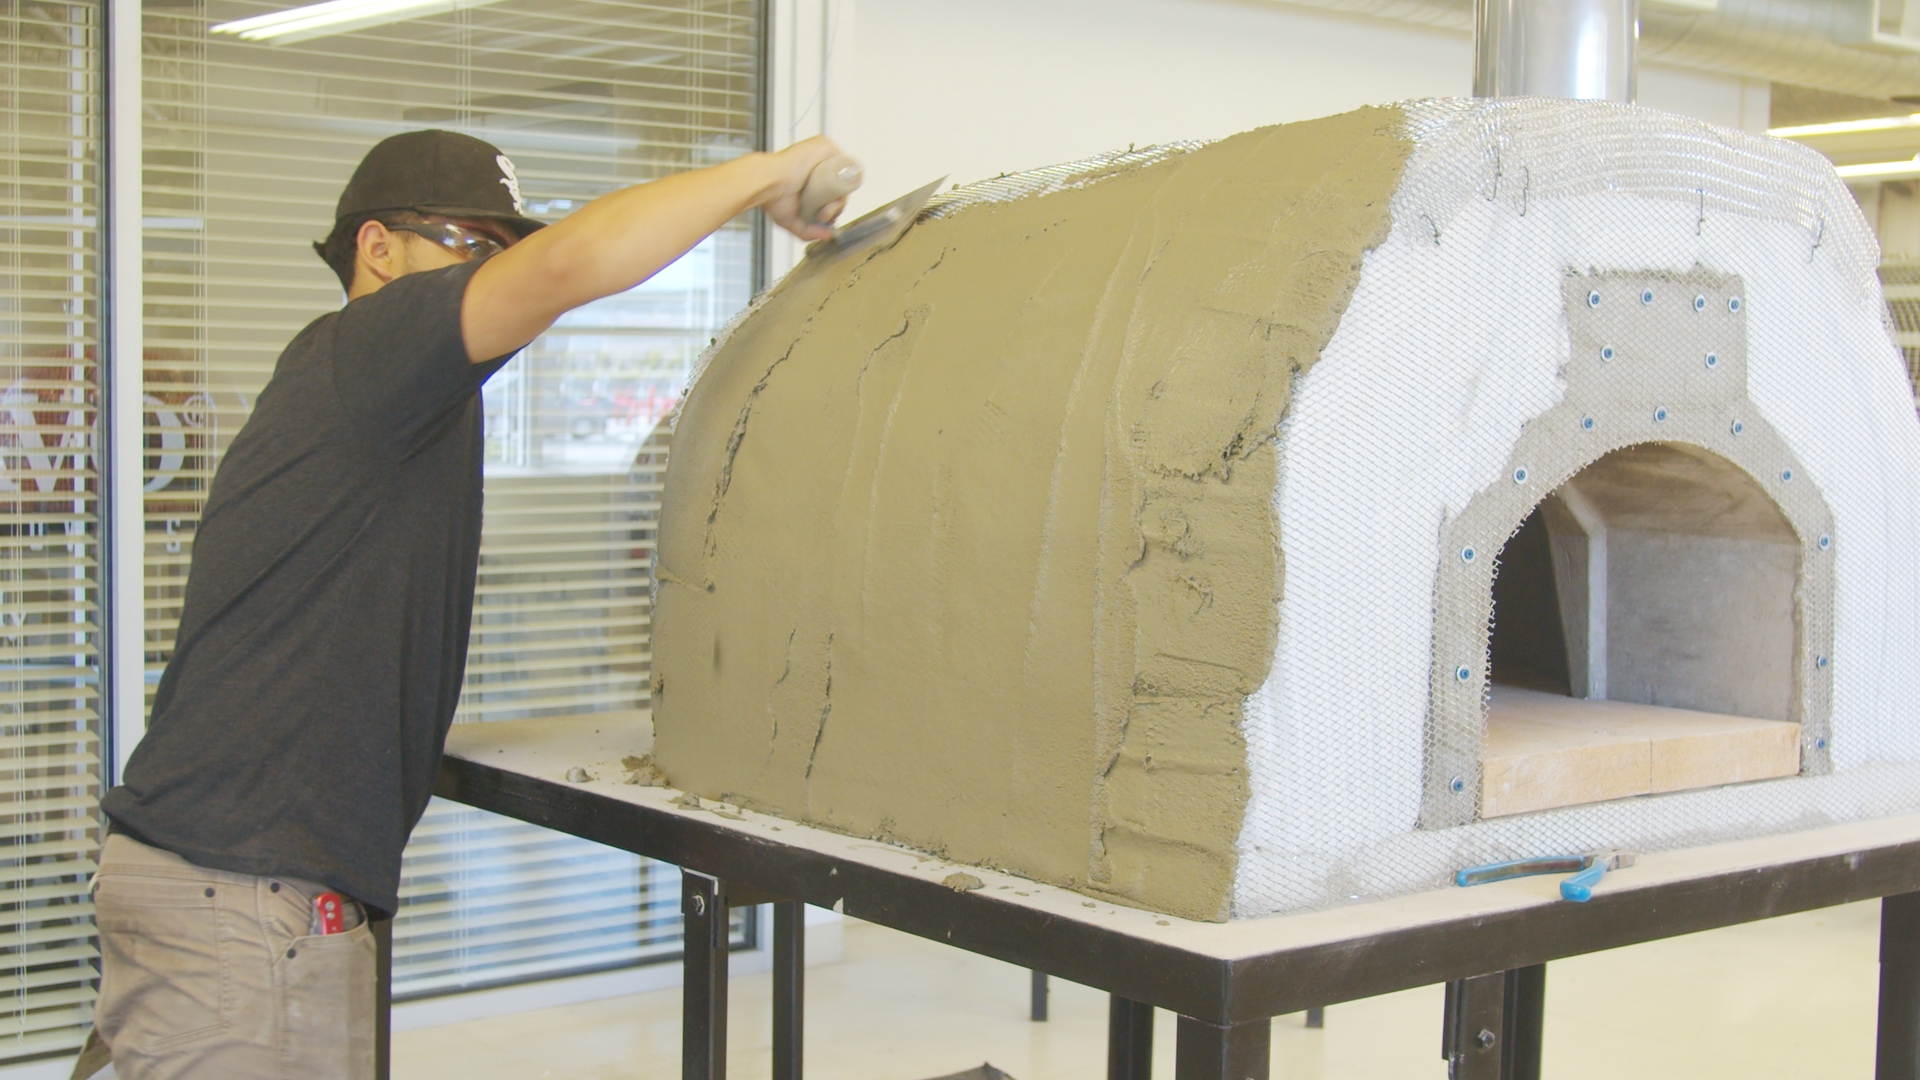
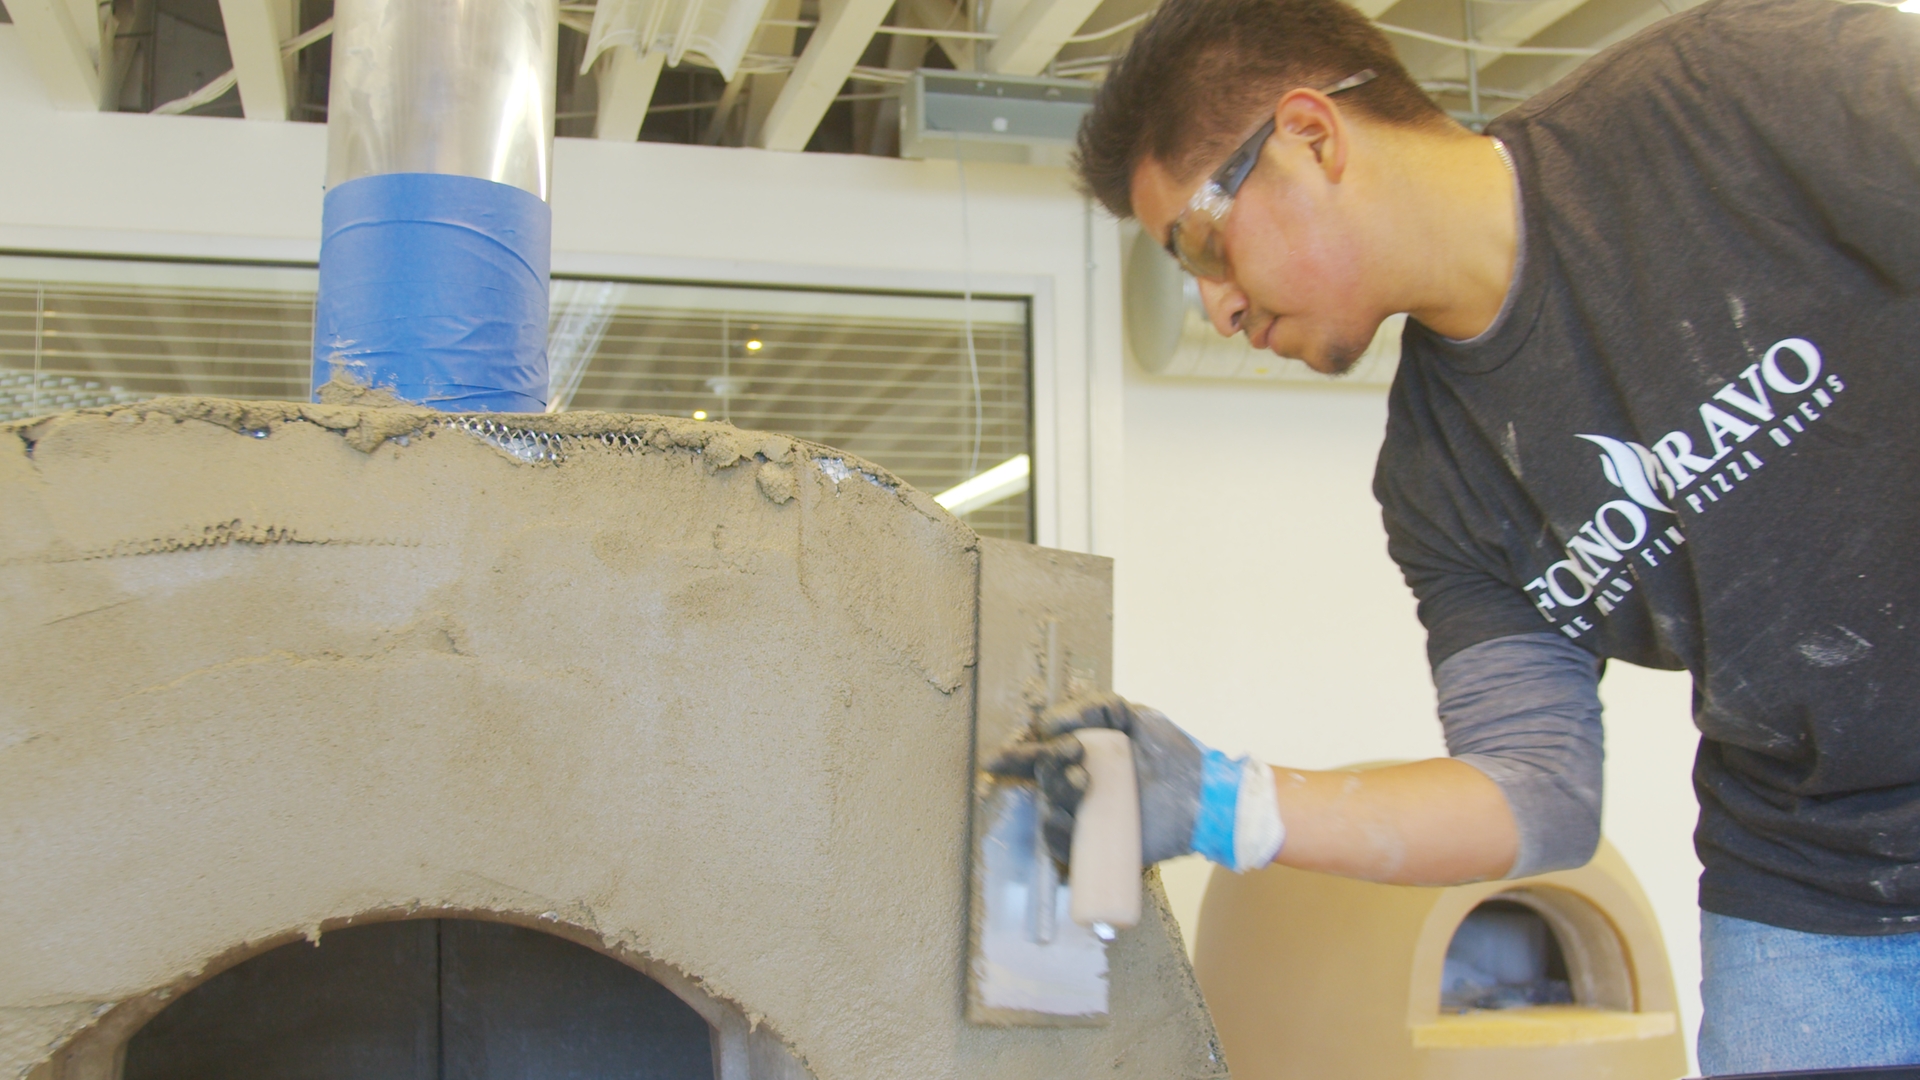
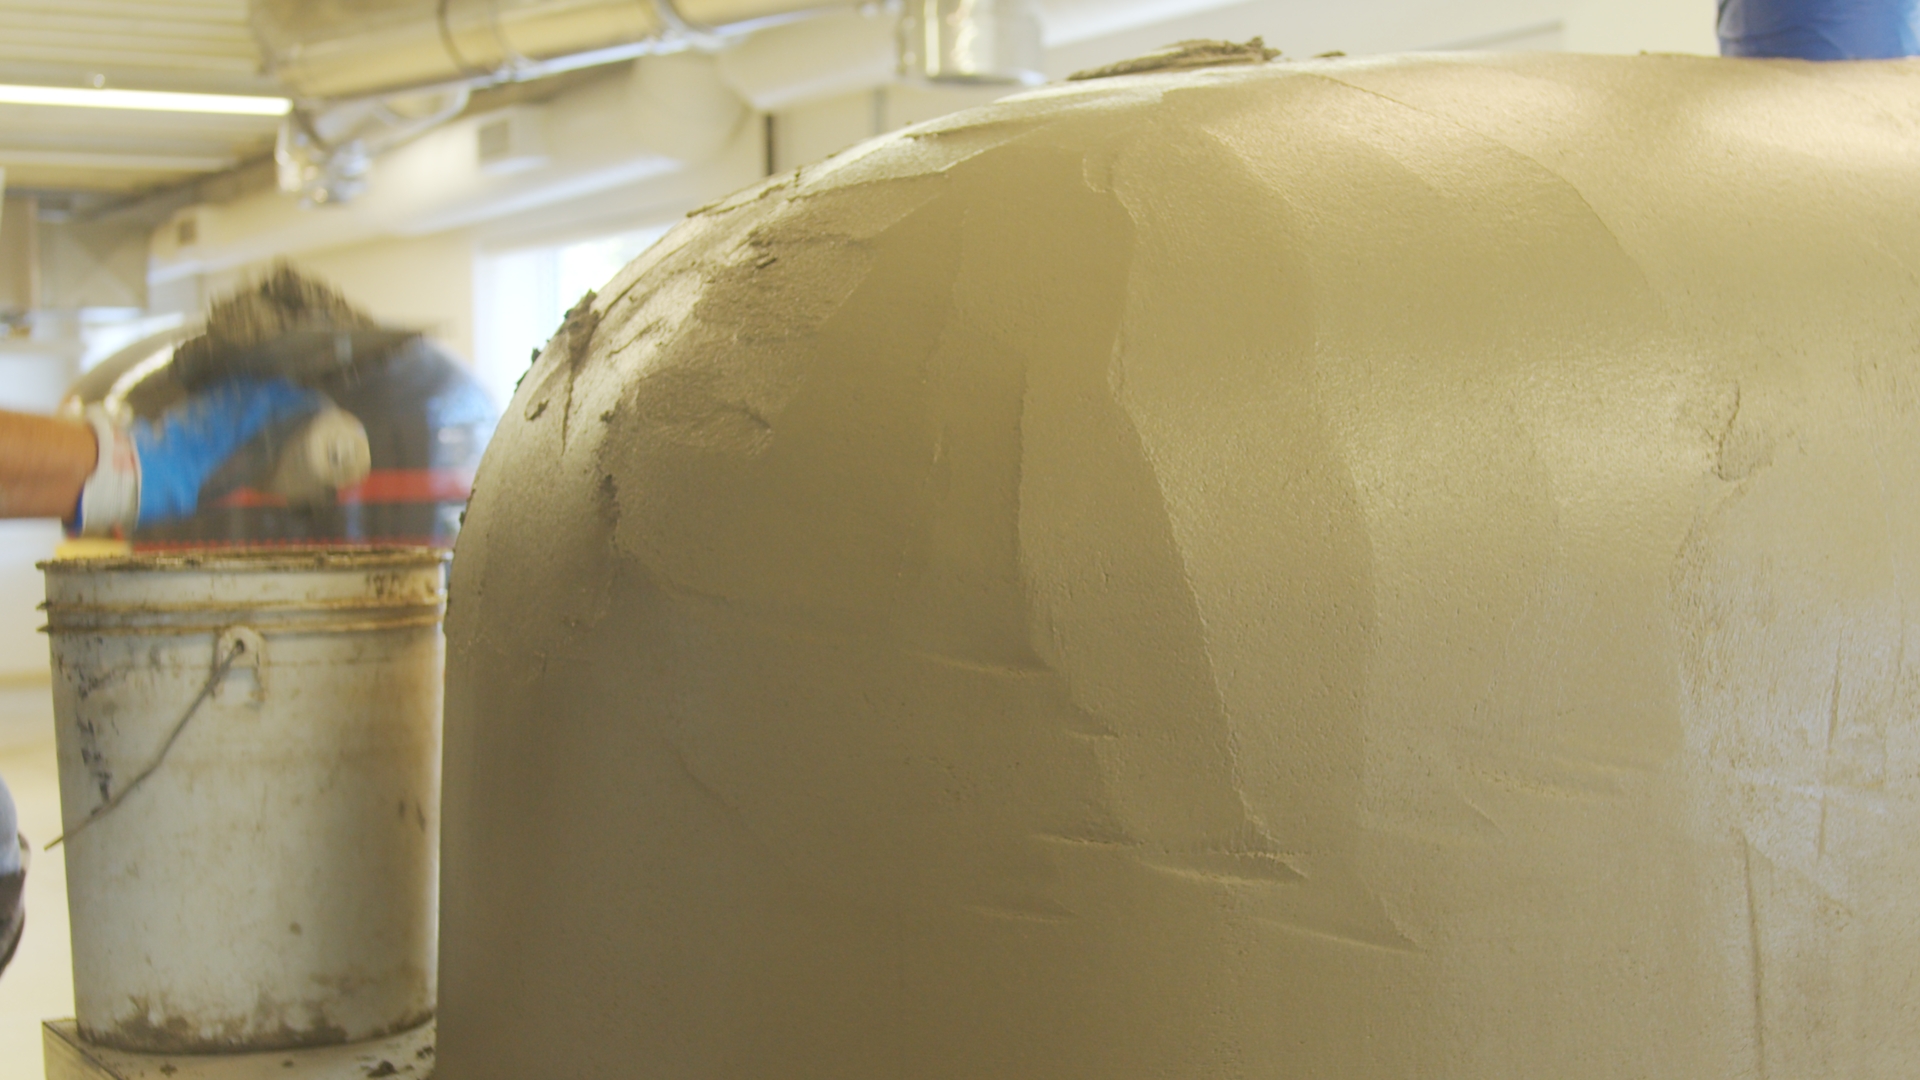
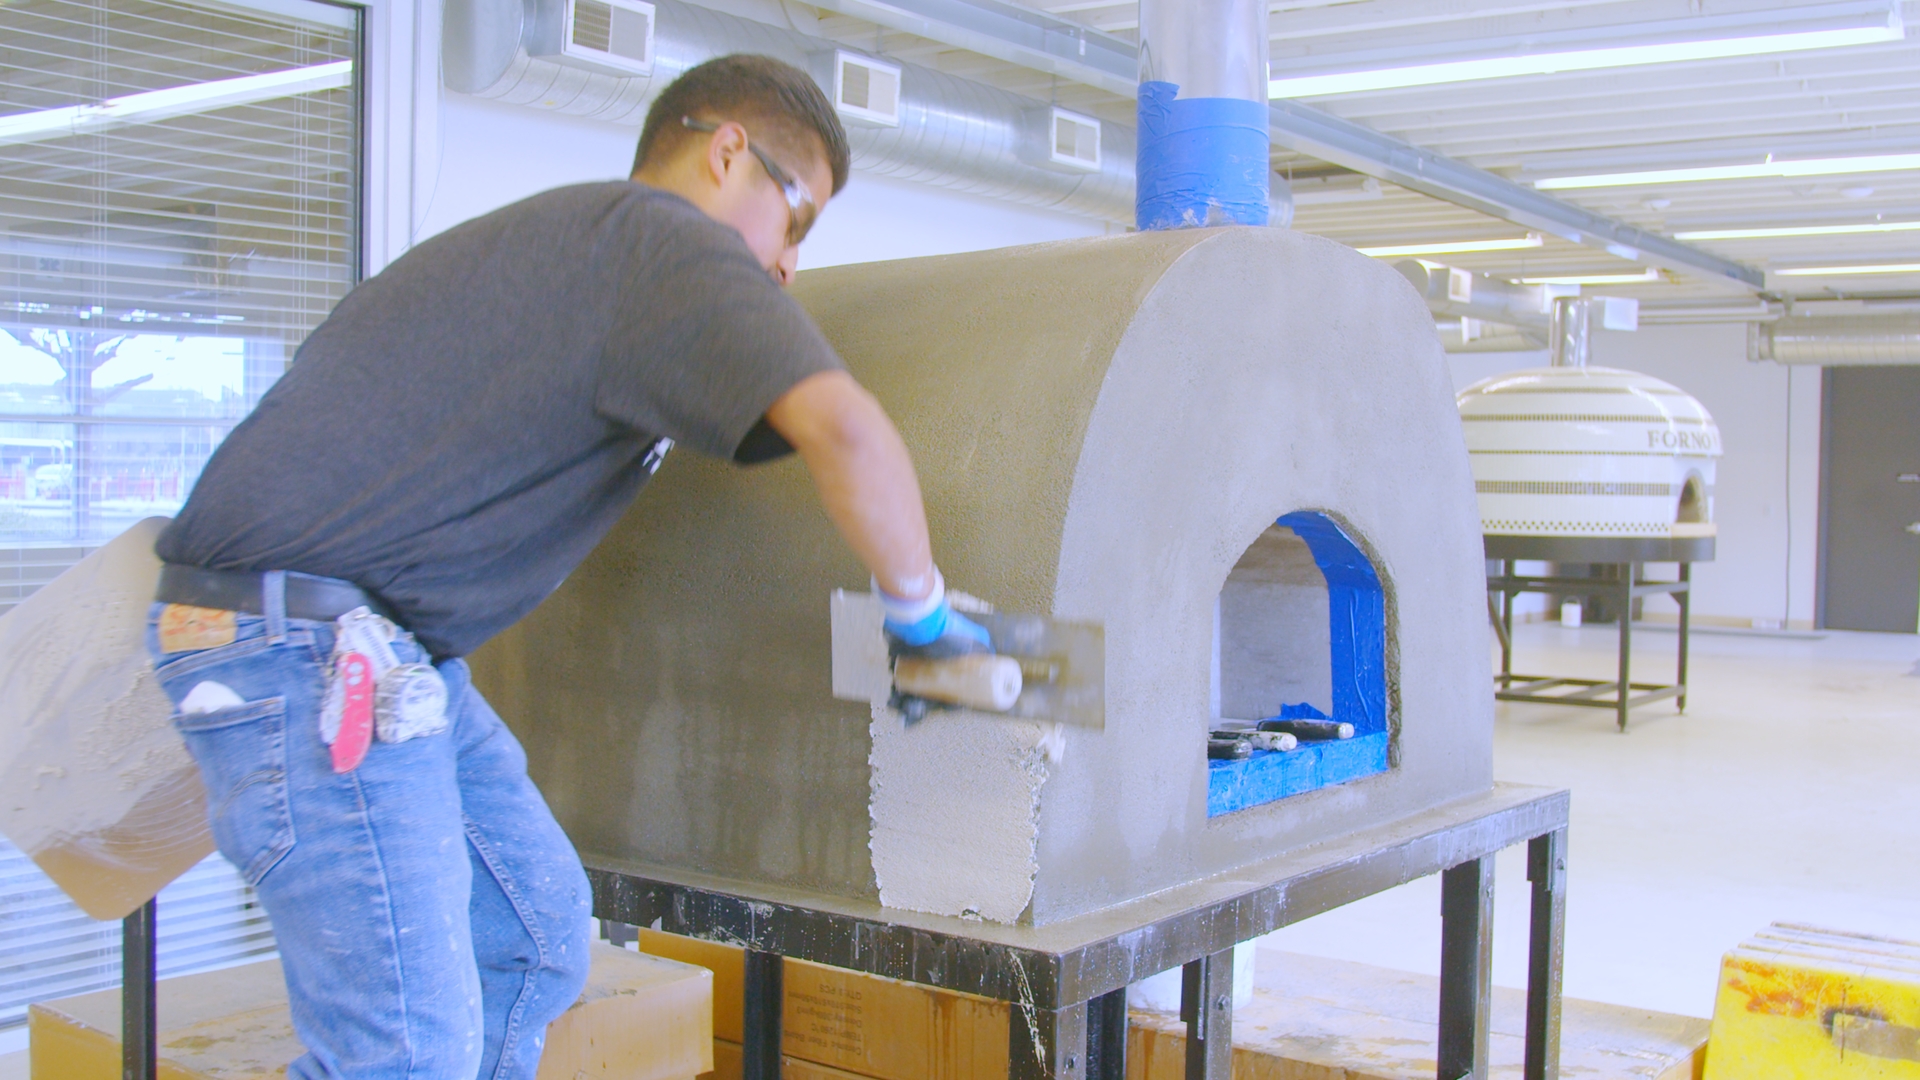
- Create a stucco mix and apply it to the dome with a putty knife or trowel. Work from the bottom to the top. Spread the mud around the edge and pull the mud upward in an ‘r’ shaped motion.
- Finish the inner edge of the open mouth.
- Apply two to three layers for a protective base coat. Allow each layer to set for 30 to 40 minutes between coats. Smooth the stucco and square up any desired edges as you go.
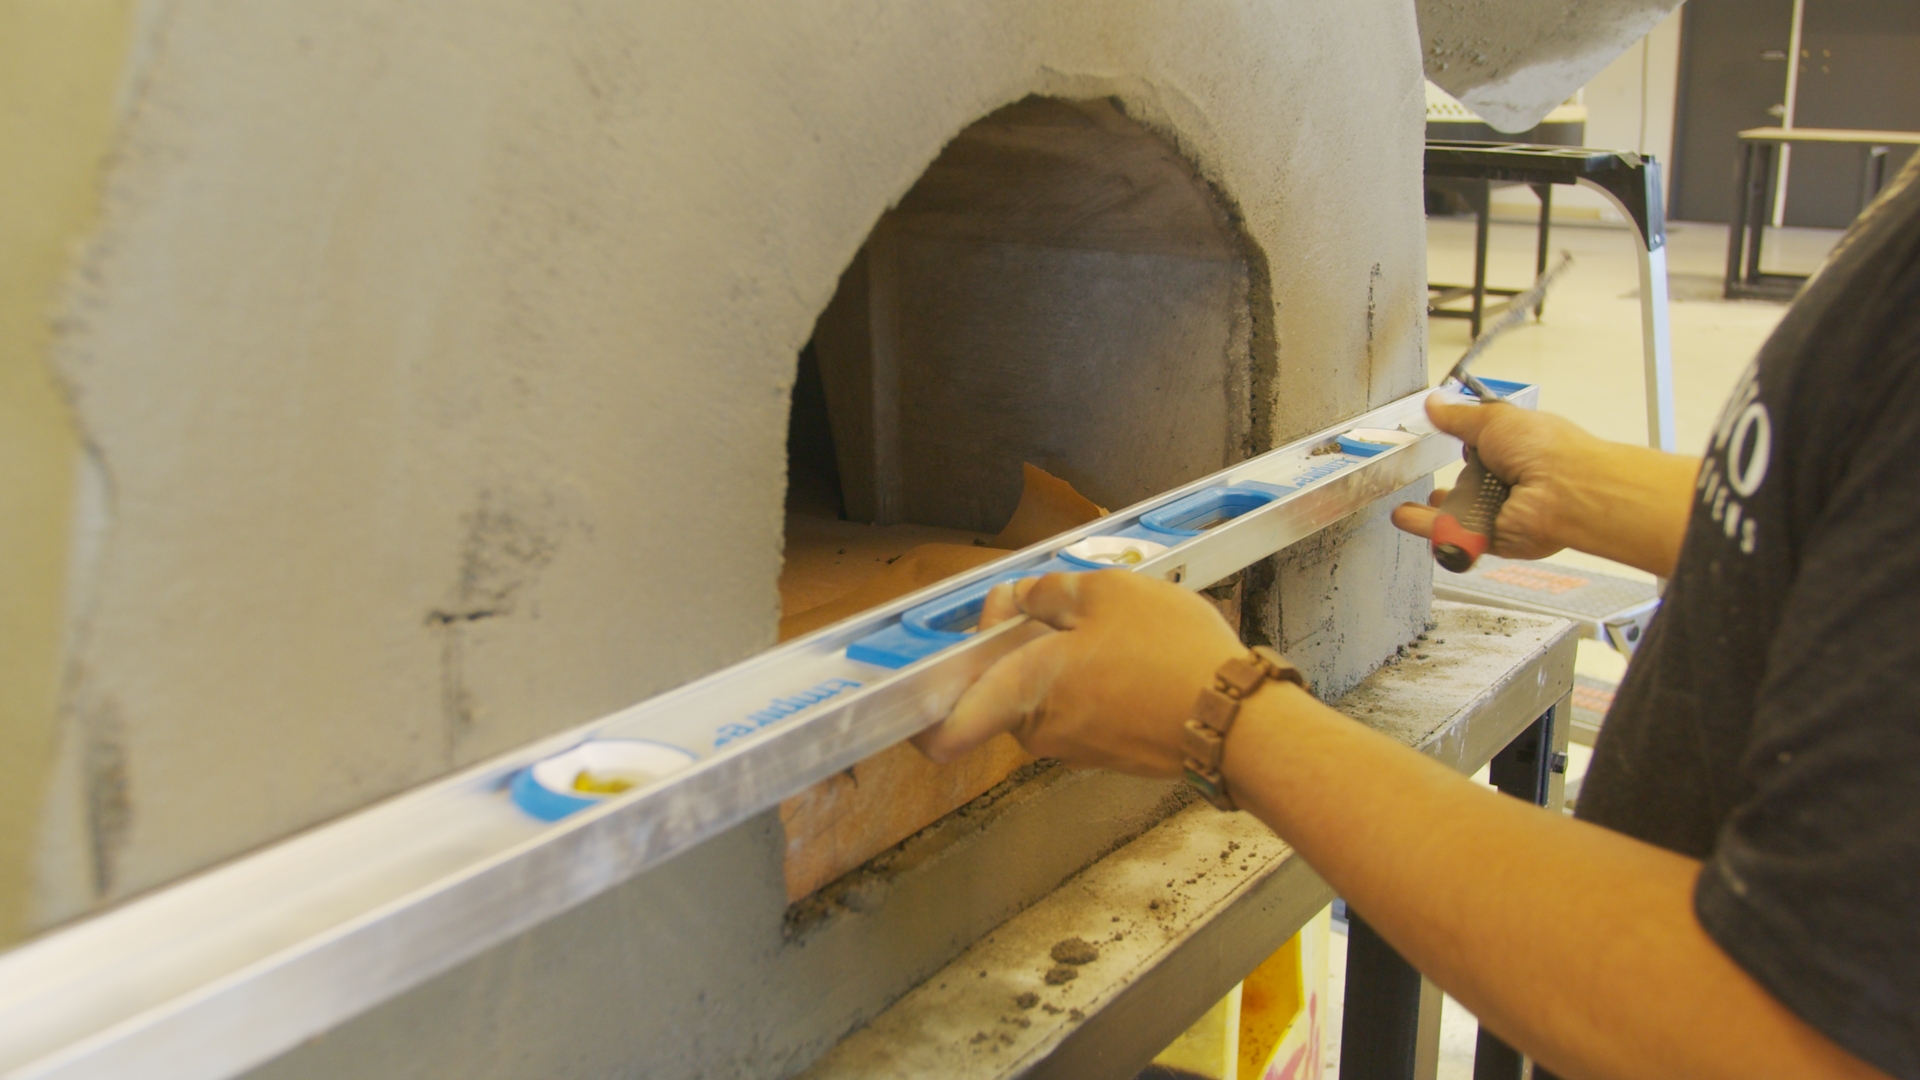
- Check with a level to see if the front layer is even, and adjust accordingly.
- Allow your stucco base coat to dry for 24 hours before continuing with finishing a Forno Bravo Oven Kit.
2. Stucco Finish – Top Coat
- Use wire mesh to scratch the stucco surface once the first layer is dry. This sanding method will smooth the dome, keep it from bubbling, and prepare it for the top coats.

- Clean off stucco dust using a handheld shop brush.
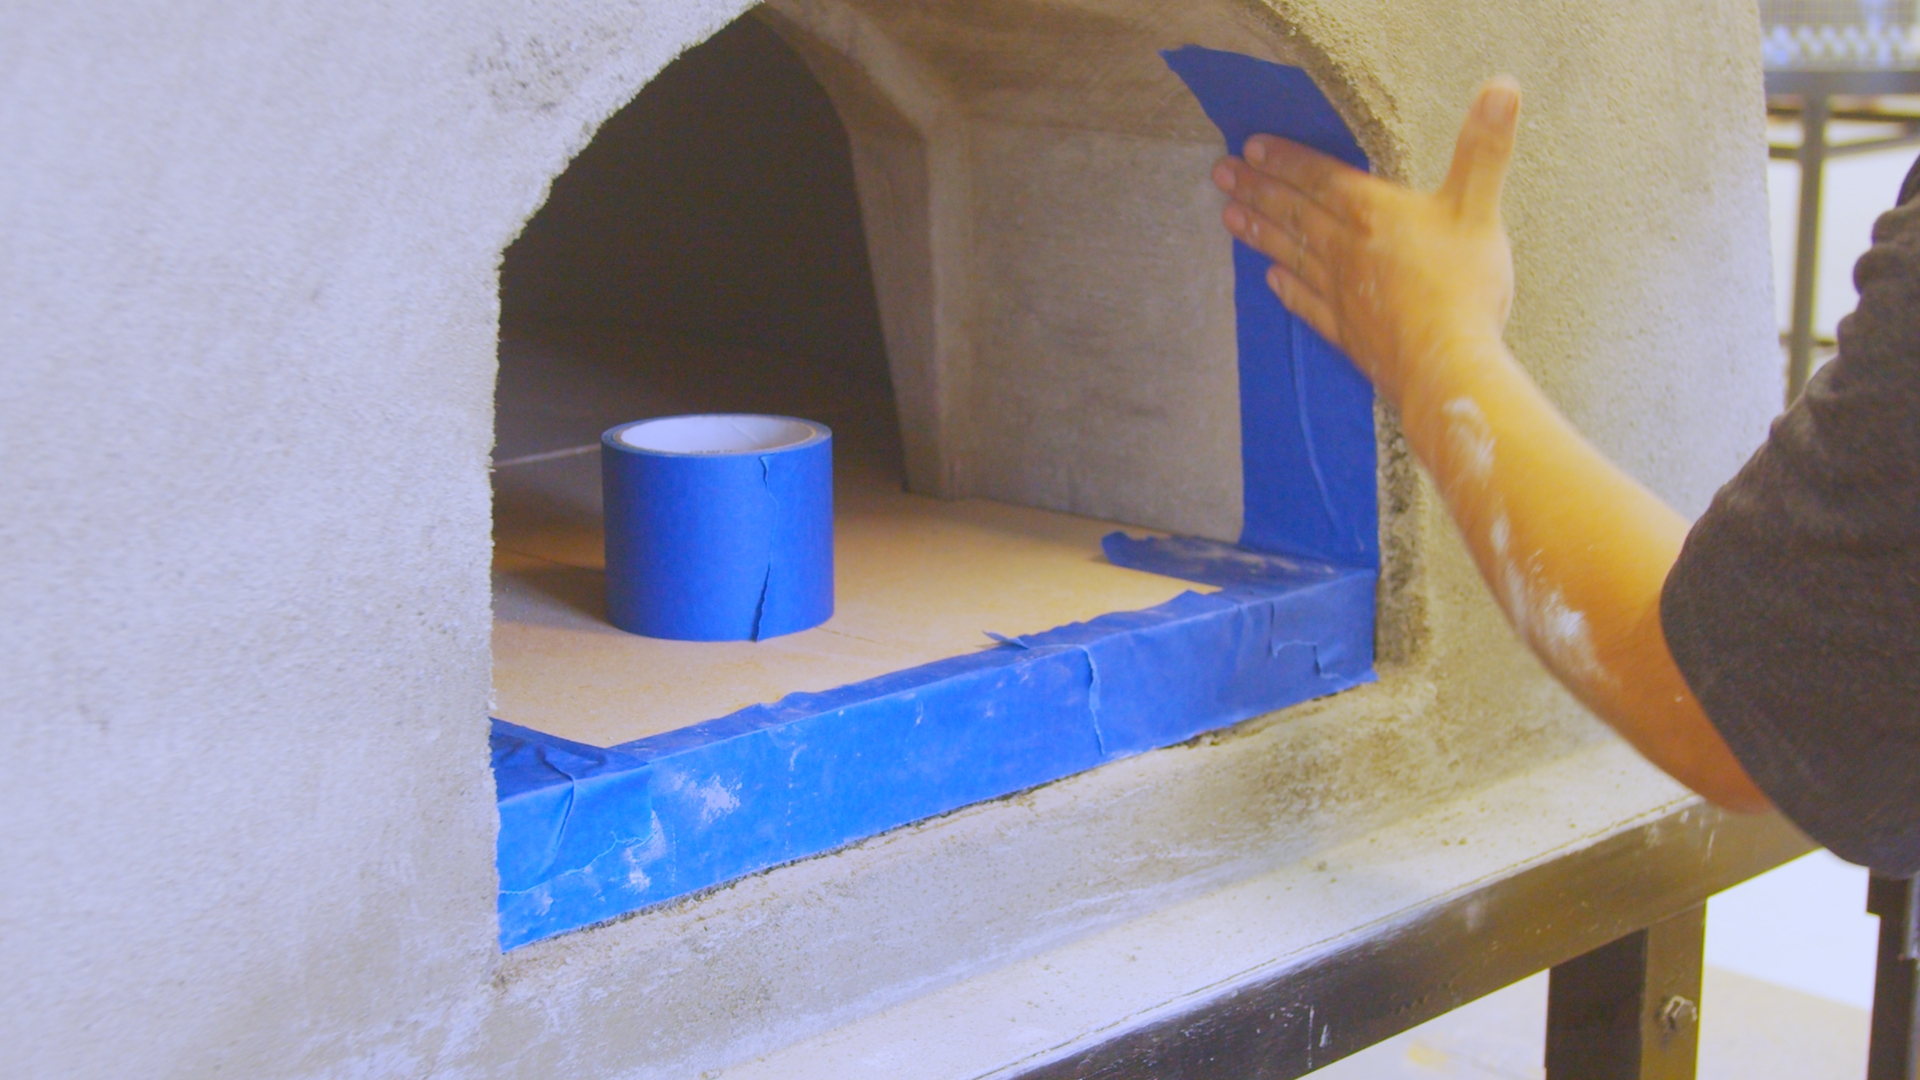
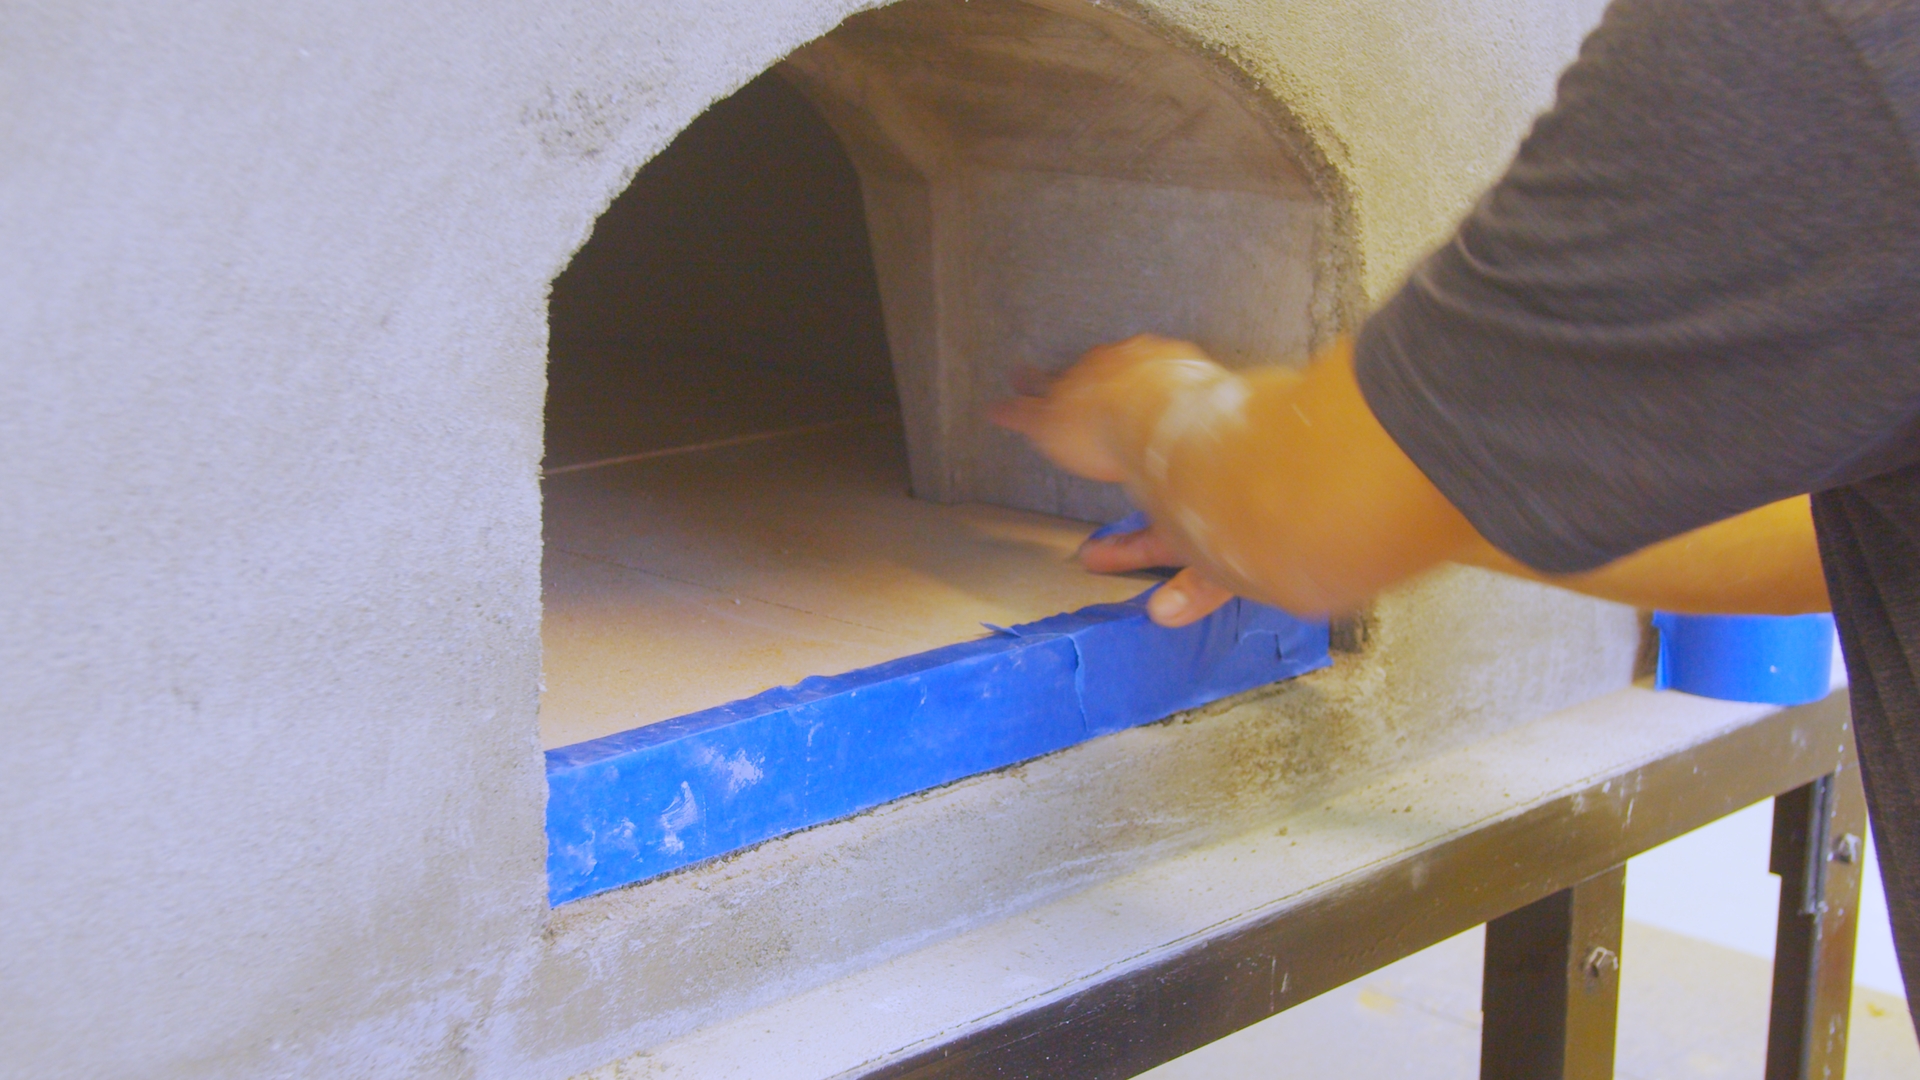
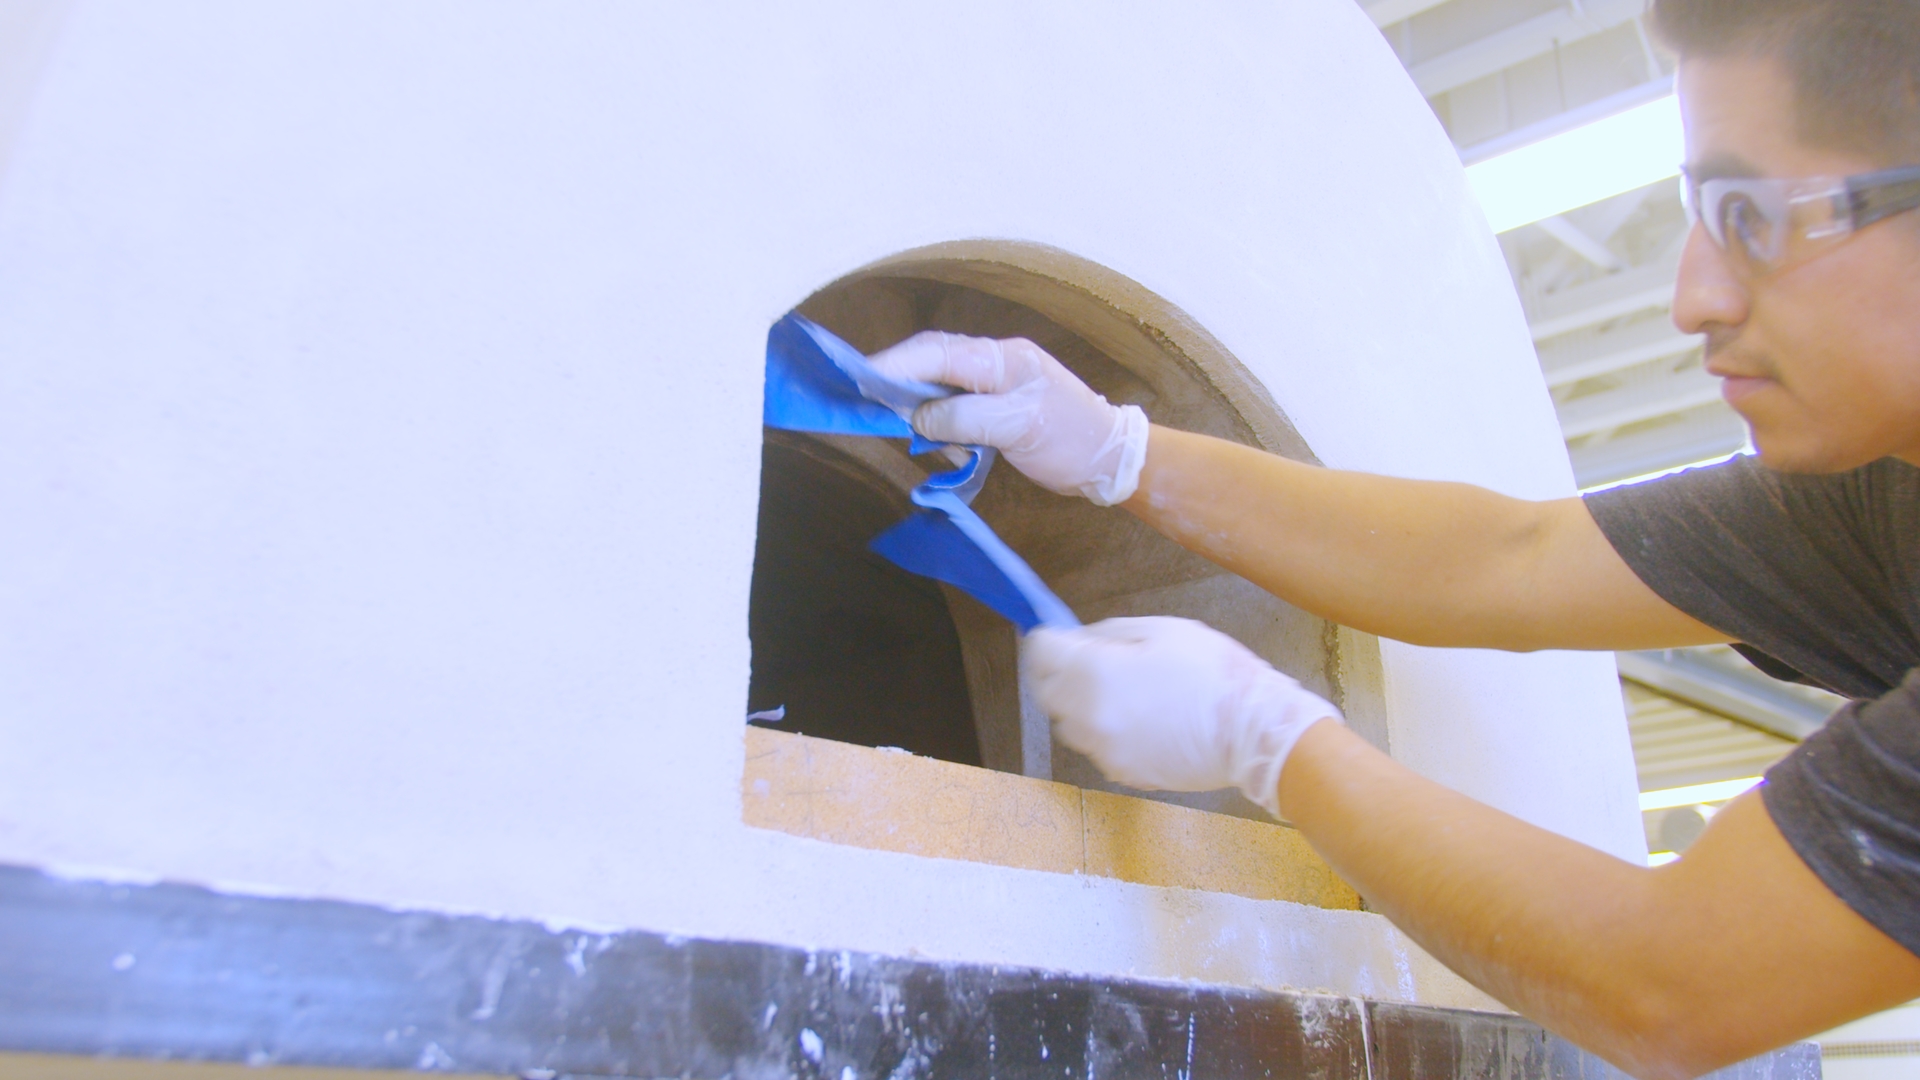
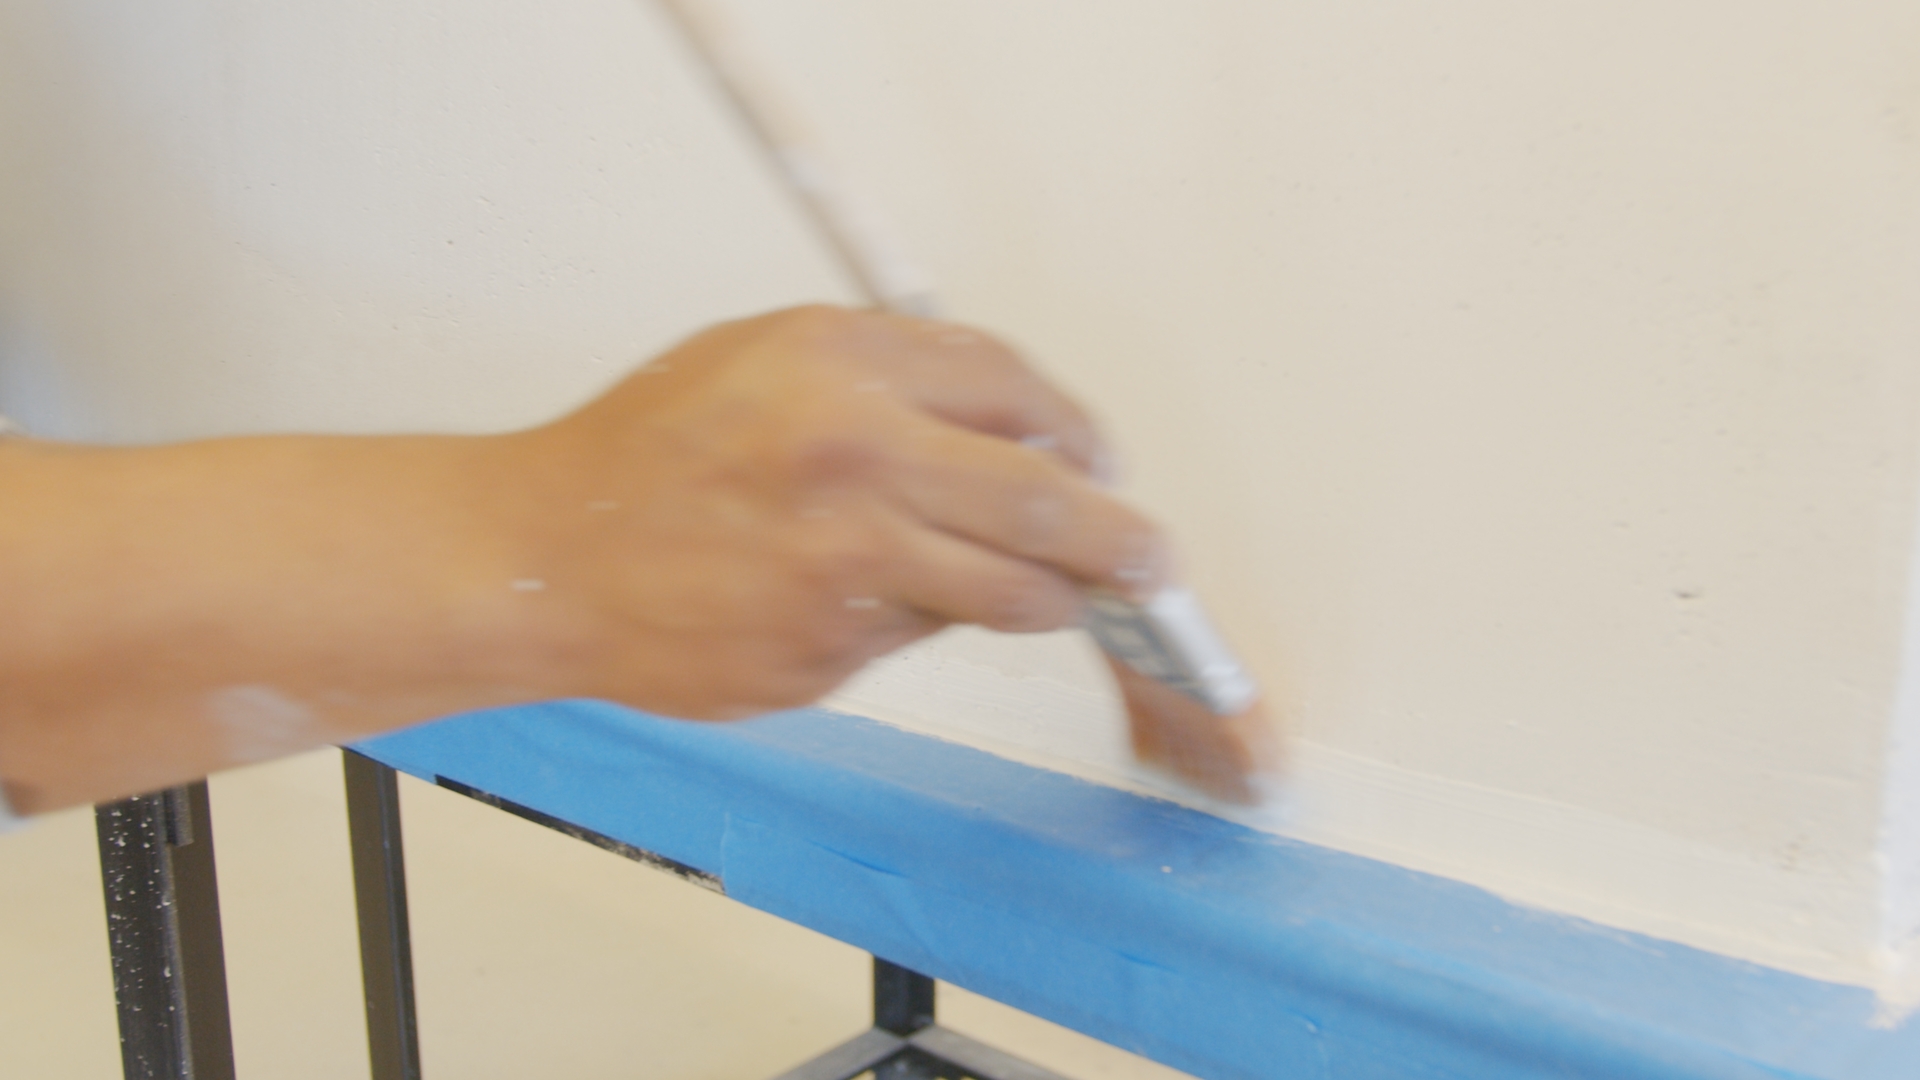
- Tape the following areas with wide painter’s tape.
- The outer edge of the hearth
- The dome floor
- The oven mouth’s inner edge – leaving about 1 inch exposed
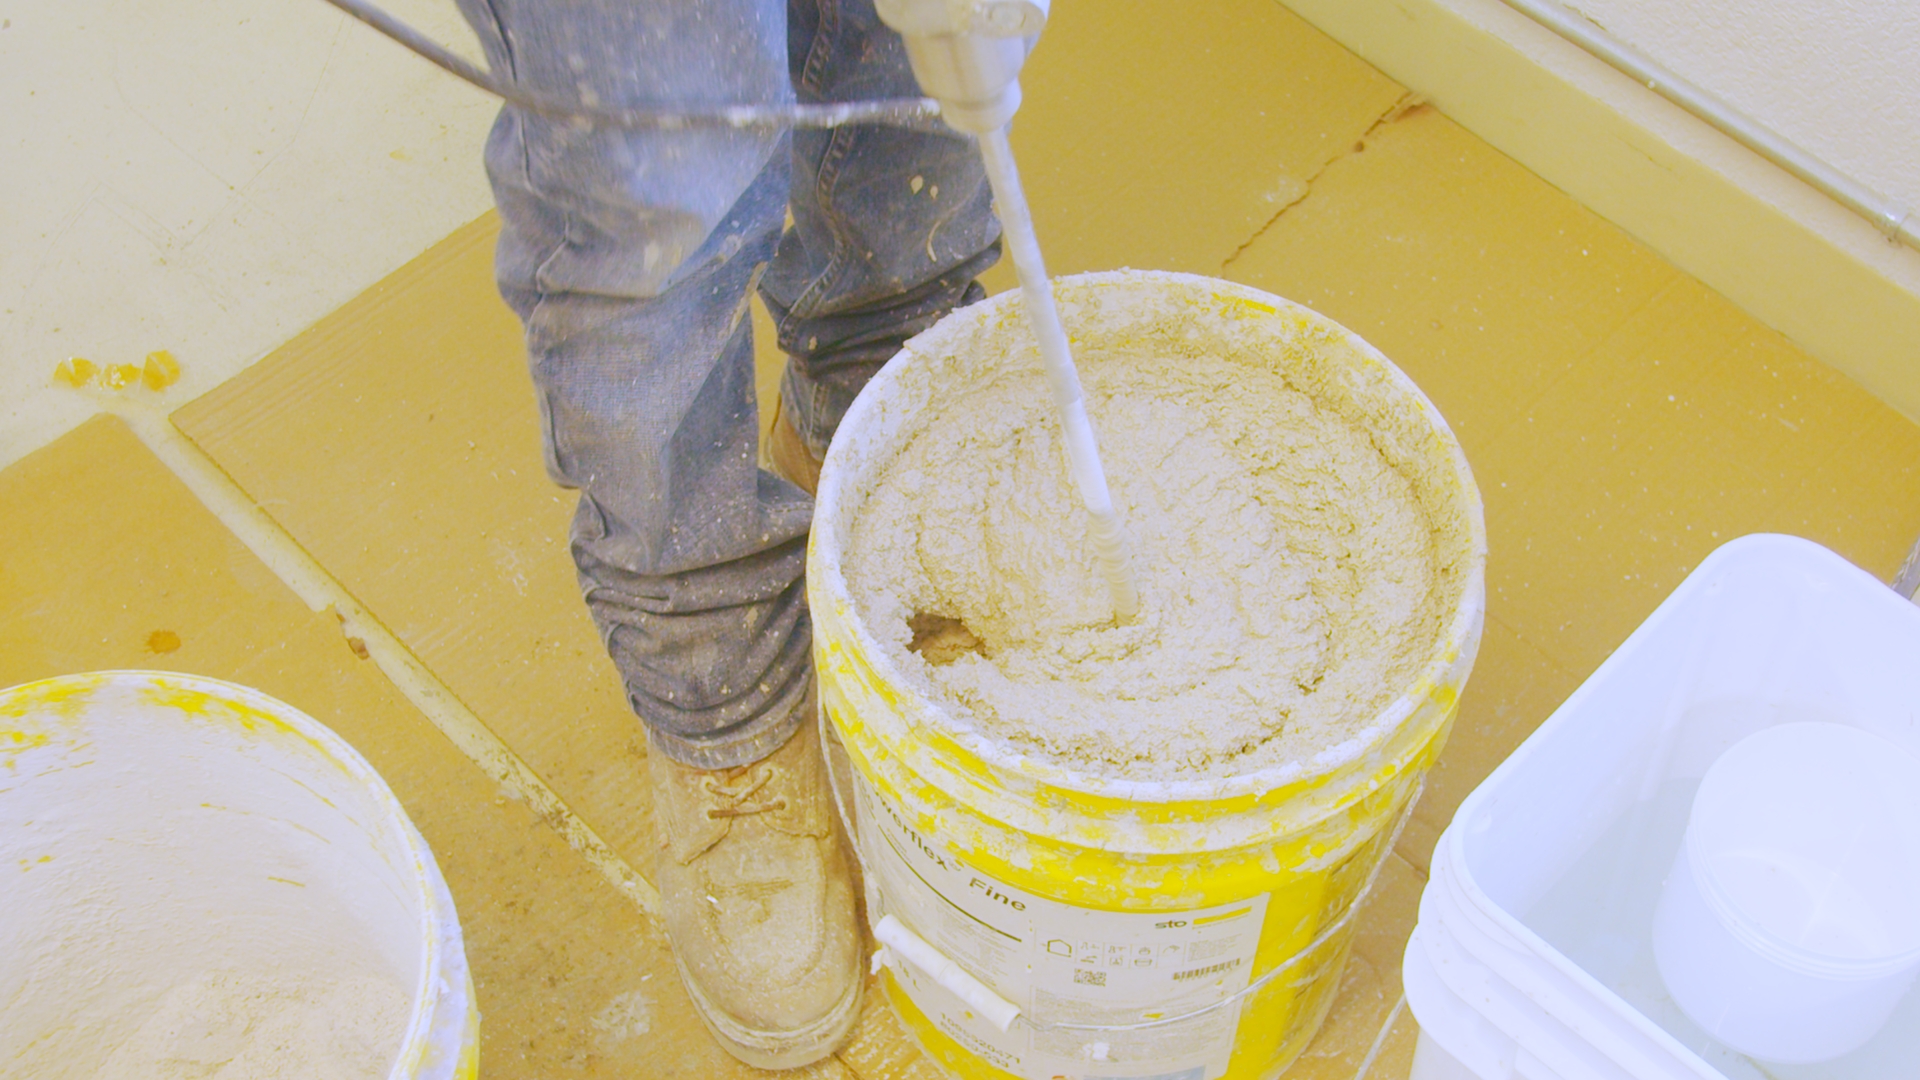
- Create the stucco mix for the finishing top coats. Mix it for about 10 to 12 minutes, so everything is blended and reaches the proper consistency.
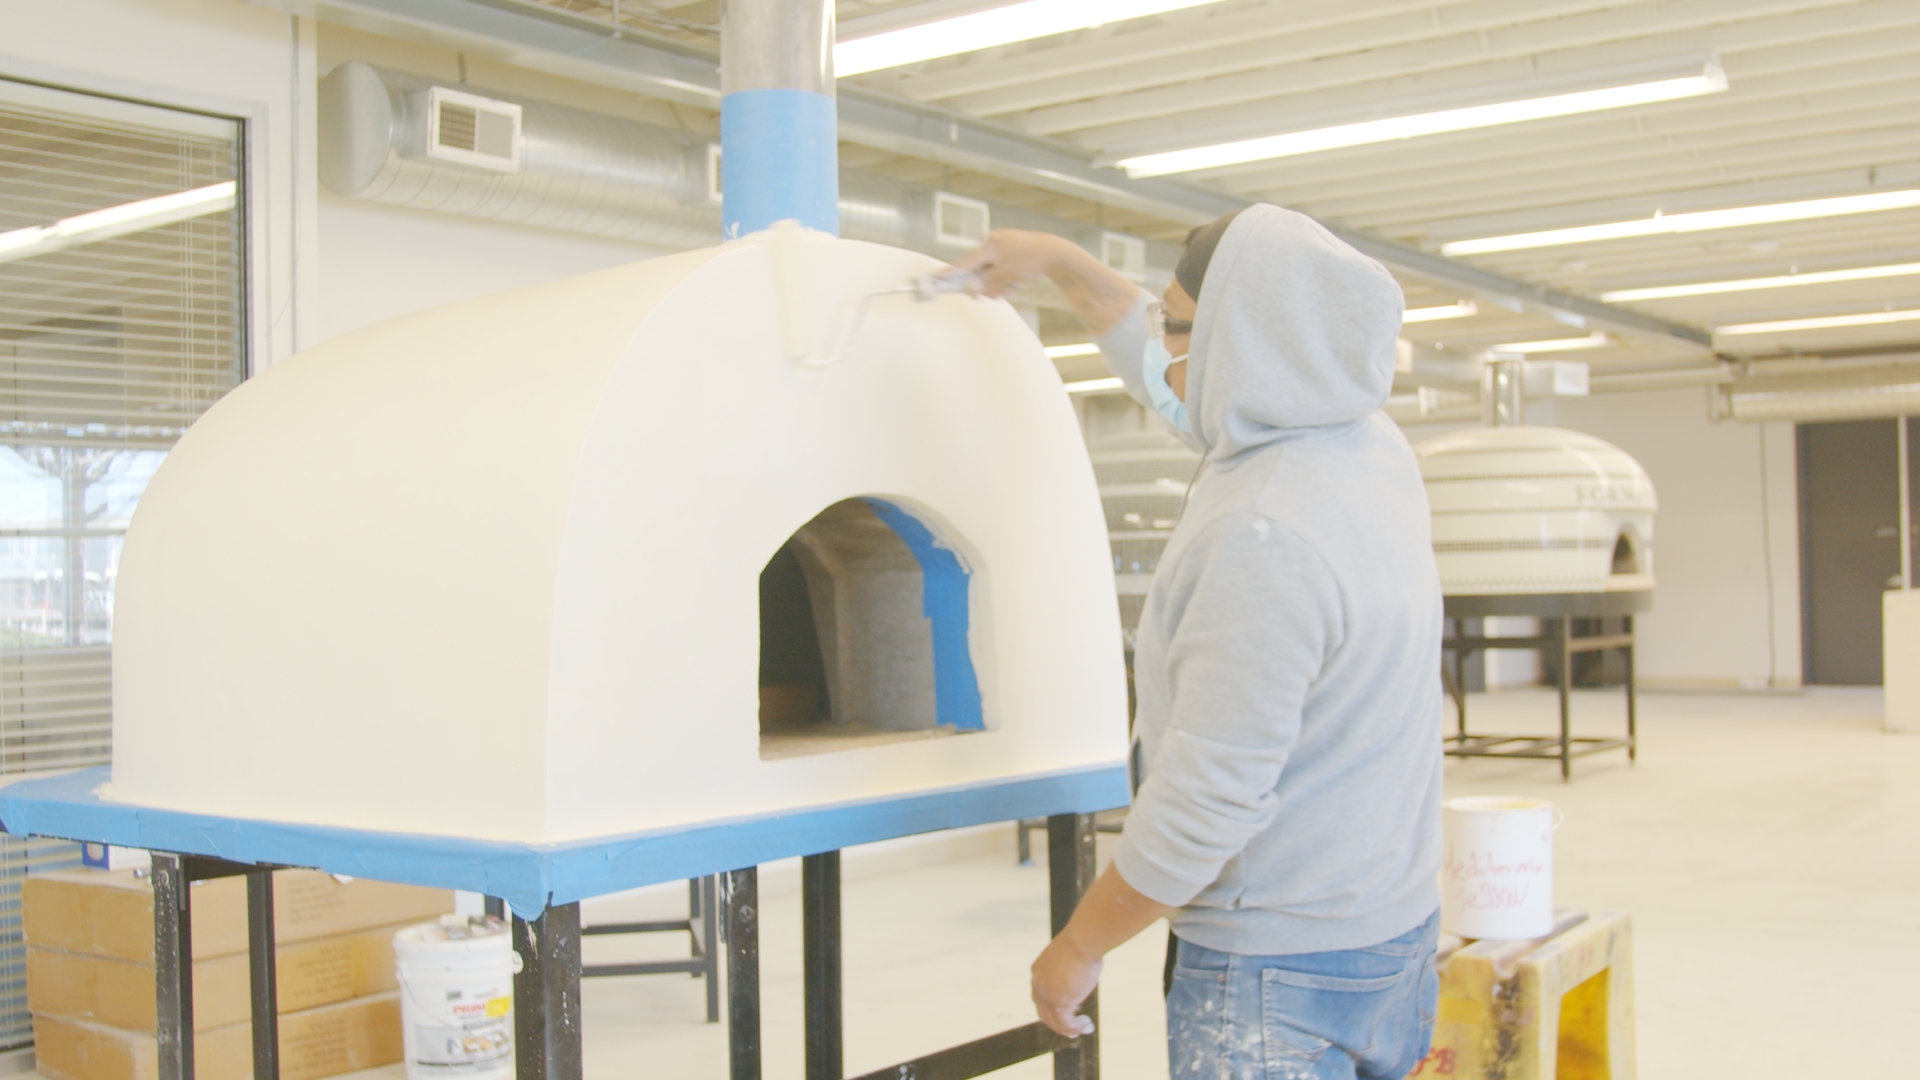
- Lightly dampen the oven’s exterior with a wet sponge, working from the bottom to the top.
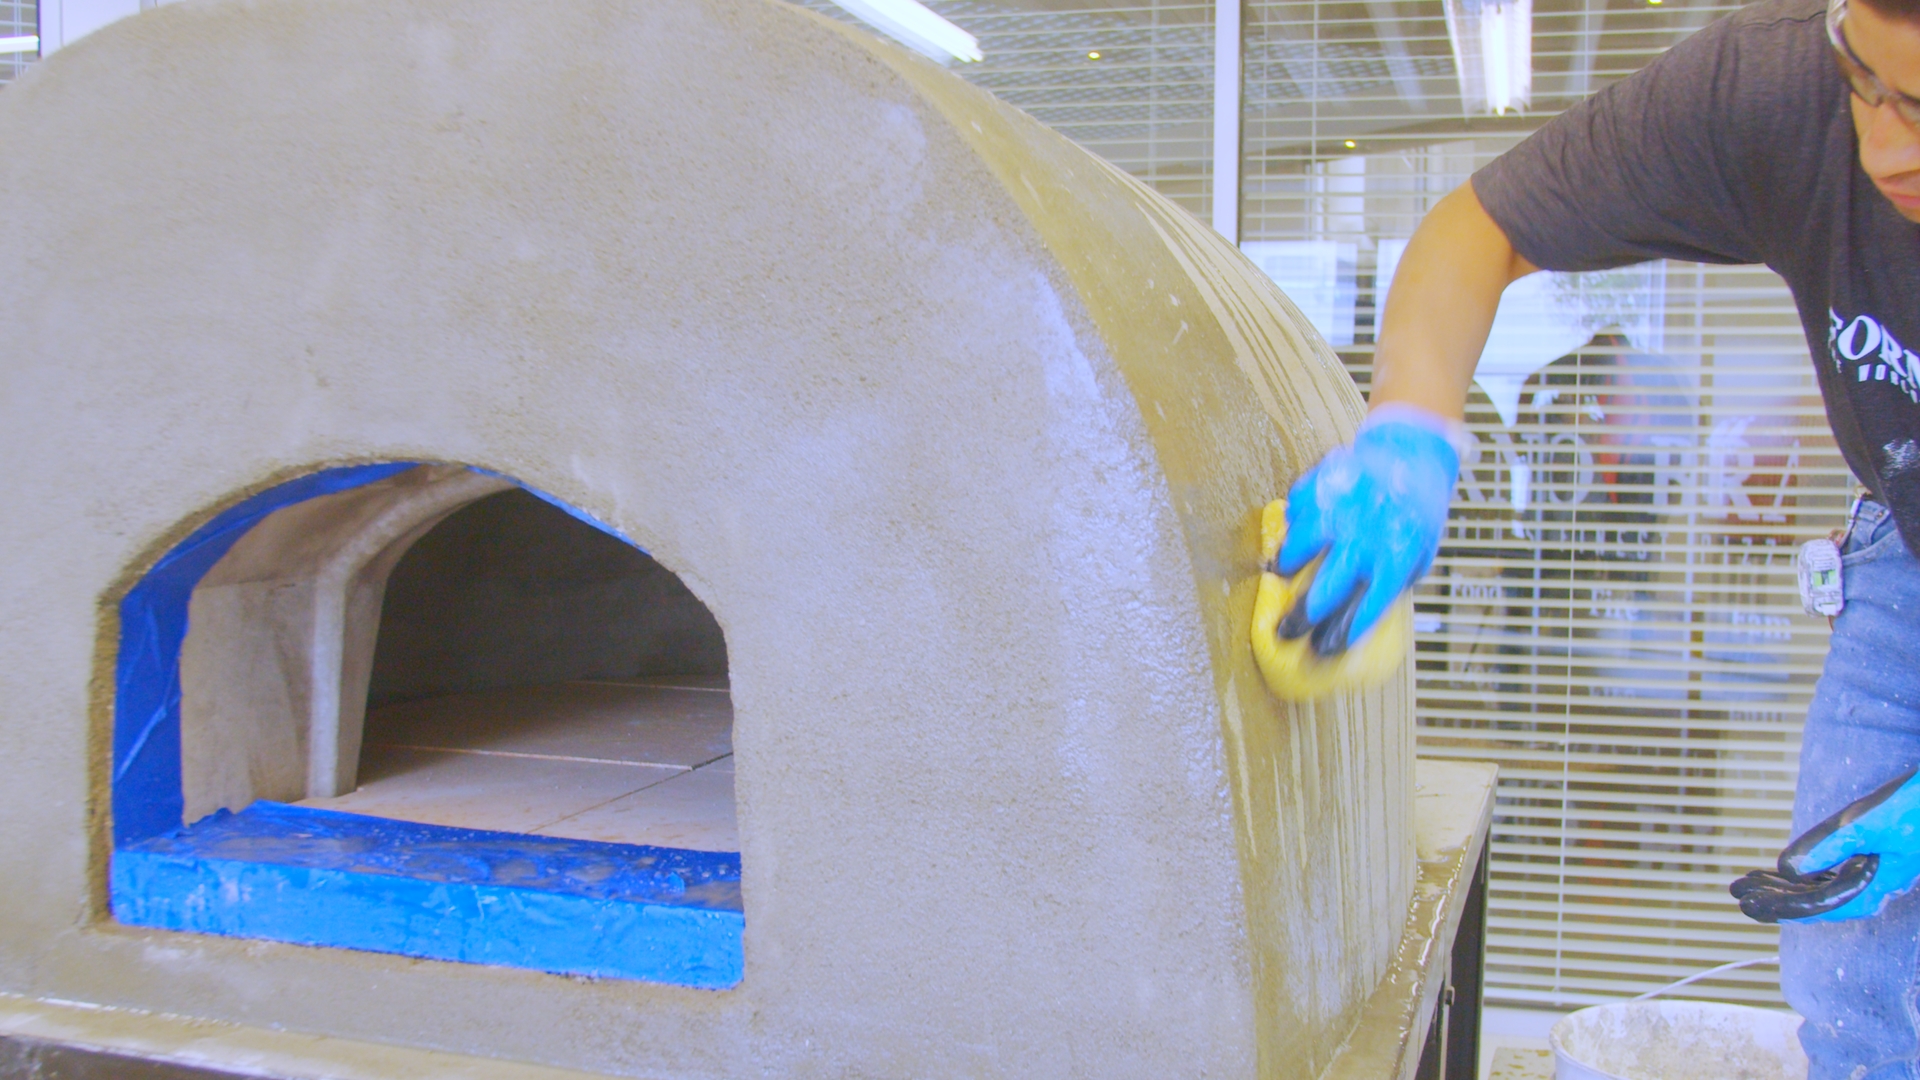
- Apply the first layer of the finish stucco, again working from the bottom to the top.
- Wait about 10 to 20 minutes for the stucco to start drying. It shouldn’t come off to the touch, but you don’t want it to get too dry so you can continue to smooth the layers.
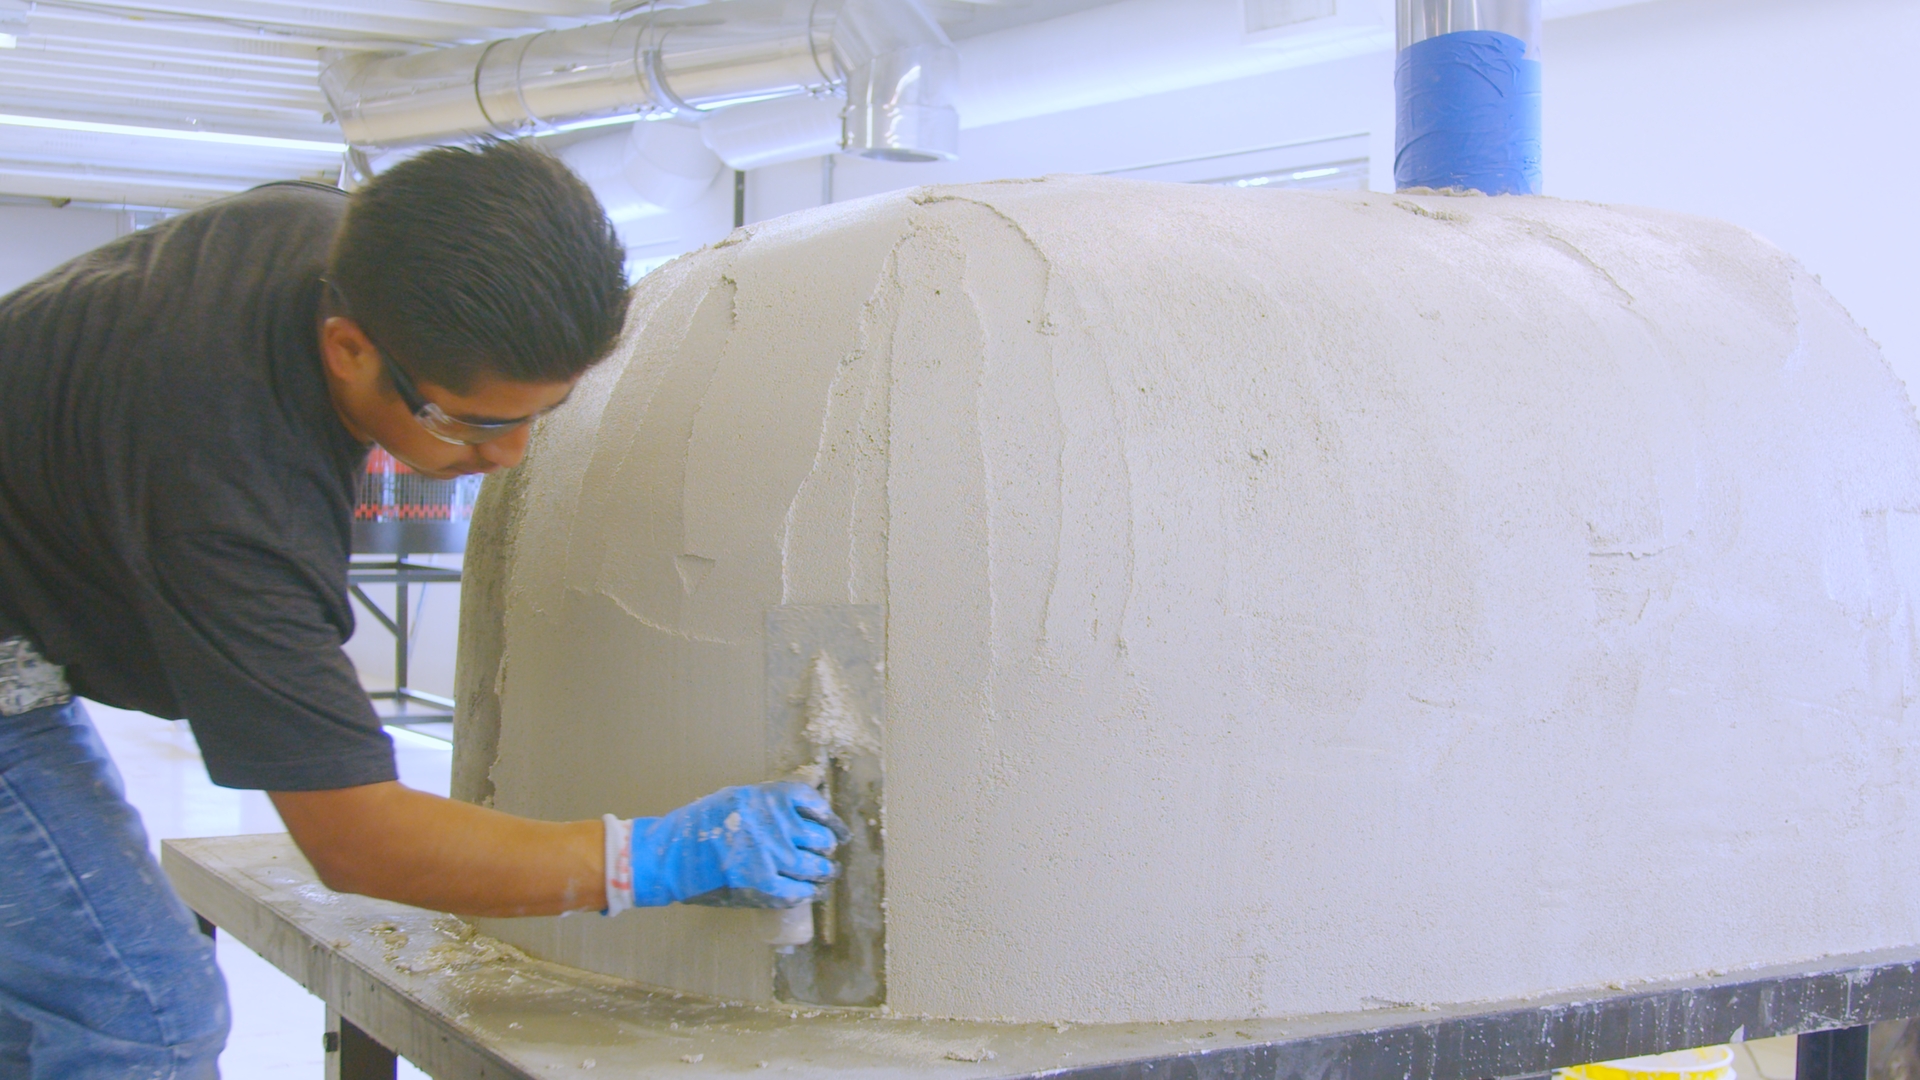
- Apply a second finish coat. Smooth the stucco with a trowel gliding over the finish to blend the material and create a silk finish with the least number of stretches possible.

- Square up any edges. Remove the tape from the oven mouth and let the stucco dry for 24 hours before applying the sealer.
3. Seal The Dome
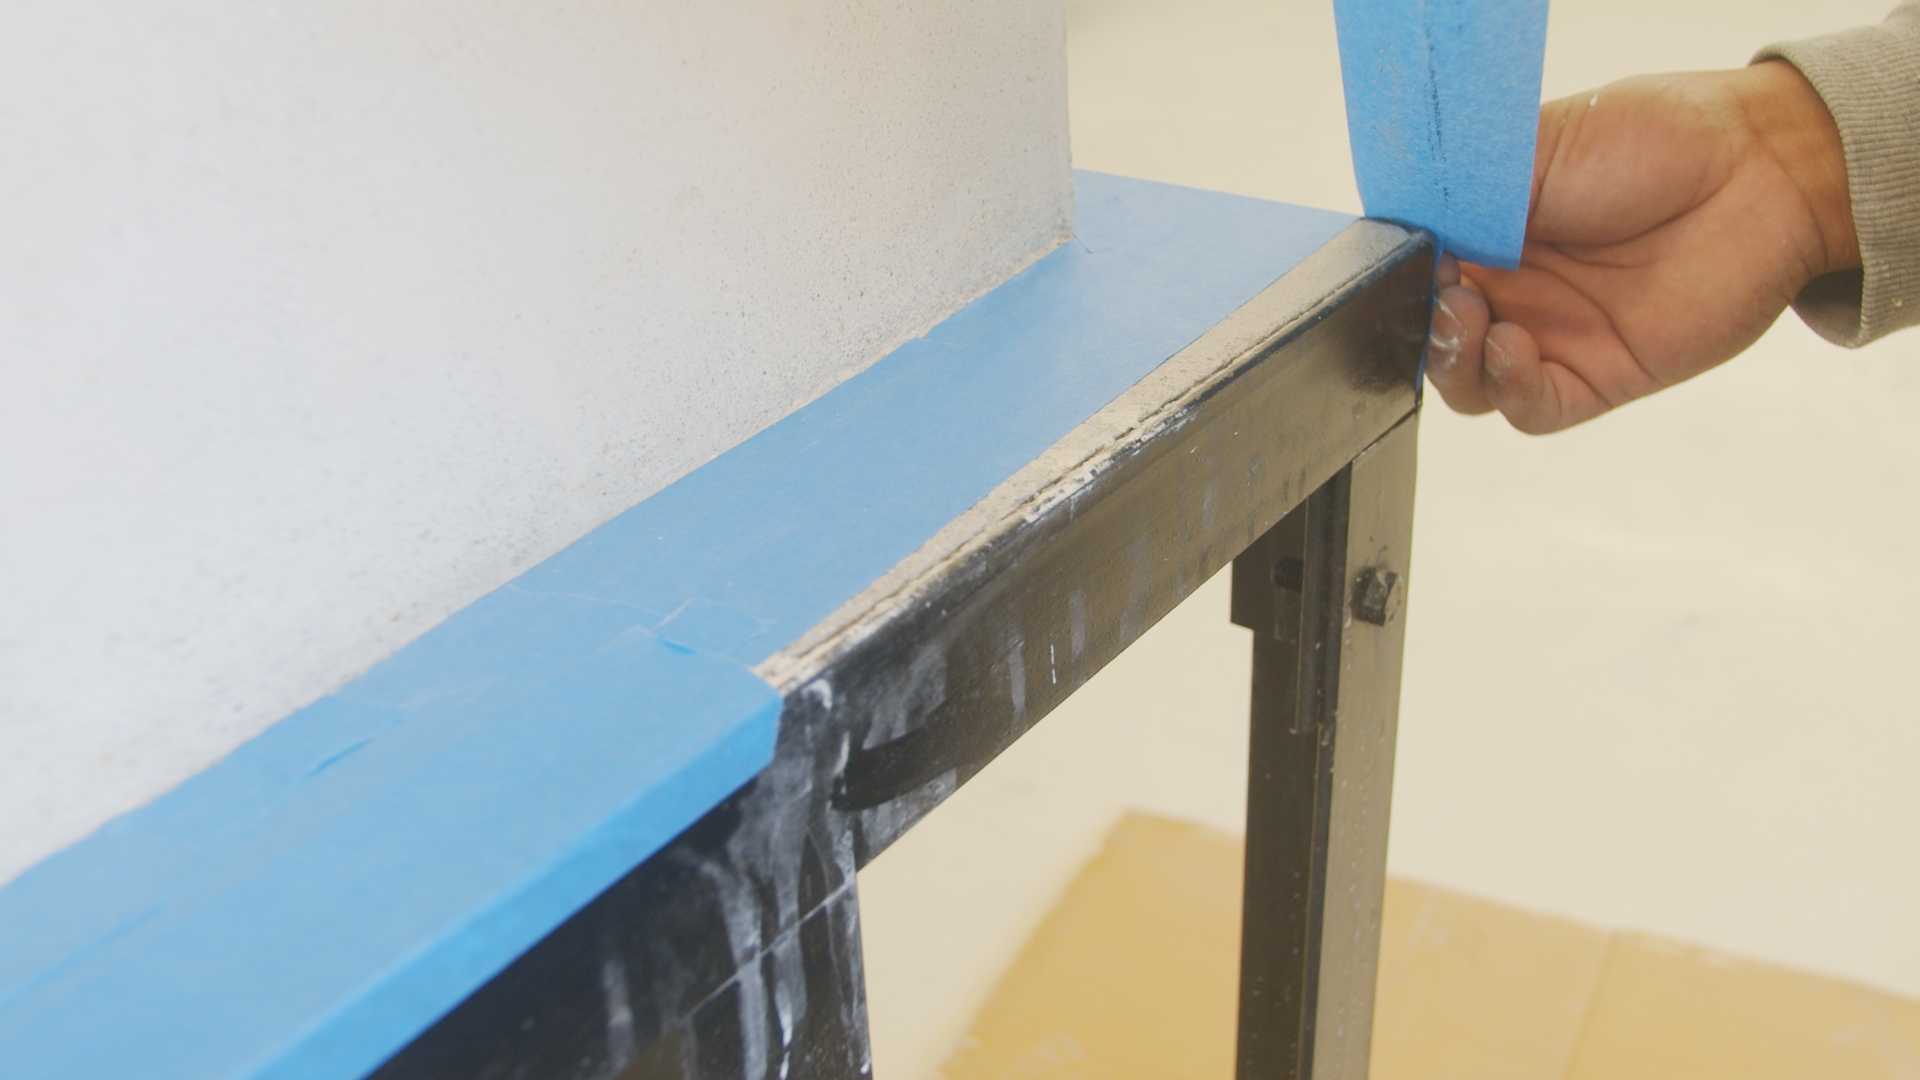
- Tape the following areas:
- The counter around the edge of the dome
- The base of the flu
- The front of the cooking floor
- The inside of the oven’s mouth
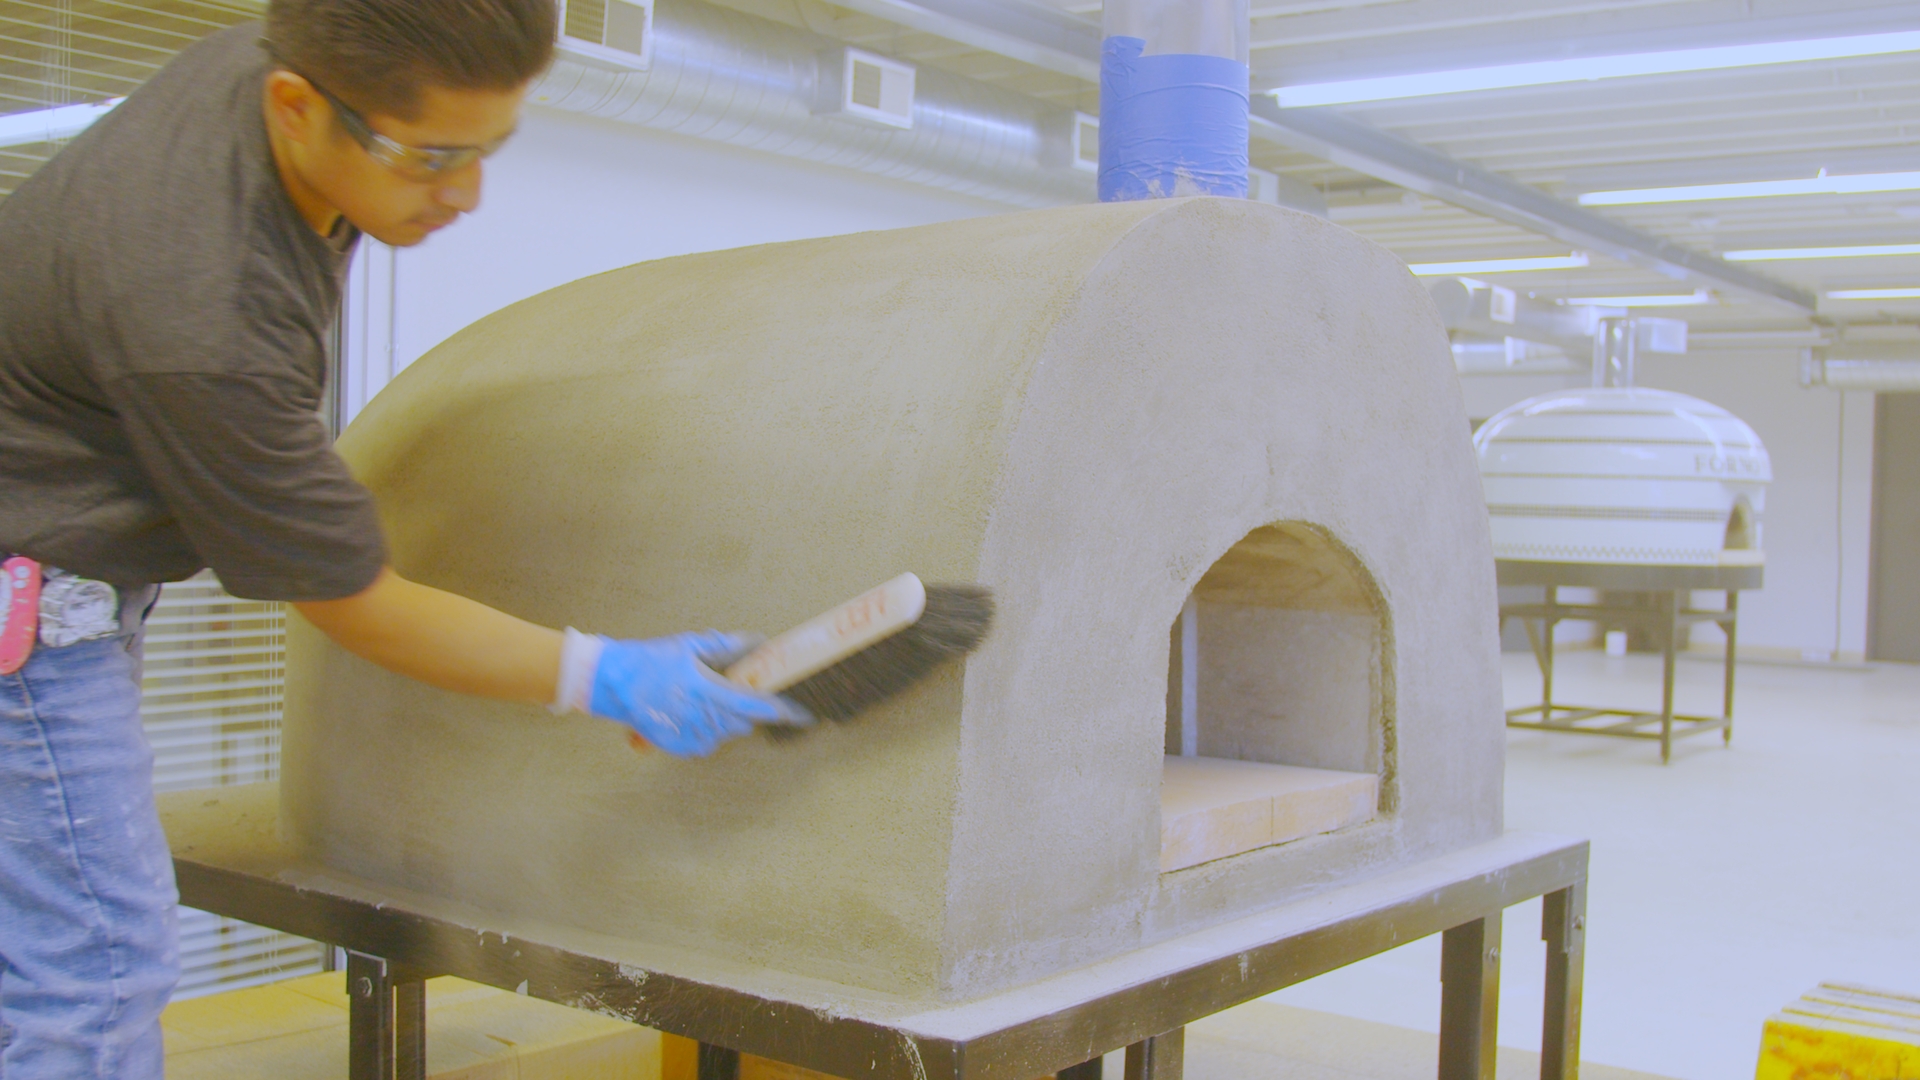
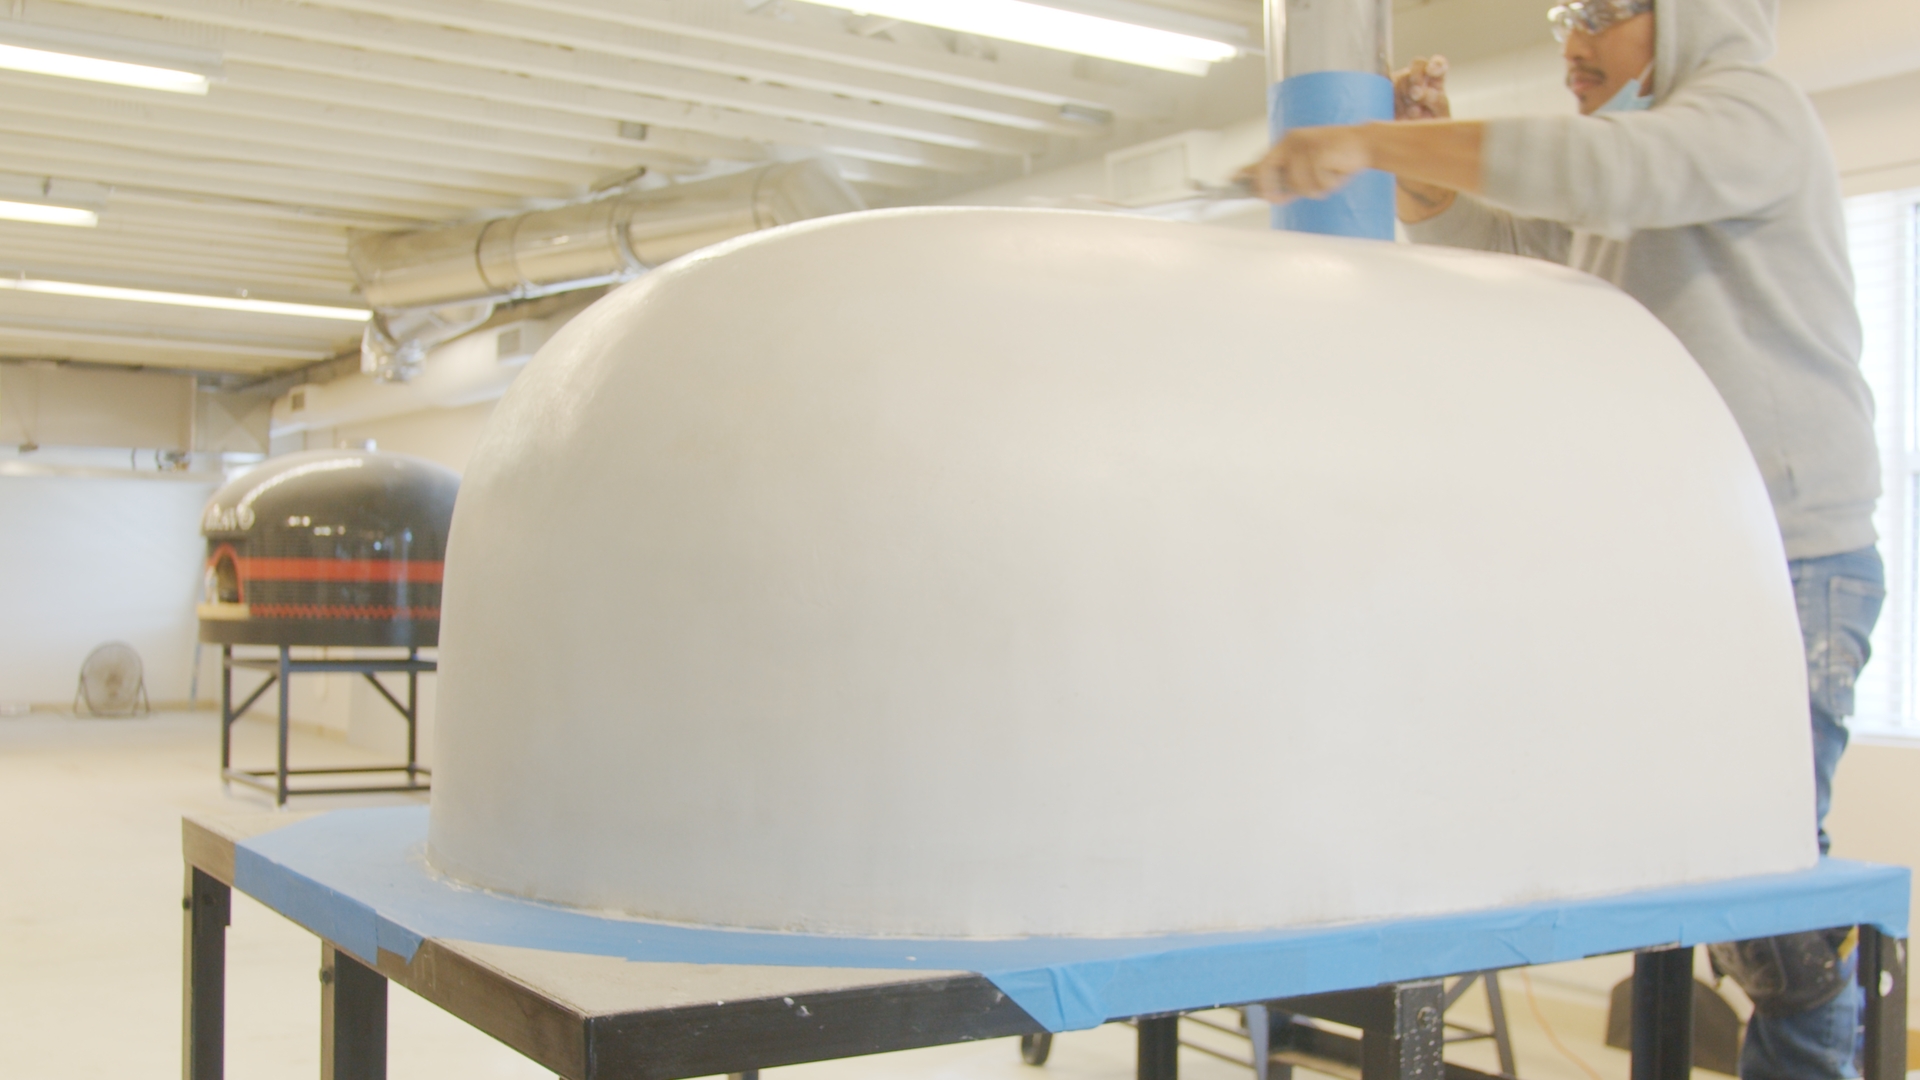
- Using an angled brush, apply a layer of SEALKRETE® Water Protective Sealer to the oven exterior wall. It will take at least two hours or longer to dry.
4. Paint your Oven
- When the sealant dries completely, you can paint your pizza oven with 100% acrylic-based paint. Before painting, check to make sure your tape seal is still secure. Apply a primer coat using a small roller, and then paint your oven with a thin, even coat of paint.
- Rub any lines or defects away and blend the colors. If you want a rustic, old-world look, apply a final glaze sparingly with a color-washing brush over the top coat.
Tip: Do not apply any paint or glaze in direct sunlight. It will dry too quickly before you can blend.
Need color suggestions? Forno Bravo can help, but feel free to use your own creative ideas, since the sky’s the limit!
Congrats! Now you know how to build a wood fired oven with a Forno Bravo Oven Kit. If you need the world’s best pizza oven kit, order one today from Fornobravo.com!