

Pizza Quest with Peter Reinhart
What’s New
- NY-Style Pizza, Marco’s Style, with Guests Kathleen Kennedy and Scott Wiener
- Grant Arons — Inizio and Finale — the Empire Grows
- Korshak is Back — this time with Hot Dogs!
- Leo Spizzirri and Moderna Bar and Pizzeria, Best New Restaurant Award
- The Blue Food Cookbook: Food that Comes from Water with Andrew Zimmern, Jennifer Bushman, and Bart Seaver
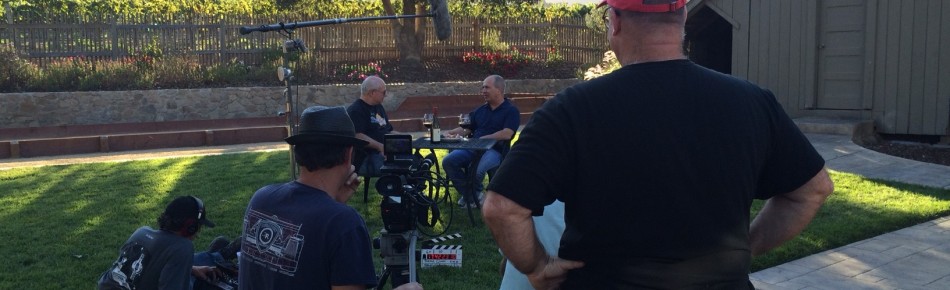
Webisode Intro #1: Pizza and Obsession
Hi everyone, I’m Peter Reinhart, your Pizza Quest guide, and this is our first ever webisode. We’re going to leave this opening segment on the front page for all newcomers to the site, but please feel free to navigate over to the Webisode page if you really want to catch up on all the webisode segments. We’ll continue posting additional webisodes that will take us to some of the stops…Read More…
NY-Style Pizza, Marco’s Style, with Guests Kathleen Kennedy and Scott Wiener
Welcome back to Pizza Quest! New York-style pizza is back on the rise, but what exactly does that mean — New York-style Pizza? And what makes it so beloved by so many people — not just New Yorkers? Ask a hundred people and you’ll probably get 101 different answers. But we got to the bottom of this divisive yet alluring question with our guests in this episode, Kathleen Kennedy and…Read More…
Grant Arons — Inizio and Finale — the Empire Grows
Welcome back to Pizza Quest! One of Charlotte’s most successful pizzaeria operators, Grant Arons, is back with us as he is about to open, five minutes from my house, the fifth location of Inizio, his Neapolitan wood-fired concept that has captivated the city. This is in addition to the opening of a New York-(ish) Style pizzeria called Finale. Grant explains it all, including his vision and business model, in this…Read More…
Korshak is Back — this time with Hot Dogs!
Welcome back to Pizza Quest! The last we heard of Philip Korshak was when, in 2023, he closed his beloved Korshak’s Bagels, sending the city of Philadelphia into mourning, and then kind of dropped off the grid (with the exception of an occasional and instantly viral Instagram post). Well, the much-beloved man is back, right smack in the middle of the same South Philly Italian Market neighborhood where his sourdough…Read More…
Leo Spizzirri and Moderna Bar and Pizzeria, Best New Restaurant Award
Welcome back to Pizza Quest, Leo Spizzirri, Maestro of Pizza, is back, with all sorts of good news for us. He used to be known as “the greatest guy you never heard of” until his classes across the country, and especially at Pizza University, became legendary. His videos on Instagram and TikTok have turned him into an international celebrity and, now, having consulted for years behind the scenes for restaurants…Read More…
The Blue Food Cookbook: Food that Comes from Water with Andrew Zimmern, Jennifer Bushman, and Bart Seaver
Welcome back to Pizza Quest! Most of you know Andrew Zimmern from Bizarre Foods and his many other television series, and many of you also know Barton Seaver, one of the world’s leading educators on all things seafood, especially sustainable seafood. And some of you who have been around these sustainability issues for a while also know Jennifer Bushman, one of my favorite make-it-happen people who is currently the Executive…Read More…
Dutch Van Oostendorp and Blaine Parker: “Little Miss Margherita,” Documentary
Welcome back to Pizza Quest! Film producer and author, Blaine Parker, was recently on our podcast and teased us a bit about his upcoming documentary film, “Little Miss Margherita, A Misunderstood Pizza in a Misunderstood Place.” Well, he’s back and, this time, accompanied by one of the featured cast members, Dutch Van Oostendorp, founder and proprietor of Tribecca Allie Cafe in Sardis, Mississippi. Dutch is a former gold pro from…Read More…
Frank Kabatas, East Village Pizza and Living The American Dream
Welcome back to Pizza Quest! Frank Kabatas is living the true American dream. He came over from Turkey 25 years ago and found a job in NYC, quickly got fired, but refused to give up. Within a few years he owned his own pizzeria, East Village Pizza (the very place from where he had been fired), and has grown it into an award winning, highly successful and popular operation. During…Read More…
Chef Matthew Cutolo, the Link in the Chain
Welcome back to Pizza Quest! I’m not from New York so I’ve missed a lot of the legendary lore that is embedded in most New Yorkers’ DNA. I’ve never been to Rao’s, Katz’s Deli only once, when I was a kid visiting relatives, never even been to Coney Island, which is ground zero for so much of the lore that I feasted on vicariously via my comedy heroes Neil Simon…Read More…
Ricky Price: “Celebrate Your Wins” and the Five Pillars of Success
Welcome back to Pizza Quest. In our ongoing efforts to expand the scope of our podcast (“It’s more about the quest than it is about the pizza”), I am always looking for interesting guests who are passionately engaged in their own quests, even if they aren’t pizza-focused. For example, my guest in this episode is Ricky Price, former basketball All-American and one-time star of the Duke University basketball team under…Read More…
The Most Connected Guy in Pizza, Our Man on the Street, Scott Wiener
Welcome back to Pizza Quest! We’ve been on hiatus since the holiday season but are back with a brand new season. And what better way to kick it off than with our most popular recurring guest, Scott Wiener. I often refer to him as “the most connected guy in pizza,” and that is not an understatement. In addition to his legendary Scott’s Pizza Tours and his ongoing social media and…Read More…
More Articles...
- The Quest for the Top Rock Band Singers of All Time, with Guest Peter Scott Ruben
- Team Rose Bread, The Little Cottage Bakery That Could
- Two Chefs and Marketing Guru Walk Into a Bar (or, What the Freak is Pizza Freak: featuring Brad Daniels, Matt McKenney, and Brad Kilgore)
- Agostino Cangiano and Tatiana Revox, Slicehaus NYC
- “Sourdough” 10th Anniversary Edition with Author Sarah Owens
- The Cheese Dude Returns with His Mt. Rushmore of Cheeses You Must Try Before You Die
Pizza Quest Info
Resources
Vision Statement
Peter’s Books

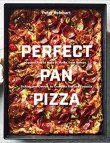
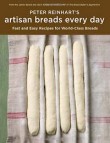
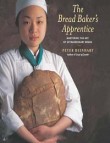
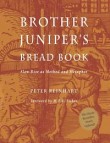
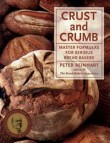
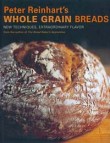
...and other books by Peter Reinhart, available on Amazon.com