

Finishing the Oven Dome
Overview On How to Finish The Oven Dome
There will come a time when you are no longer confident that the mortar you are using to attach your bricks will keep gravity from taking over, and cause your next chain of bricks to fall in before you can set the keystone (see graphic 1). When this happens, it is time for you to use an internal support to hold the last few chains in place while the keystone is set, and the mortar dries.
This page describes the process of putting a form in place, cutting and setting the last chains for brick, then cutting and setting the keystone to complete the oven dome.
You will set the form in place through the opening into your oven, so you cannot start using a form before your oven dome is closed into where the opening at the top is smaller than the door opening into the oven.
Building the Form
Cut a circular piece of plywood to the circumference of the opening at the top of your oven, and slide it into the oven. Hold the round form directly underneath the opening at the top of the oven, and measure the distance from the bottom of the form to the top of the oven floor. Cut three lengths of 2″x4″ or similar material to 1/2″ shorter than that length. Holding the form in place using one of the lengths of 2″x4″, push a shim in place to make the form and length hold in place. Use the next two lengths of 2″x4″ and shim to hold the form securely in place.
After you have set your final bricks, and the mortar holding your bricks has dried, you can remove the shims, and slide the pieces of the form back out the oven door.
Closing in the Oven
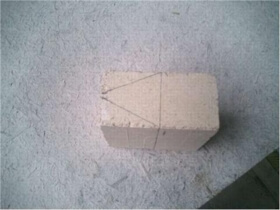
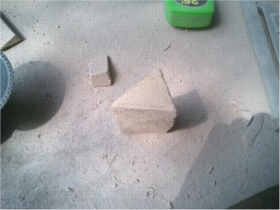
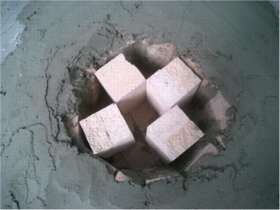
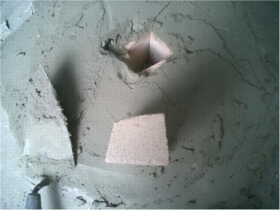
The last 2-3 chains that close in the oven rest on the form. Cut your half bricks into quarters, giving you brick pieces that are roughly 2″x2″x4 1/2″ (graphic 2). Then, cut a series of wedge bricks (see graphics 3 and 4) to fill in the chain. Make a template for the keystone and tap in place to lock in the chain.
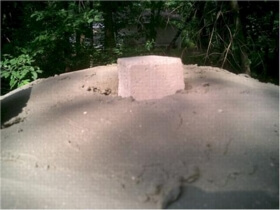
Continue with your last few chains (graphic 5) until you are down to a single brick that will close in your oven.
The Final Keystone
The final keystone is the brick that locks the entire oven dome in place. It will be a custom cut that should fit snugly into the opening (figure 6). The keystone will be angled in on each side, but should remain the 1/2 brick (about 4 1/2″) depth of the rest of the oven dome.
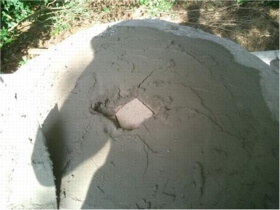
Tap the keystone into place (graphic 7) and cover with mortar (graphic 7).
Congratulations. You have completed your oven dome. You are ready to move on to building your oven vent.
Or, go to the Table of Contents for more topics.
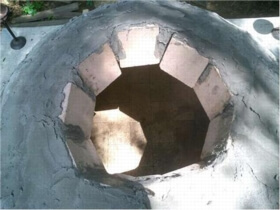
1. Last free-standing chain.
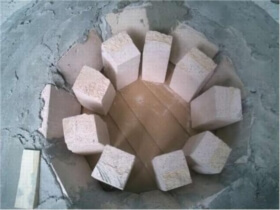
2. First chain using support.
3. Set the oven opening.
4. Walls and first chain.
5. Shim sets dome angle.
6. Mortaring wall.
7. Keystone locks the self-supporting chain.
8. Second chain.

9. Set and level door jam.