

Brick Oven Cooking Surface
Overview
Your cooking floor can be made from either individual firebricks, set in an offset (graphic 1) or herringbone pattern, where the oven walls rest directly on the cooking surface, or from a round refractory floor provided by Forno Bravo. Either works. The advantage of the firebrick floor is that it is made from materials you can purchase locally. The advantages of the round floor are that it is easy to install, has fewer seams (it comes in two or four pie-shaped pieces), and the oven dome itself sits directly on the hearth, not the cooking floor, which is more efficient.
Instructions
These instructions show how to create a pizza oven cooking surface using firebricks. With this method, you do not mortar the bricks in place, but rather spread a thin layer of paste made from sand, fire clay and water as a “bed” for the floor.
To make the under floor paste, mix 1 part fine sand and 1 part fireclay (photo 2) with water until you reach the texture of a sticky mortar (but without the cement). Spread the under floor using a notched trowel as the ridges will make it easier for you to get your floor perfectly level (photo 3). The process is similar to setting ceramic tiles.
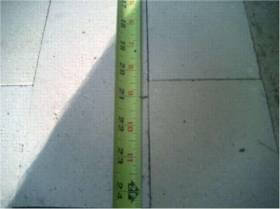
Measure your hearth to ensure that you are centering your cooking floor left and right on the hearth. How far back you set the cooking surface will depend on the size and material you are using for the oven landing in front of the oven opening. Use a chalk line and measuring tape, locate and mark the center of the oven, and where the front of the oven (the vent floor) will meet with your oven land (photo 4).
Lay your floor in a herringbone or offset pattern to avoid having seams line up that will catch your pizza peel. Build the floor out and back until you have gone far enough to hold the oven wall. Lay your bricks on their flat side, as close as possible to the next brick, avoiding letting sand, clay or grit get in between, which will keep your bricks from touching each other. Tap the floor until it is smooth and level (photo 5).
Check again for level, as this is your true cooking surface.
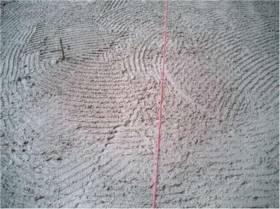
Finally, mark the location for the oven dome and landing to prepare the next step. Locate the true center of your oven using a tape measure and chalk line (photo 6). Using a string and pencil, mark a circle the size of the inside of your oven (photo 7). That is where you will set your oven walls and dome.
You are ready for the next step: building your Oven Dome.
Or, go to the Table of Contents for an overview of what is coming up.
Tips and Hints
If possible, hand select your cooking floor bricks to quality, ridges and chips, putting your best bricks in the cooking floor.
If you do end up with ridges in your cooking floor that catch your peel, you can grind them out later.
1. Use an offset brick layout.
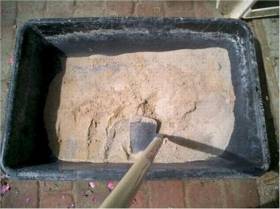
2. Mixing the under floor
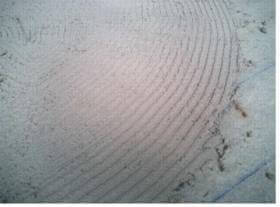
3. under floor toweled on
4. Chalk line marks the center of the hearth
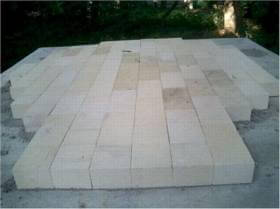
5. Final floor, including vent floor
6. Find and mark the center of the oven circle.
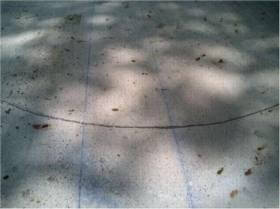
7. Circle drawn, and ready for the walls