Sourdough Pizza
Note From Peter:
Teresa Greenway is a serious home baker and sourdough expert who has been corresponding with me for the past few years. She has written her own beautiful book on all things sourdough, loaded with photos, and is making it available as a free download for anyone who wants to get it from her website (see the link at the end of this article, or go to her Guest Contributor profile). We welcome Teresa on board as our resident sourdough expert and look forward to future columns from here. Please feel free to send your comments and let us know about your own sourdough exploits. The method she describes below makes a fabulous dough!
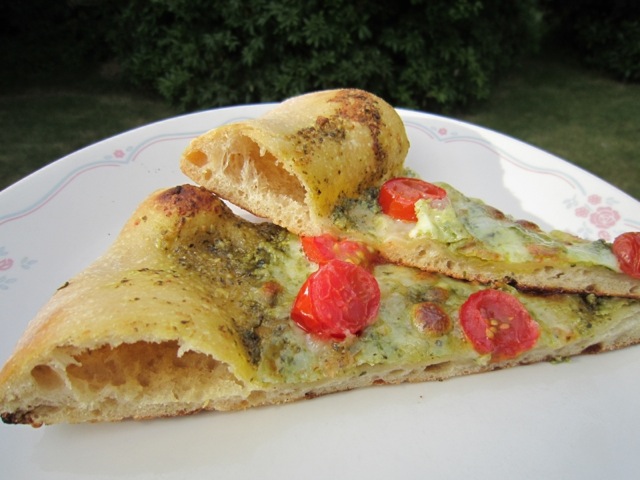 I have a passion for baking with sourdough. I enjoy sharing the fun by helping others learn to bake using it too. If you want to join in the fun but don’t have a sourdough starter, you can learn to make your own here: http://www.northwestsourdough.com/.
Lately I have been thinking about making pizza dough using sourdough starter. In this recipe a sourdough starter is used to make a piece of dough called a “preferment” which is then used to make the final dough.
I decided to use a sourdough pre-ferment so as to have a large quantity of wild yeast and bacteria available for the final dough. With this added preferment — which is an elaborated piece of dough made from your permanent sourdough starter (sometimes referred to as the “mother starter”) — the initial dough fermentation does not need to be as long as the traditional straight dough mixing method. This salt-less pre-ferment, with uninhibited enzyme action, helps the final dough stretch more easily.
Sourdough Pizza Dough: (approx -3 lbs 5 oz /1505g at 65.5% hydration- enough for two large 14-16” pizzas)
Feed your permanent starter 10-12 hours before making the pre-ferment.
Sourdough Preferment, make the evening before baking:
• 1.2 oz / 34g Starter at 100% hydration
• 6 oz / 170g water
• 8.8 oz / 249g All Purpose flour
Makes 16 oz/ 453g of preferment at 70 % hydration.
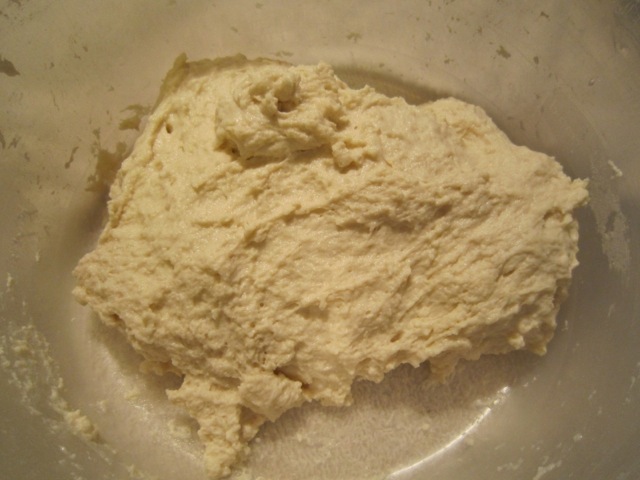 Mix all ingredients and allow dough to ferment overnight in a covered container at room temperature. The preferment looks like this after mixing:

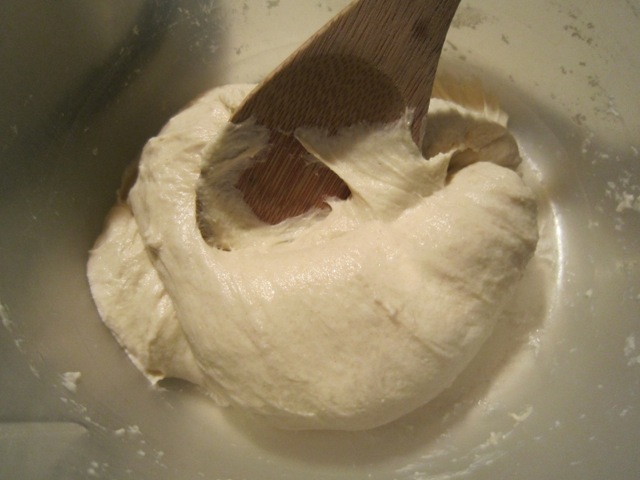 Next morning the preferment looks like this. Note the gluten development:
Final Dough:
In a dough trough or large mixing bowl add:
• All of the preferment: 16 oz / 453g at 70 % -tear into large pieces
• 13 oz / 368g water
• .6 oz / 17g salt
• 1.5 oz / 42g Olive oil
• 1 oz / 28g malt syrup (purchase from your local brewery supply or health food store)
Stir ingredients together. Don’t worry about breaking down the pre-ferment; it can stay in chunks for now.
Then add:
• 21 oz / 595g bread flour
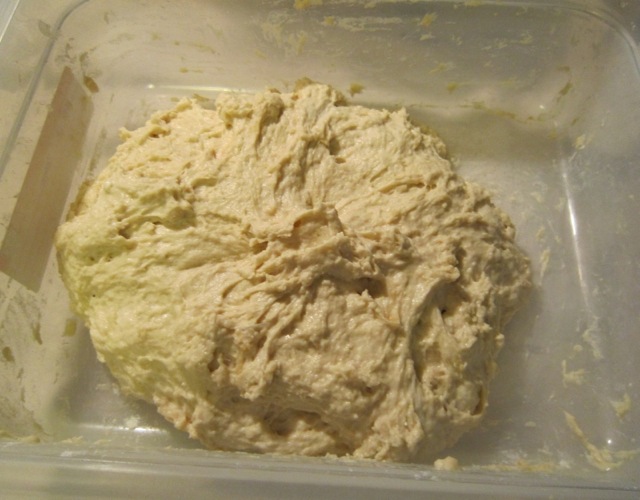 Mix all of the ingredients together until well incorporated. The dough will look like this:
Note: The malt is added to offset the large proportion of pre-ferment. In long fermented dough, the sugars can be used up and not available for the Mailliard reaction which happens during baking and contributes to the color of the crust. I used malt syrup because it has about half the sweetness of sucrose and is less likely to make the dough too sweet.
Stretch and fold the dough every 45 minutes for four hours.
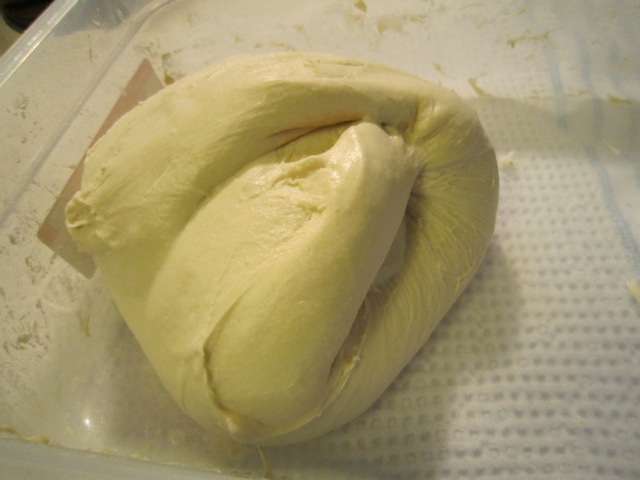 Note: The dough can continue to proof for an additional 1- 2 hours to fit your schedule. At this point the dough looks lovely, stretchy and is ready to go:
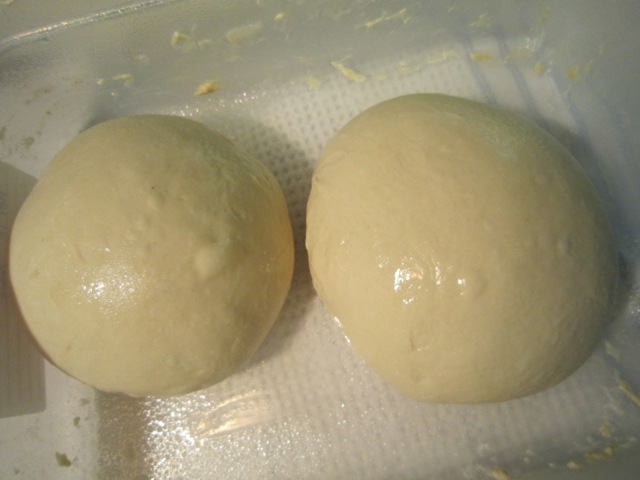 Divide your dough into two pieces. Shape the dough into rounds, spray with oil and cover with plastic, an overturned bowl, or place back into your covered dough trough. Bench rest for 20-30 minutes.
Note: Instead of shaping your pizza dough right away, you can place it into a covered container and refrigerate for up to three days. Before baking, bring dough to room temperature before proceeding with shaping (you can place your covered folding container into a sink of warm water to speed up the process).
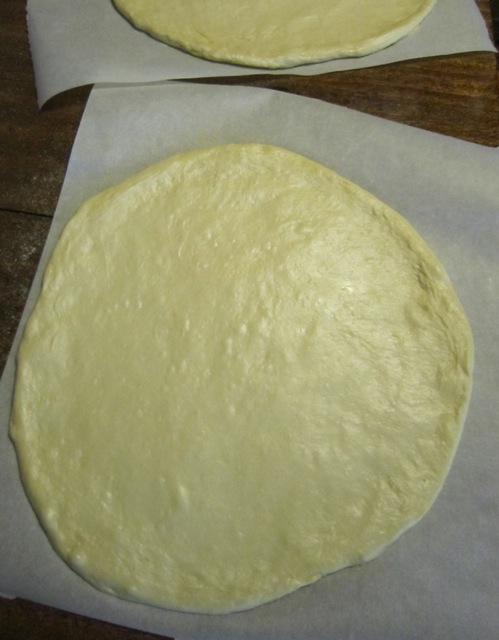 After of the bench rest, stretch or roll out your dough to fit your pizza pan or screen. You can also shape your dough and place it on cornmeal sprinkled baking parchment paper which is a really easy way to handle pizza dough. Just slide your pizza peel under the paper, pizza dough and all, to move it easily.
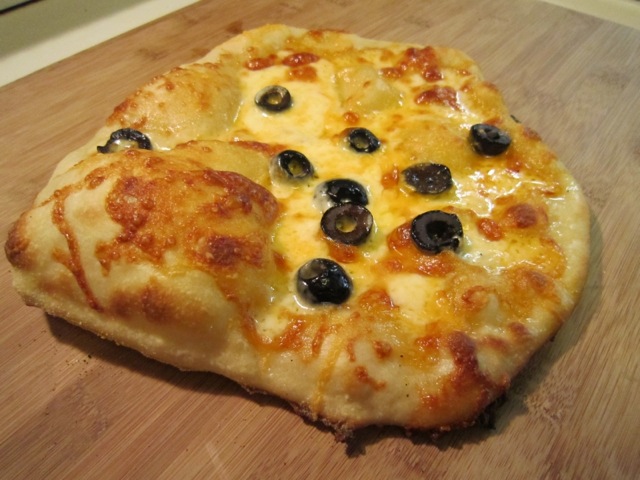 My thirteen year old son made his own pizza:
 Spray your dough with oil and let it final proof for 1.5 -2 hours. Once you see that it is ready to bake(the dough can feel/look a bit slack but will still “pop” in the oven), load on your sauce (pesto sauce is my favorite) and toppings and then place the pizza onto your very hot baking stone, which has been preheated as high as your oven will go (usually around 550F/288C). Make sure your stone is preheated for at least an hour and placed ¼ – 1/3 of the way from the bottom of the oven. If it is too close to the bottom, the pizza will burn, if it is too high, the crust will not brown properly and the toppings will burn. Bake until done, 7-15 minutes.
Have fun baking (and eating) pizza! I know I do!
Teresa Greenway
http://www.northwestsourdough.com
All rights reserved worldwide July 2011
Recent Articles by Teresa Greenway
Add Comment
You must be logged in to post a comment.



this looks like a great recipe — can it be frozen and used later and how long can it be kept in the frig,?
thanks,
tony
Hi bread lovers,
I’ve recently started working with Sourdoughs International and I’m learning the difference between using authentic wild yeast and commercial yeast (bakers yeast) the taste and appearance is so different it is absolutely amazing! I totally recommend that you check it out at http://www.sourdo.com, EnJoY!! 😛
I have to agree with one of the above comments about Sourdoughs International and there cultures, MY favorite is the Italian one that I use for my Napolitana Pizza. They have two types but I use the Ischia Island. Have fun People!
Teresa, this recipe and method is amazing! I have prepared it several times now, it even works well substituting part of the bread flour with all-purpose and up to 25% whole wheat (which my family prefers for the deeper flavor). I do have a question regarding the 1.5-2 hour rest…. does this truly take place after shaping as the directions imply? I’m finding it terribly difficult to transfer the dough to my heated stone, as it sticks to the parchment paper. Seems like the cornmeal absorbs too much of the moisture due to the long rest and allows the dough to stick. I’m wondering if I misunderstood the directions and the 1.5-2 hour rest should happen when the dough is still a boule?
I don’t know what Teresa will say but I think there could be two options. One, as you say, is to let it rise as a boule in the bowl or banneton, or, if rising on the parchment, don’t lift it off the parchment but lift the parchment, with the boule on it, onto your peel and slide it in, parchment and all. Later, when the loaf is mostly baked, you can slide the parchment free and remove it. It’s been a while since this story ran so I don’t know if Teresa will see it, but I’ll see if I can track her down (she’s very busy creating sourdough video classes and writing her books, which are great) and get her to chime in.