Peter’s Blog, My Four Minute Steaks!
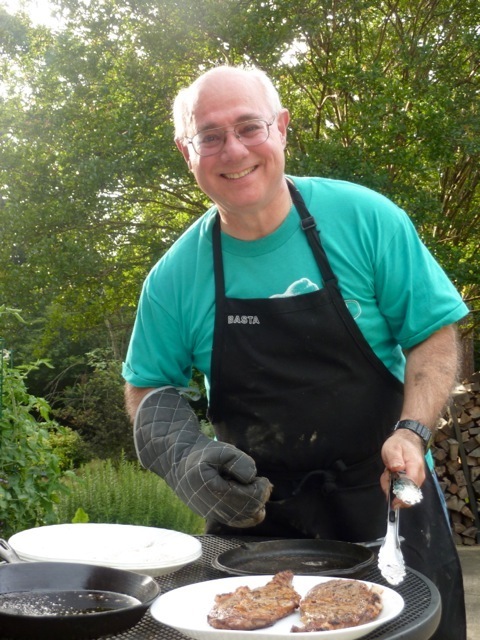 Here it is, as promised, a pictorial guide to the best steaks I’ve ever had, for a fraction of the cost of Morton’s, Peter Luger, Ruth’s Chris, and all the others. Of course, you need the super high heat of a wood-fired oven, such as this sweet little Primavera 60 in my back driveway next to the garden. I made these for a dinner party for my wife Susan’s birthday; we served a total of twelve people (including ourselves), and I could only fit in two steaks at a time, but it was no problem getting everyone their own steak within a few minutes of each other.
My friend, Patrick Taylor, took these photos of me in action so, of course, we made our steaks last. As a result, I really only had to get the first ten up to the dinner table to get everyone else started. By the time they had filled their plates with the steaks, salad, and Susan’s crispy rosemary garlic potatoes (a house specialty, served at almost every party we have), Patrick and I were on our way to the table with our own medium rare rib eyes. They cooked perfectly in one minute on each side!
I use to call this method my “four minute steaks,” because they usually take two minutes per side when the steaks are cut to a 1 1/4-inch thickness. But, for this event, I had them cut to just under an inch thick, so they cooked much faster. A couple of people asked for theirs to be well done (God only knows why, but this was no time to be judgmental), so I did theirs first. Two minutes on each side. Then the rest were mediums or medium rares, so we rolled back to 90 seconds on each side for the mediums. For the medium rares, yes, one minute per side!!
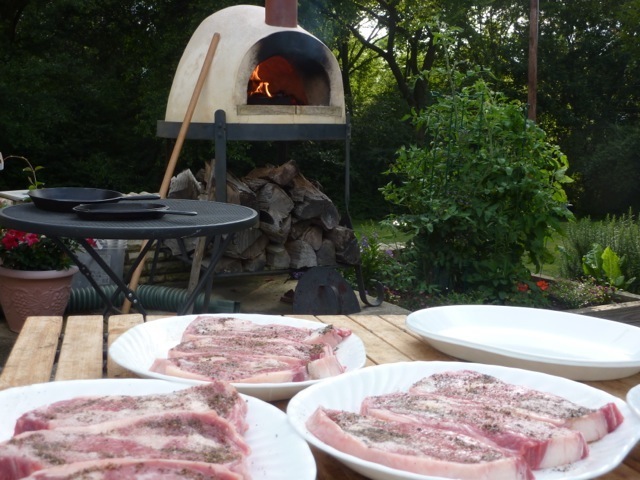 Before you view all the photos, here are a few tips that make all the difference:
–Use rib eyes, cut to the thickness you prefer. I think the marbling and flavor is ideal, even better than NY Strips or Porter Houses (but that’s up to you if you prefer a different cut). Grass fed steaks, though a healthier option, tend to have less marbling and, so, come out tougher — use a well marbled piece of meat from a reputable source. You don’t need “prime” beef but don’t go for the cheap grades either. “Choice,” beef, from a quality meat market or butcher, will be great
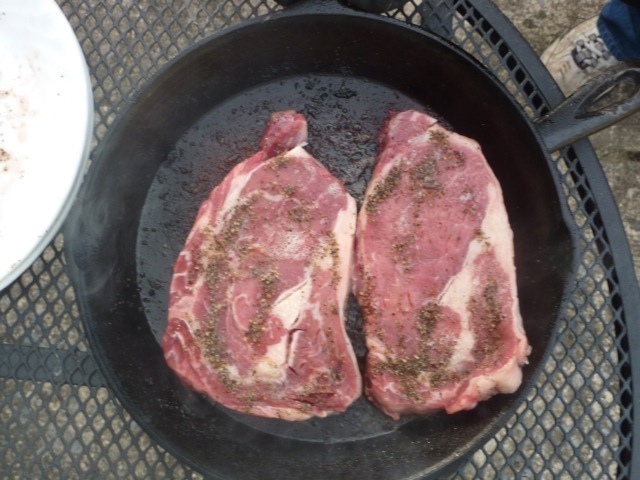 –Get the oven roaring hot and then push back the coals and clear a space for your cast iron pan or pans (my little oven can only accommodate one pan but yours might handle two). Let the pan get white hot, at least five minutes or longer in the oven.
–Be sure to have heavy duty oven mitts and gloves. I wore a pottery kiln glove and then slipped that same hand into an oven mitt, and that just barely gave me enough protection to grip the hot pan.
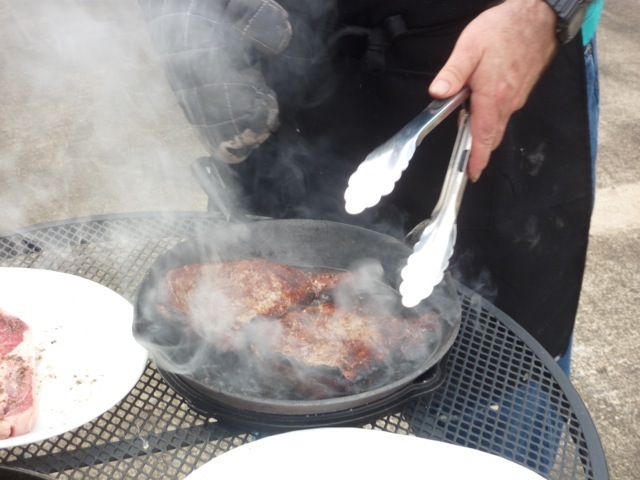 –Have a metal table standing by to receive the hot pan when you set it down (or set it into another cast iron pan, not hot, to protect your table). I surround my work area with portable metal and wooden tables so that I have plenty of surfaces to work with, but only a metal table for the hot pan.
–Use a timer to keep track. A few seconds of distraction can turn a rare steak into an ember.
–To prep the steaks, brush both side with olive oil (not butter, which will burn) and then generously season both sides with kosher or sea salt, and lots of freshly ground black pepper. You really don’t need anything else (fresh garlic will burn). You won’t need A-1 or Worcestershire Sauce, but we always put it on the table for those who absolutely must have it (but no ketchup!!). I can’t overstate this: be generous with the salt and pepper — it will make a fabulous crust when it gets seared into the meat.
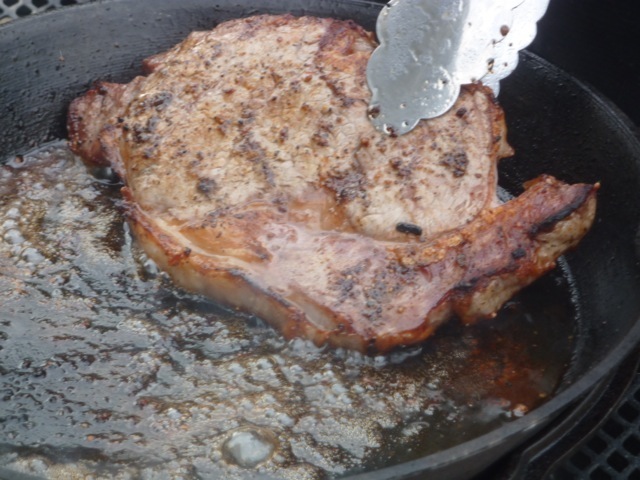 –Once out of the oven, let the steaks sit for at least five minutes before serving, and for even up to fifteen for thicker cuts, in order for the juices to redistribute back into the meat . If you like the Ruth’s Chris trick of melting a pad of seasoned butter on the top of the piping hot steak, feel free, but we found no need for it.
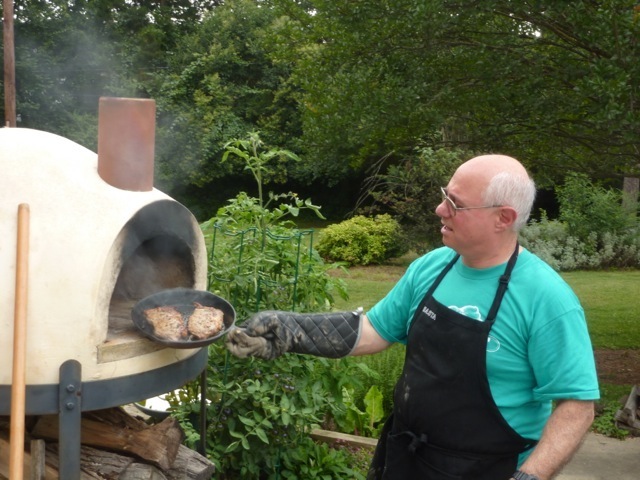
2 + 2 + 2 + 2 + 2 + 2 + FIRE = Total Satisfaction!
–We served 8 ounce steaks, which is why they came out thinner than my usual 1 1/4 inches. If you like thick, juicy steaks, have them cut into one pound units (about 1 1/4 inches thick) and cook for the full two minutes on each side (maybe add 15 to 30 seconds per side if you prefer well done or medium well). But, for large groups like ours, the thinner, faster cooking cuts worked out well.
If you have your own method or tricks, please feel free to share them with us right here in the Comments section. If you want to send photos, write to me at peter@pizzaquest.com and include your shots.
Recent Articles by Peter Reinhart
- “Tommy & Atticus” in Redondo Beach, CA. A Sourdough Success Story
- Howard Brownstein on Turnaround and Crisis Management
- Randy Clemens and Forest Farming in Uruguay — The Back to The Earth Movement is Back!
- It’s not too late to chase your dreams: “Pizza From the Heart” A New Book by Paulie and Mary Ann Gee
- Kyle Ahlgren on the Artisan Baking Center Online Classes (and a special offer)
- Multi-James Beard Nominee Cathy Whims of Portland’s Nostrana and her Brand New Book
Add Comment
You must be logged in to post a comment.






Hi
I have a Peva indirect wood oven. Do you know if I would get the same results or do you need the flavor of the wood?
Thanks
I make steaks in the oven I built also. Glad to see you posted this.
I use a cast iron Camp Chef brand grill pan in my oven. I take the oven up to about 700 degrees with a full open flame as if making pizza, then place the grill pan in the oven to pre-heat for about 10 minutes. I can cook about 8 steaks at a time. I prefer filet mignon and have them cut to 1.5 inches. I do the 1.5 to 2 minutes per side depending on desired temperature of the steak. The result…I’m spoiled. My steaks are better than any restaurant including the big names. Any my friends really enjoy watching the steaks cook next to the open flame.
I marinate mine for about 3 hours in:
-Soy Sauce
-Montreal Steak Season
-Dash of Garlic Powder per steak
-Splash of Red Wine Vinegar Salad Dressing
Good Blog Peter.
This is a must have if you like making “non-pizza” food in your wood fired oven. Cost is about $75 and worth every penny. It’s 16 x 24 inches with a flat-side and a grill-side for steaks, etc. Pefect grill marks!
Camp Chef Reversible Pre-seasoned Cast Iron Grill & Griddle 24″
This sounds like a good experiment. I can’t wait for the AZ temps to go down so I can get it hotter. I only have one issue. At the temps you describe, your welding gloves will incinerate on your hand. They will look and smell like freshly branded cow. Try this-Dragon, Kevlar Terry Gloves.
I am so wanting to make these steaks! I am shopping for a metal table and want to know whether steel or wrought iron would be better. Any info would be appreciated. Thank you!