Neo Neapolitan Sourdough Pizza Dough

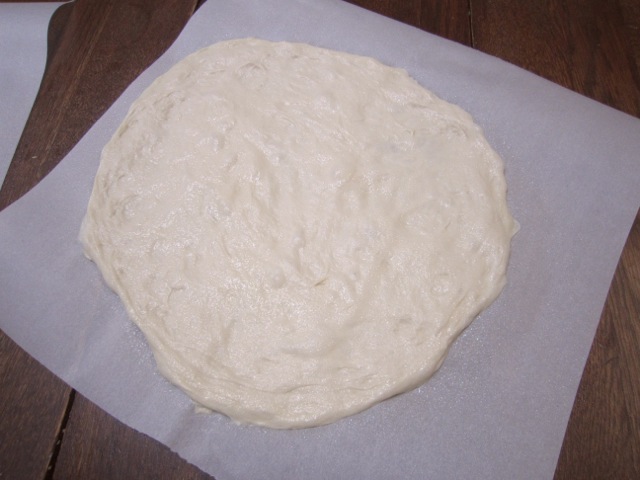
Wow! Look how moist that is.
This pizza dough is a sourdough variation of Peter Reinhart’s Neo Neapolitan Pizza dough. The dough uses a small amount of commercial yeast and sourdough starter at 100% hydration. The result of this high hydration dough is a bubbly crisp pizza crust, which is easy to stretch out once you allow it to proof long enough.
1 teaspoon active dry yeast (or 3/4 teaspoon instant yeast)
1 oz/28g hot water, about 115F degrees.
–Add the yeast to the hot water in a small container and stir. Allow the yeast to proof for about 15-20 minutes.
Next, in a large proofing container or mixing bowl add together:

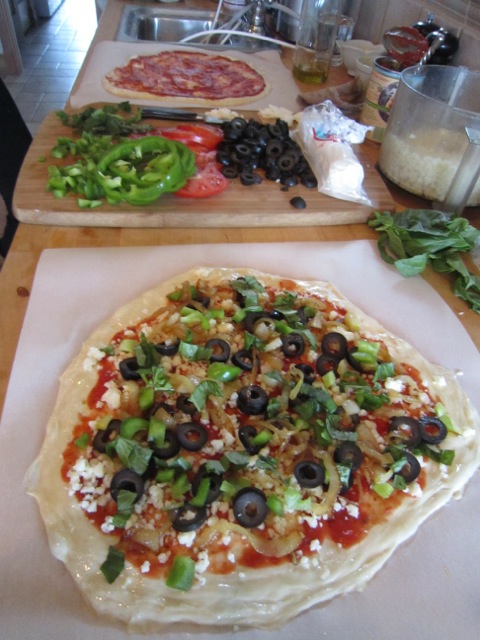
Look at this beautiful set up. You should see the mess when I (Brad) make my pizzas and take photos!
8 oz/226g of ripe and vigorous 100% hydration starter (ie, wet sponge starter as opposed to a firm starter)
13 oz/368g warm water, around 110F degrees
1 oz/28g olive or vegetable oil
.5 oz/14g brown sugar
.5 oz sea salt
–Mix all if the above ingredients by hand or mixer until incorporated and then add:
The yeast mixture
20 oz/567g bread flour
–Mix in the flour for about 1 to 3 minutes, or until the mixture forms a sticky dough ball. Allow the dough to proof in a lightly oiled, covered container for four hours. Fold the dough every half hour during the four hours for a total of six folds. It will firm up slightly and be less sticky.
–Once the dough is proofed, divide it into four or five pieces and form dough balls. Mist or brush the dough balls with oil, place them in a covered container, and refrigerate for 2 hours or overnight. Before using, allow the dough to warm up, uncovered, but well oiled, at room temperature for at least two hours. One-half-hour before baking, stretch or roll dough out and allow it to set for a while until baking time. (I stretch my dough and place it on parchment paper.)

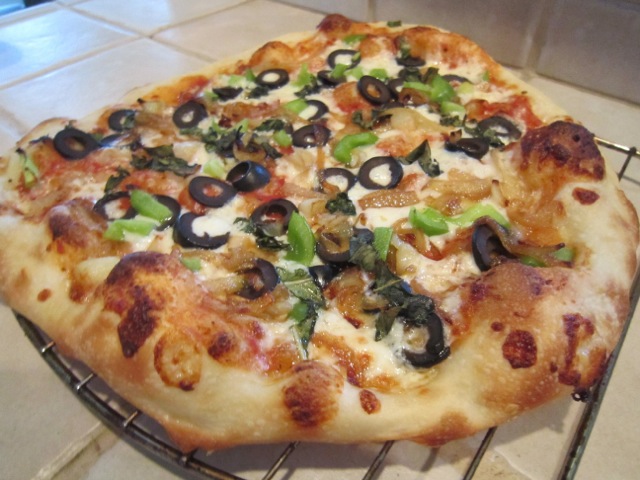
Looks great!
–Then cover the dough with more oil (preferably olive oil), spread on your sauce and toppings and bake (baking time varies) in your very hottest oven. (Start with your oven rack and stone on the very bottom shelf preheat for at least an hour. Every oven is different so, if the pizzas bake too dark on the underside, move the stone up a shelf or two till you achieve an evenly baked pizza).
Note: The pizzas in the photos were made by Alexandra Jean and Teresa Greenway. For more information on baking with sourdough, my website is: www.northwestsourdough.com
Recent Articles by Teresa Greenway
Add Comment
You must be logged in to post a comment.


Thanks, Teresa, for another great sourdough lesson. And thanks to Brad for posting Teresa’s photos — he’s right, her kitchen looks a lot more organized than Brad’s!
Folks, check out her website, listed at the bottom of the article, for great sourdough info and recipes. Also, if you haven’t already written to me for my sourdough file, do so at peter@pizzaquest.com
One important tip mentioned by Teresa in her article is to find the sweet spot in your oven that allows both the top and the under crust to finish at the same time. In my oven it’s right in the middle, but this can vary from oven to oven.
Is the 100% hydration starter you are refering to a poolish made with equal parts water and flour and some yeast? Thank you.
Hi Esie, the starter is made with equal parts of flour and water but it is a wild yeast starter and not a commercial yeast poolish. This formula is a combination or morph of two different leavenings, commercial yeast and wild yeast.
Coincidentally, I’ve just started to be happy with my starter and I’m working on turning my dough sour while working on sourdough english muffins in a wfo. Last night, in my first scaled batch, I used 10% starter to the total mass. I see this recipe is a lot higher. Any tips for determining the sweet (and sour) spot when adapting a proven formula?
Teresa,
Your pizza dough looks very wet & delicious. When making this high of a hydration do you have problems sliding it onto your stone and what tip or technique do you use to keep it from becoming a hot mess?