


 Tweet
Tweet
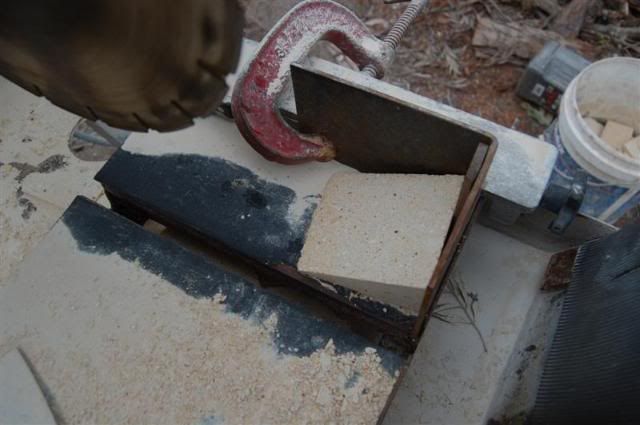
There has been some discussion again about tapering bricks, so I thought I?d show you how I?m cutting bricks to incorporate a radial taper ? ie on the brick face which when extended, forms the radius of the oven dome.
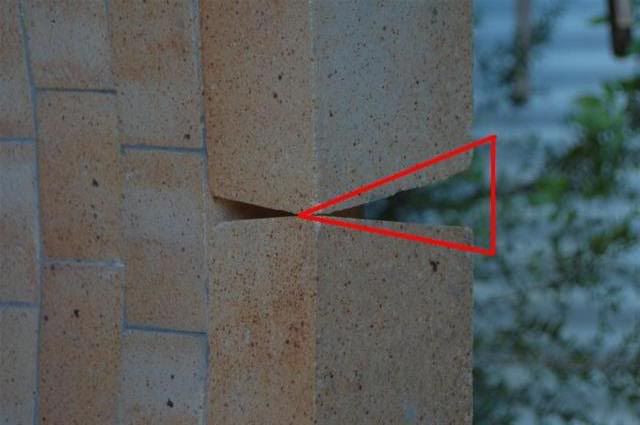
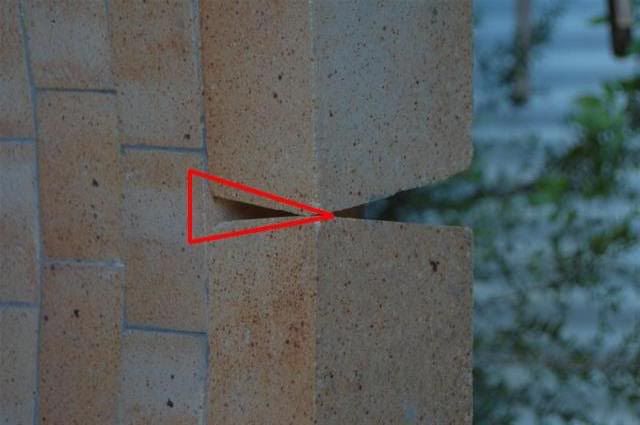
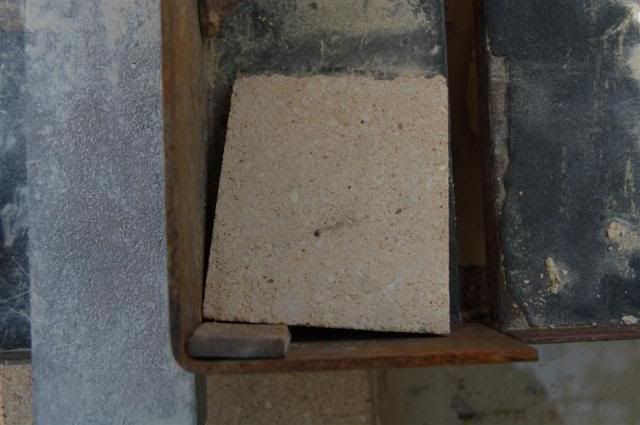
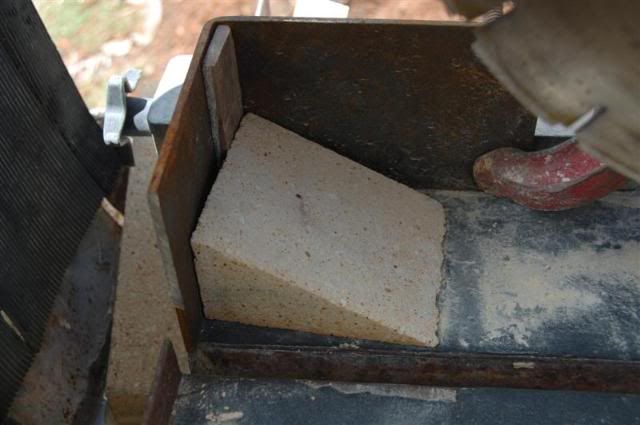
Rotating the bricks in the saw to create a taper eliminates the ?Vee? between the inside and outside faces:
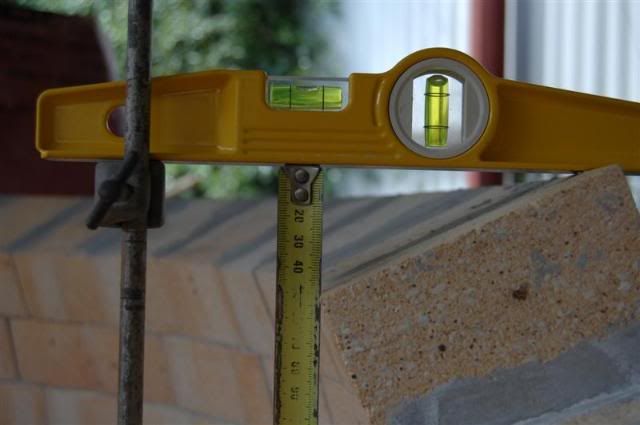
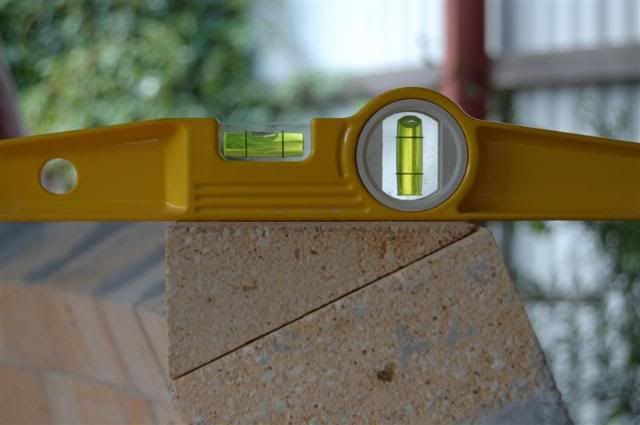
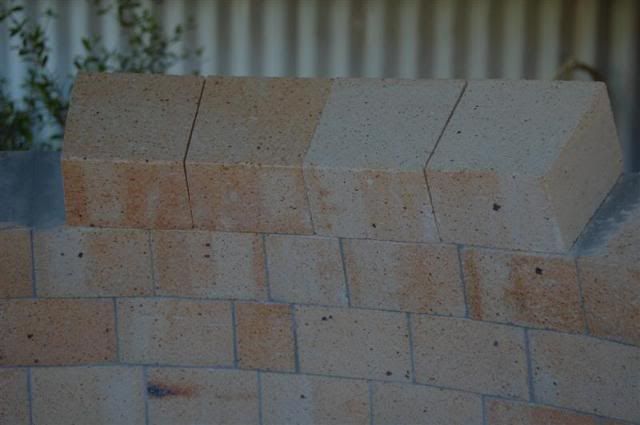
while lifting the bricks eliminates the inverted ?Vee? between adjacent bricks, which otherwise becomes quite pronounced as the dome gets higher.
My bricks were purchased tapered, height-wise ? 75mm (3?) high on the outside face, and 63mm (2??) high on the inside. This degree of taper forms an 1100mm (43?) arch almost exactly. If you decide to go down the fully tapered route and have purchased standard bricks, these tapers should be cut first.
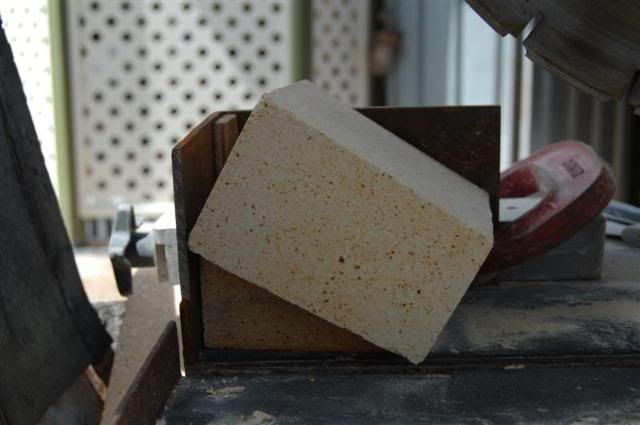
Rotating the bricks in the saw to create a taper eliminates the ?Vee? between the inside and outside faces:
while lifting the bricks eliminates the inverted ?Vee? between adjacent bricks, which otherwise becomes quite pronounced as the dome gets higher.
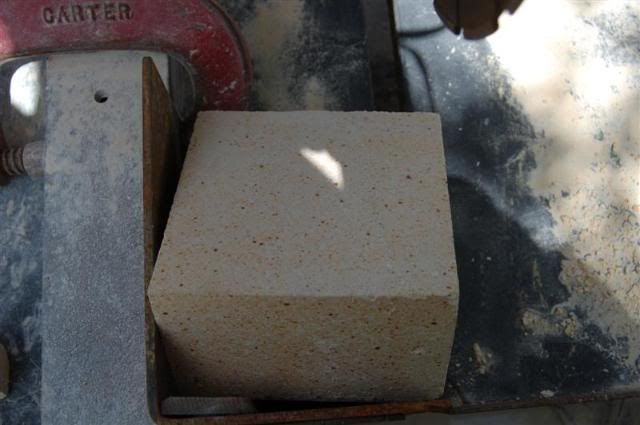
My bricks were purchased tapered, height-wise ? 75mm (3?) high on the outside face, and 63mm (2??) high on the inside. This degree of taper forms an 1100mm (43?) arch almost exactly. If you decide to go down the fully tapered route and have purchased standard bricks, these tapers should be cut first.


Comment